Mirrorless and DSLR eclipse photography: solar filters, exposure mindset, and beginner pitfalls
A solar eclipse can make even experienced photographers do something reckless: rush. The light is unusual, the clock is real, and the temptation to improvise is strong. That is exactly why your first rule is not about sharpness or focal length. It is about safety.
If you remember only one thing from this guide, make it this: for the partial phases, your camera needs a proper solar filter secured over the front of the lens, and your eyes need proper solar viewing protection when you look up at the Sun. Never point magnifying optics at the Sun unfiltered and hope to “just check framing for a second.” If you are planning for 2026, start with the Helioclipse Eclipse Explorer / 3D map so you know whether you are photographing a partial eclipse or true totality, because that changes both your experience and your camera workflow.
This is a practical mirrorless camera solar filter eclipse photos 2026 guide for beginners who want a real shot at coming home with good images and an intact camera, not a frantic memory of missed settings.
Start with the non-negotiable: eye safety before sensor safety
A lot of beginners ask some version of “can you look at a solar eclipse through a camera?” The safe answer is: not through unfiltered optics, and not by treating a camera as a loophole around eclipse safety.
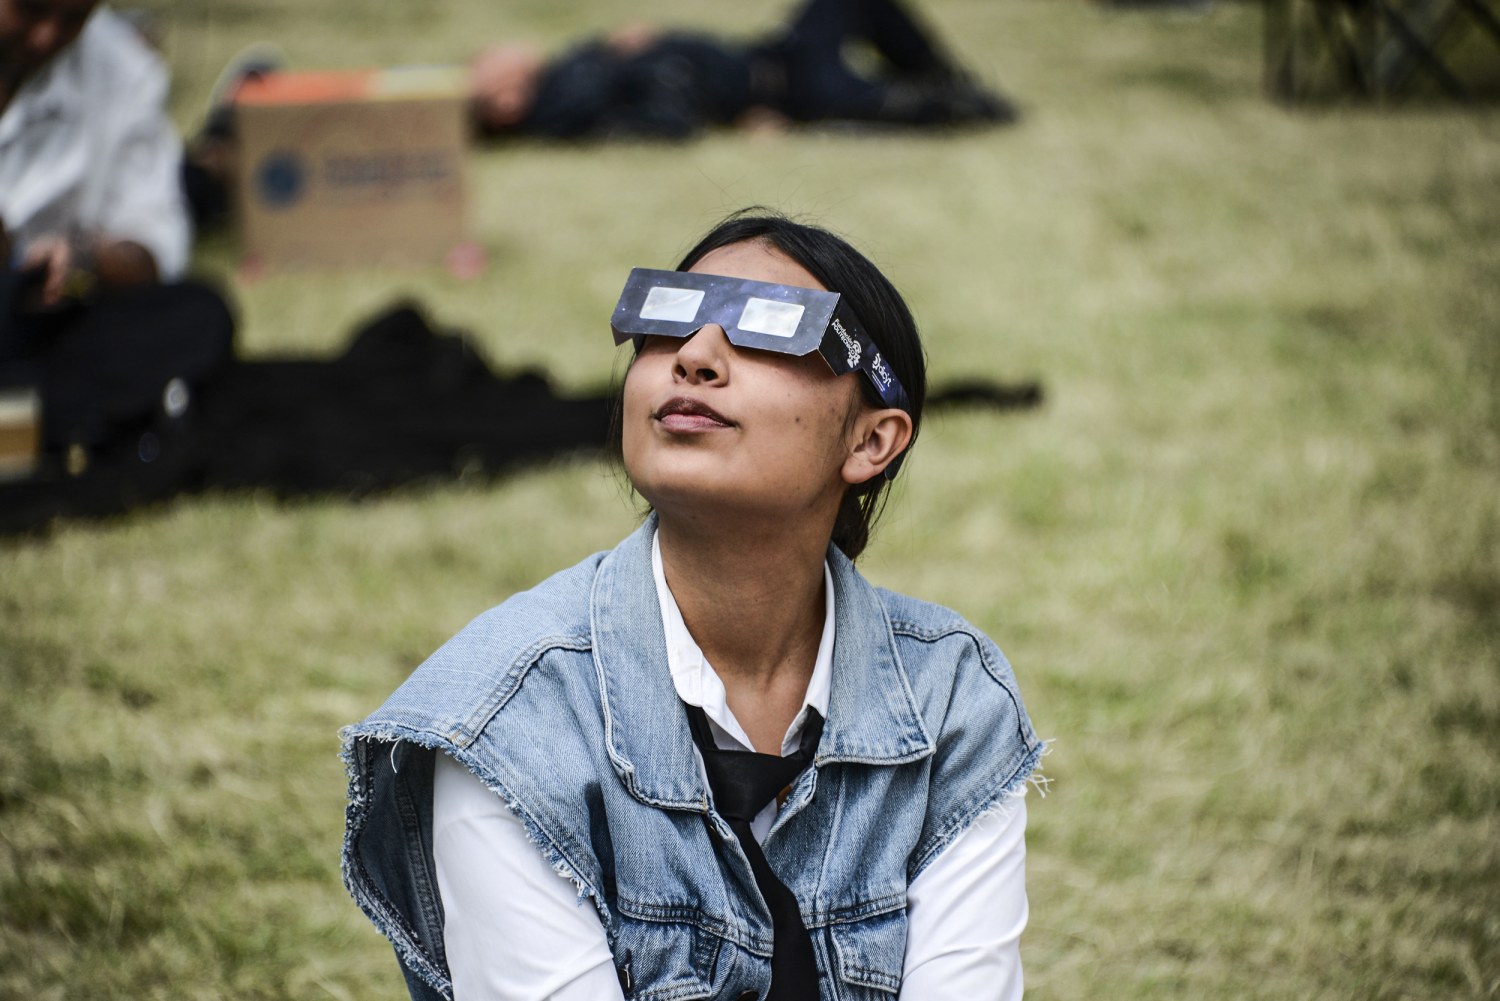
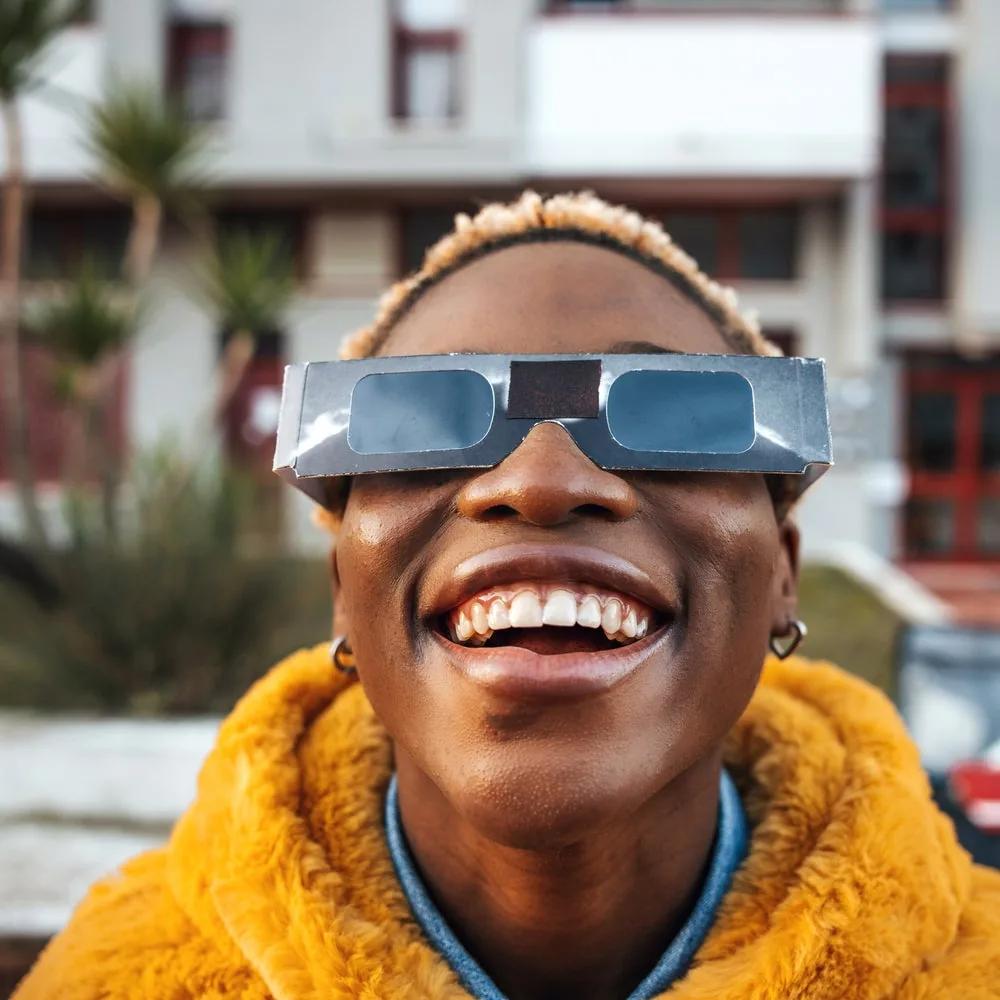
NASA and the American Astronomical Society are clear on the core rule. Except during the brief total phase of a total solar eclipse, you should not look directly at the Sun without proper solar viewing protection. And if you are using a camera, binoculars, or a telescope, the solar filter belongs on the front of the optics, not behind them, not in your hand, and not improvised from ordinary dark glass or standard photo ND filters.
That matters for two reasons. First, your eyes. Second, your gear. Concentrated sunlight through a telephoto lens can overheat internal components very quickly. The danger is not theoretical. Long lenses and telescopes are designed to gather light. The Sun gives them more than enough.
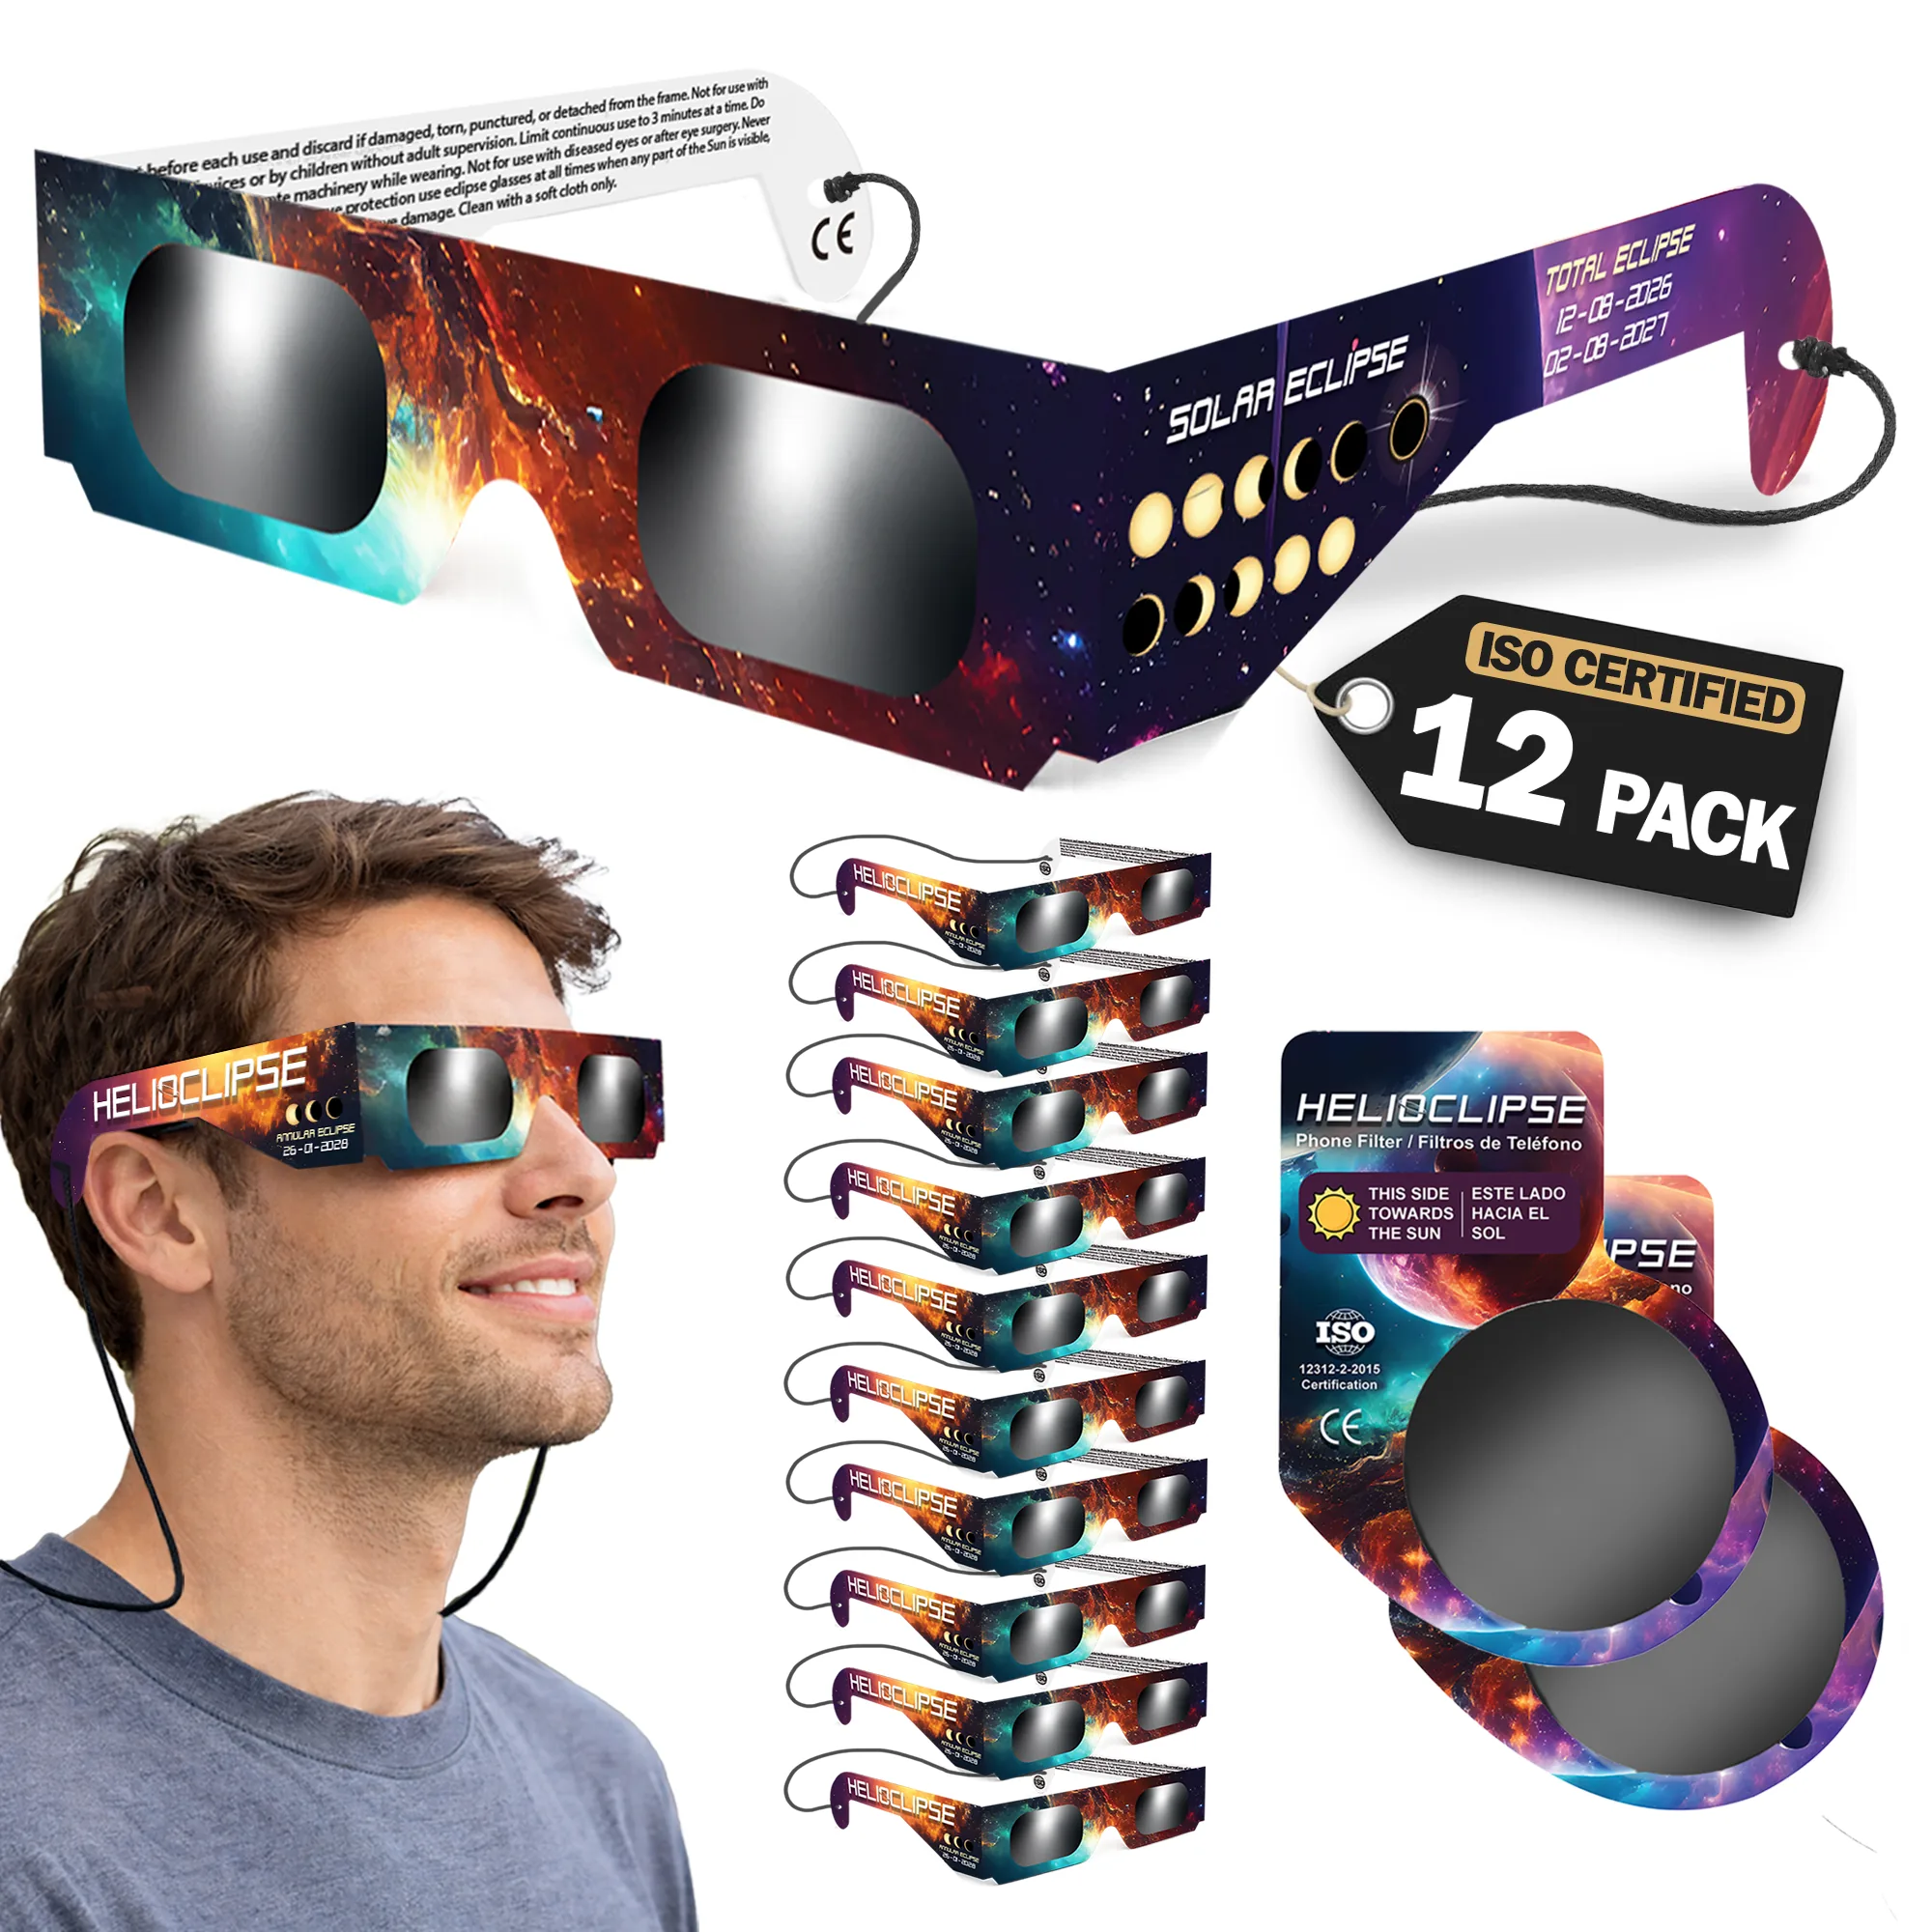
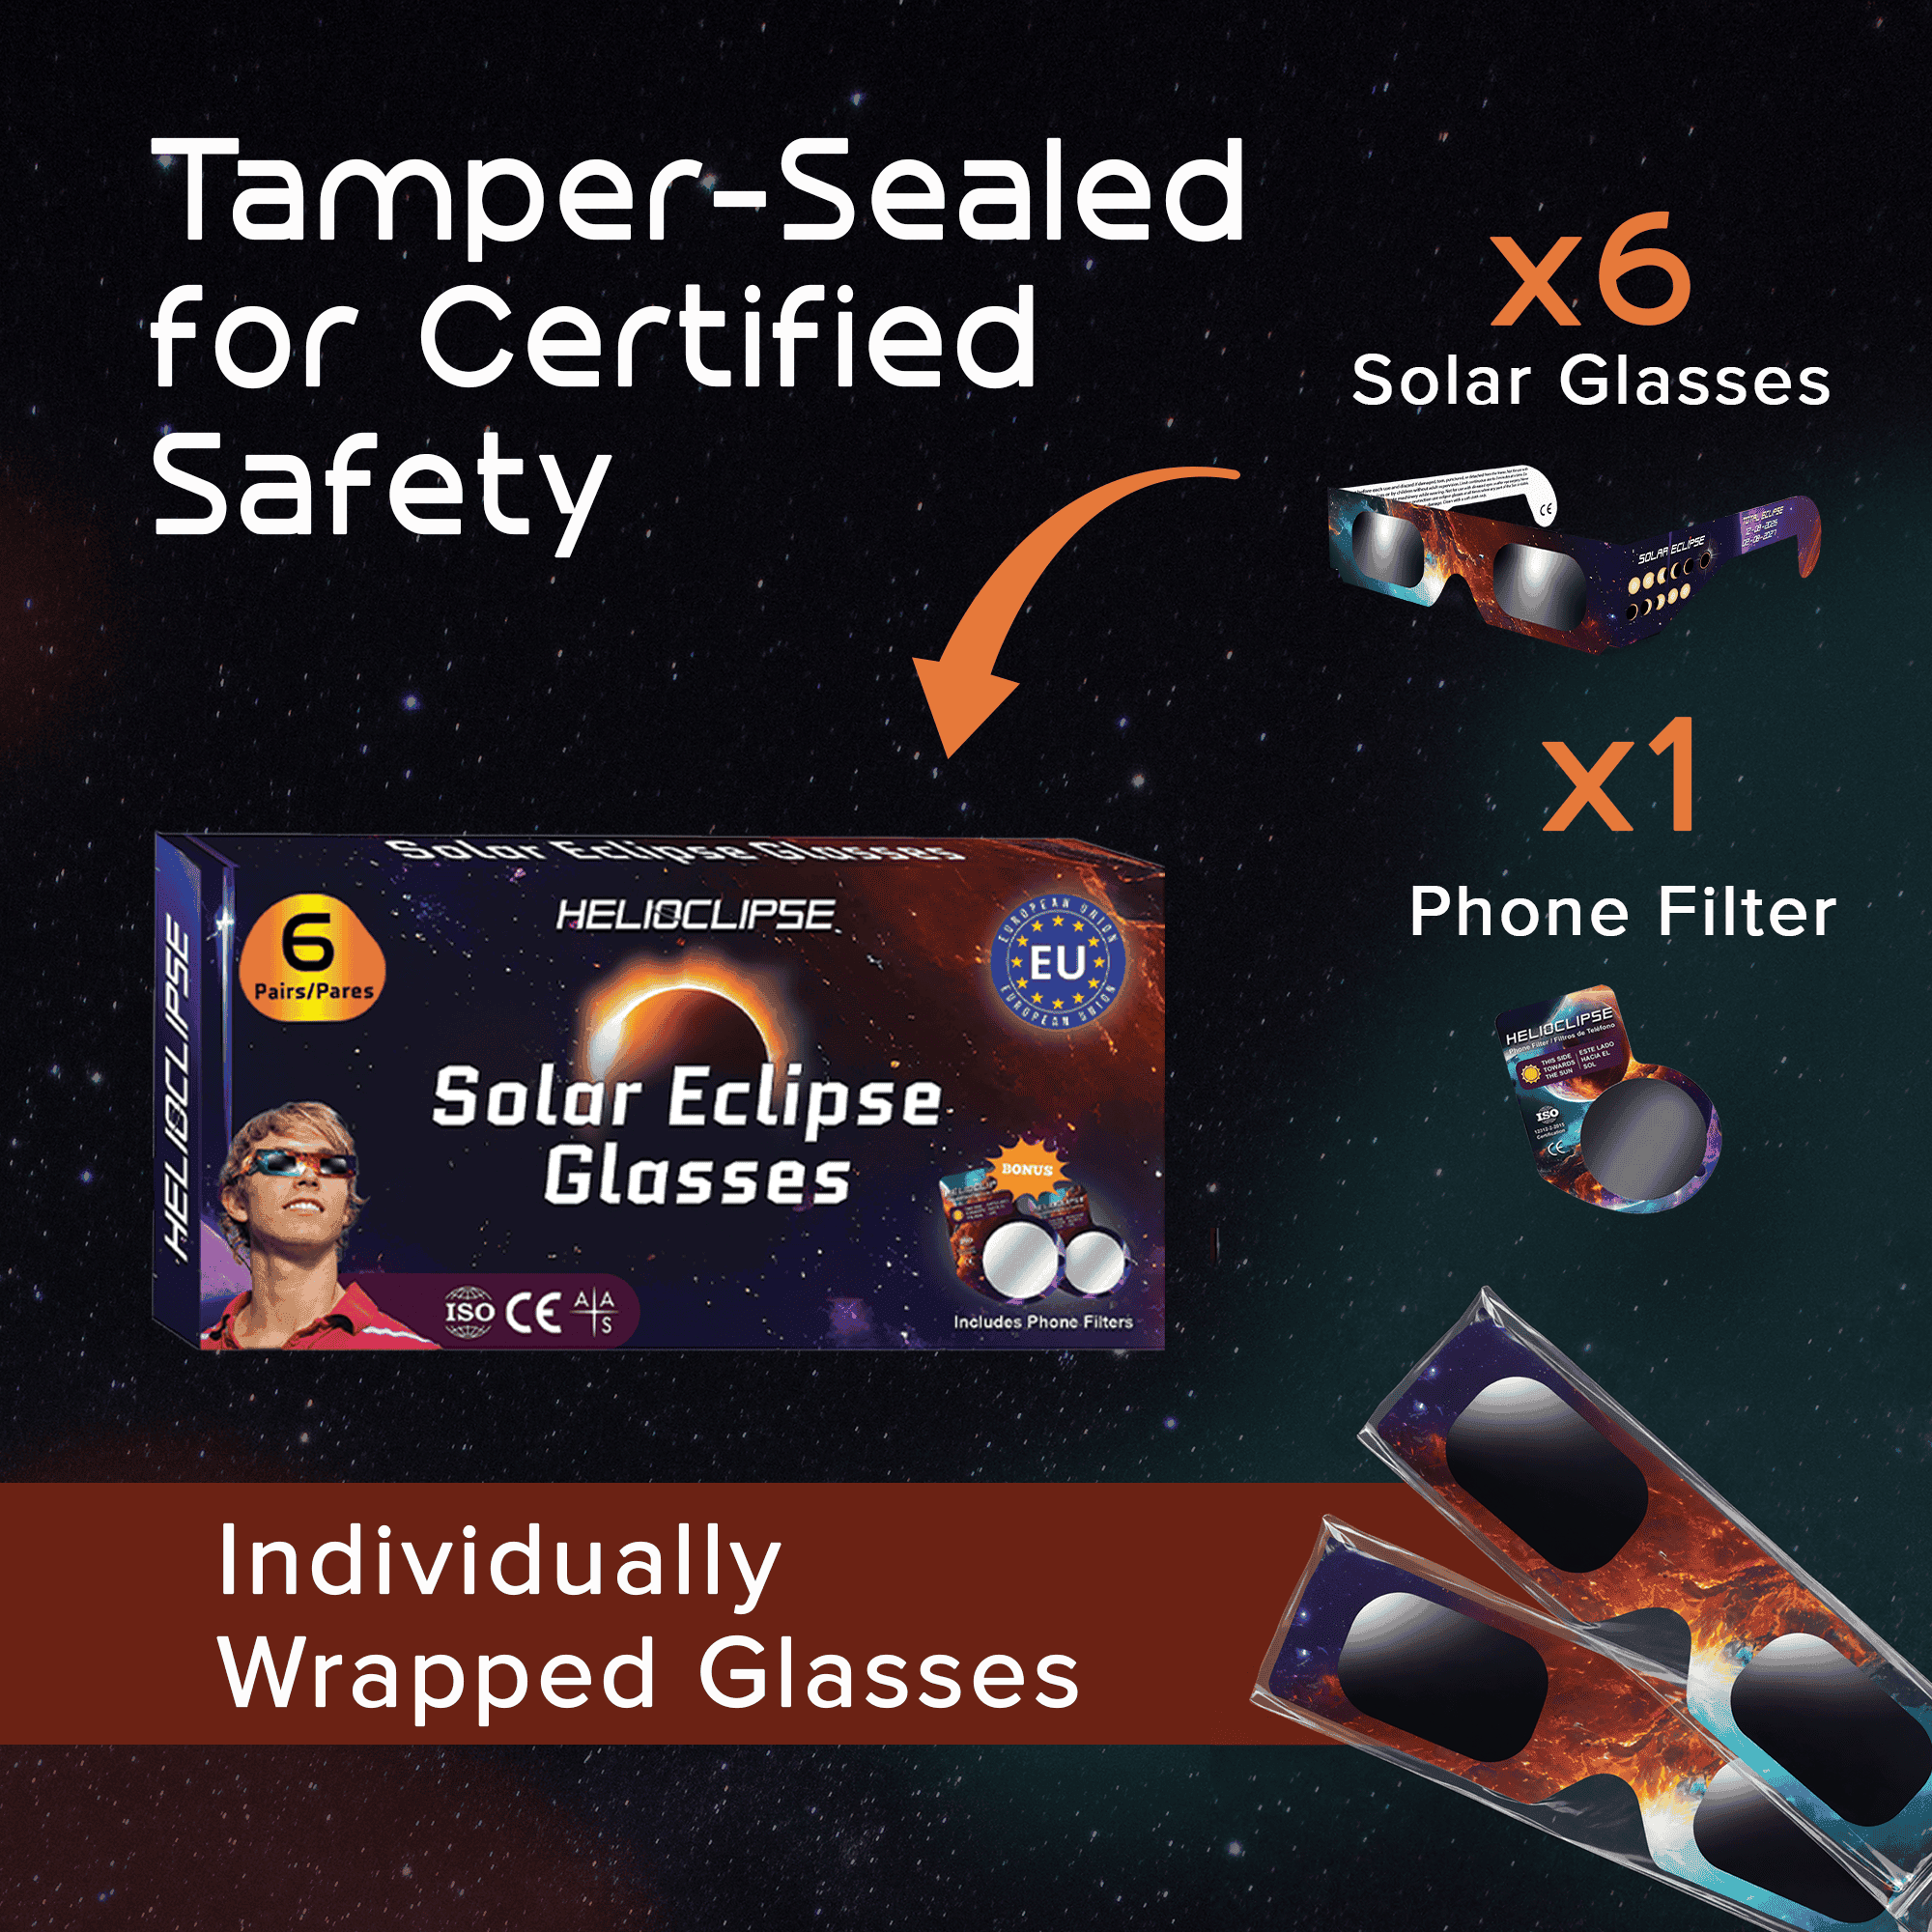
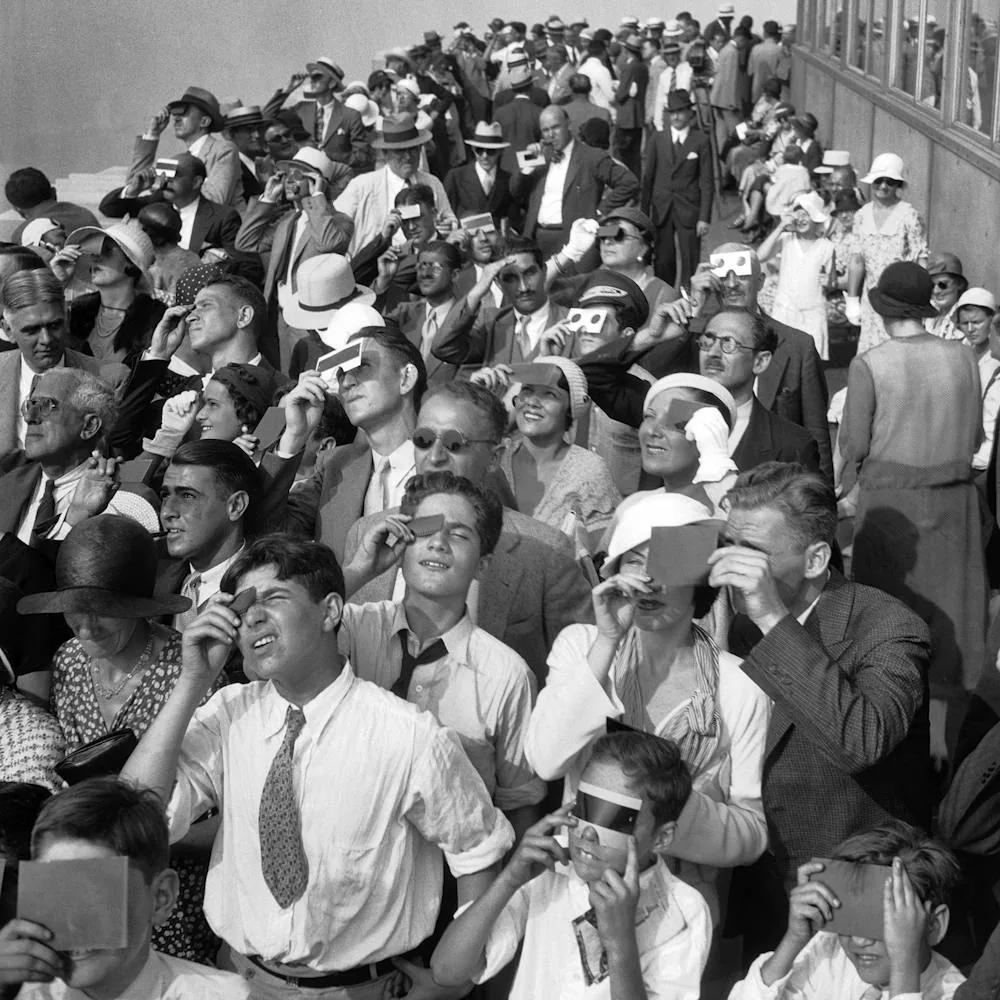
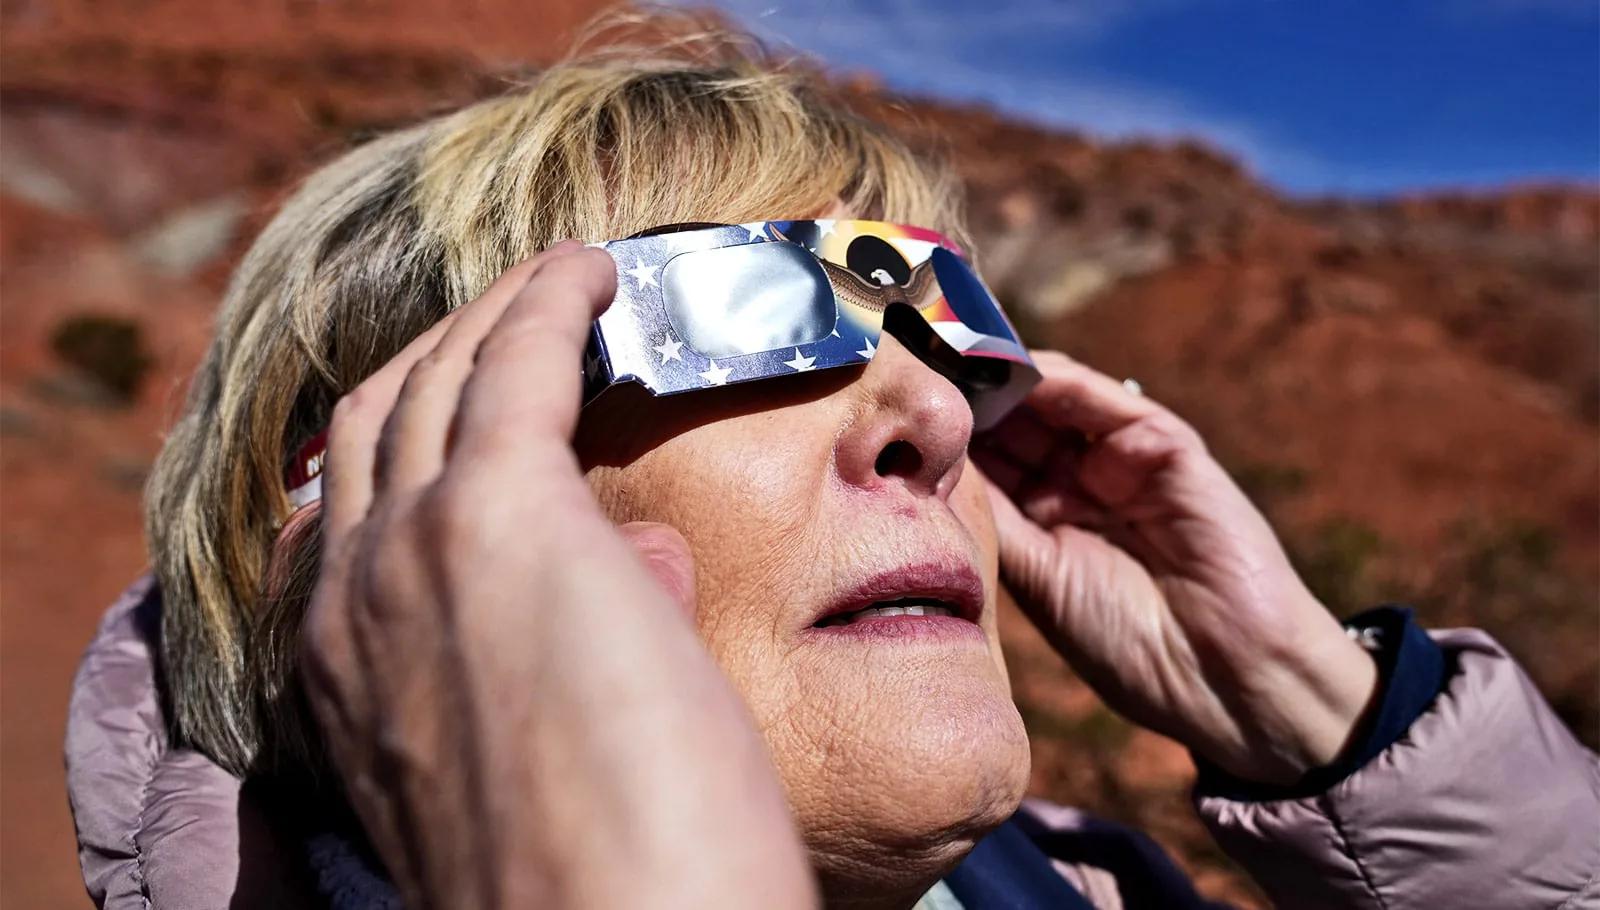
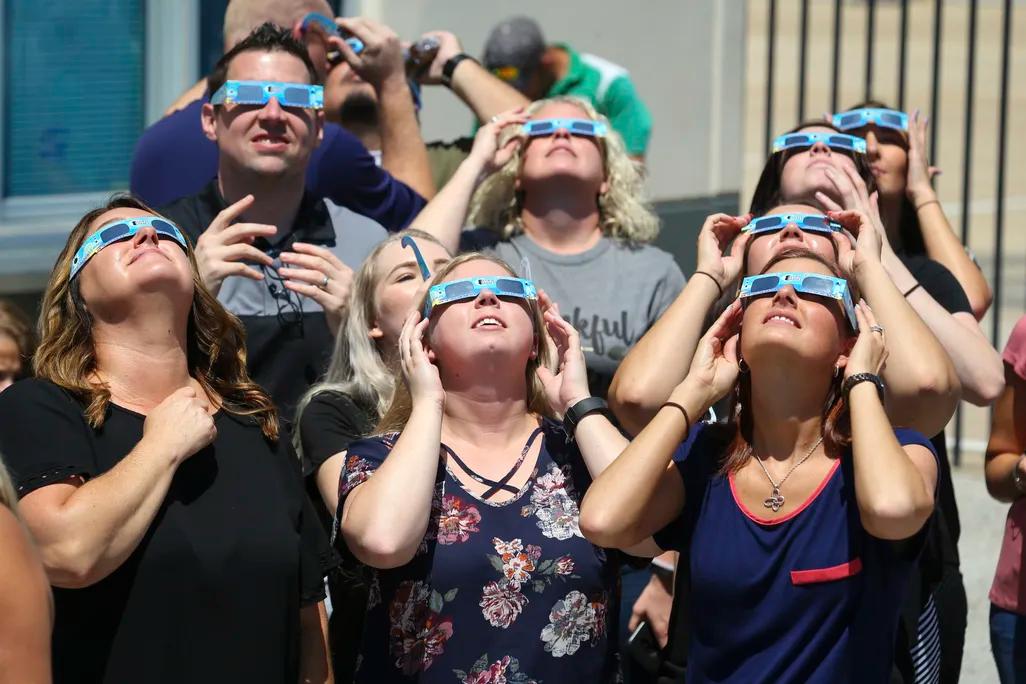
If you are also bringing viewers for family or friends, buy them early and sanity-check them carefully. Our guide to ISO 12312-2 and eclipse viewers: what the standard means for your family explains what to verify, and our guide to fake and low-quality eclipse glasses covers common red flags.
What filter actually belongs on a camera?
The phrase mirrorless camera solar eclipse filter sounds simple, but it hides an important distinction: a filter that makes a usable image is not automatically a filter that is safe for direct visual viewing, and a filter that is safe for your eyes is not something you should casually adapt to a camera without understanding how it mounts and what it is designed to do.
For eclipse photography, the safe baseline is a special-purpose solar filter mounted securely over the front of the lens or telescope. Front filter placement, live view cautions, never eclipse planning may sound like shorthand, but it is really the whole beginner checklist in one line: put the filter on the front, be careful how you compose, and never build your plan around unfiltered aiming.
A proper front-mounted solar filter reduces the Sun’s intensity before the light enters the lens. That protects the optical system and gives your camera a scene it can actually expose. By contrast, ordinary sunglasses, stacked ND filters, smoked plastic, exposed film, or “it looks dark enough” hacks are not acceptable substitutes.
If you are shopping, you will see confusing language online. Some buyers search for approved solar eclipse glasses, eclipse viewing glasses, or solar eclipse glasses iso 12312-2 certified. Those phrases matter for eye protection, not for a telephoto lens. A camera filter and eclipse glasses are related by purpose, but they are not interchangeable objects.
Mirrorless vs DSLR: the safety difference is real, but it does not make mirrorless foolproof
A mirrorless eclipse setup does have one practical advantage over a DSLR: you are usually composing on the rear screen or electronic viewfinder rather than through a direct optical path. That reduces one obvious eye-risk scenario.
But “safer than an optical viewfinder” is not the same as “safe no matter what.” A mirrorless camera solar eclipse workflow still needs a front-mounted solar filter during all partial phases. The sensor is active during live view, and the lens is still concentrating sunlight. You are not exempt from solar discipline because the camera body is newer.
With a DSLR, the caution is even more obvious. If the camera uses an optical viewfinder, you should not look through it at the Sun unless the entire optical system is properly filtered at the front. That is why many eclipse guides push DSLR users toward Live View on the rear screen for solar work. The camera may differ, but the Sun does not care.
This is where a lot of forum confusion starts. You will find threads titled mirrorless camera solar filter eclipse photos reddit or debates over whether one body type is “safe enough.” The useful answer is boring but reliable: neither mirrorless nor DSLR changes the need for a secure front-mounted solar filter during partial phases.
Front filter placement: why this rule is so strict
The phrase “front filter placement” gets repeated because it solves the main hazard at the correct point in the light path.
A solar filter belongs over the front element of the lens, binoculars, spotting scope, or telescope. That way, most of the Sun’s energy is rejected before it enters the system. If you place something inadequate farther back, the optics have already concentrated the light and heat. That is exactly what you are trying to avoid.
For beginners, the practical checklist is simple:
- The filter should fit snugly over the front of the lens.
- It should not wobble or slide off if the lens points upward.
- It should be inspected before use for tears, punctures, scratches, or looseness.
- You should rehearse attaching and removing it before eclipse day.
If you are photographing a total solar eclipse from inside the path of totality, you also need a plan for the brief moment when the filter comes off for totality and goes back on immediately as the bright Sun reappears. If you are outside totality, there is no “filter-off” phase at all. That distinction is worth understanding in advance, and our guide to when glasses on, when glasses off is a good companion read.
Partial eclipse vs totality: the gear decision that changes everything
This is the biggest beginner misunderstanding in eclipse photography.
For a partial eclipse, or for the partial phases before and after totality, the Sun is still overwhelmingly bright. Your solar filter stays on. Your exposure strategy is built around a filtered Sun. Your eyes stay protected when viewing directly.
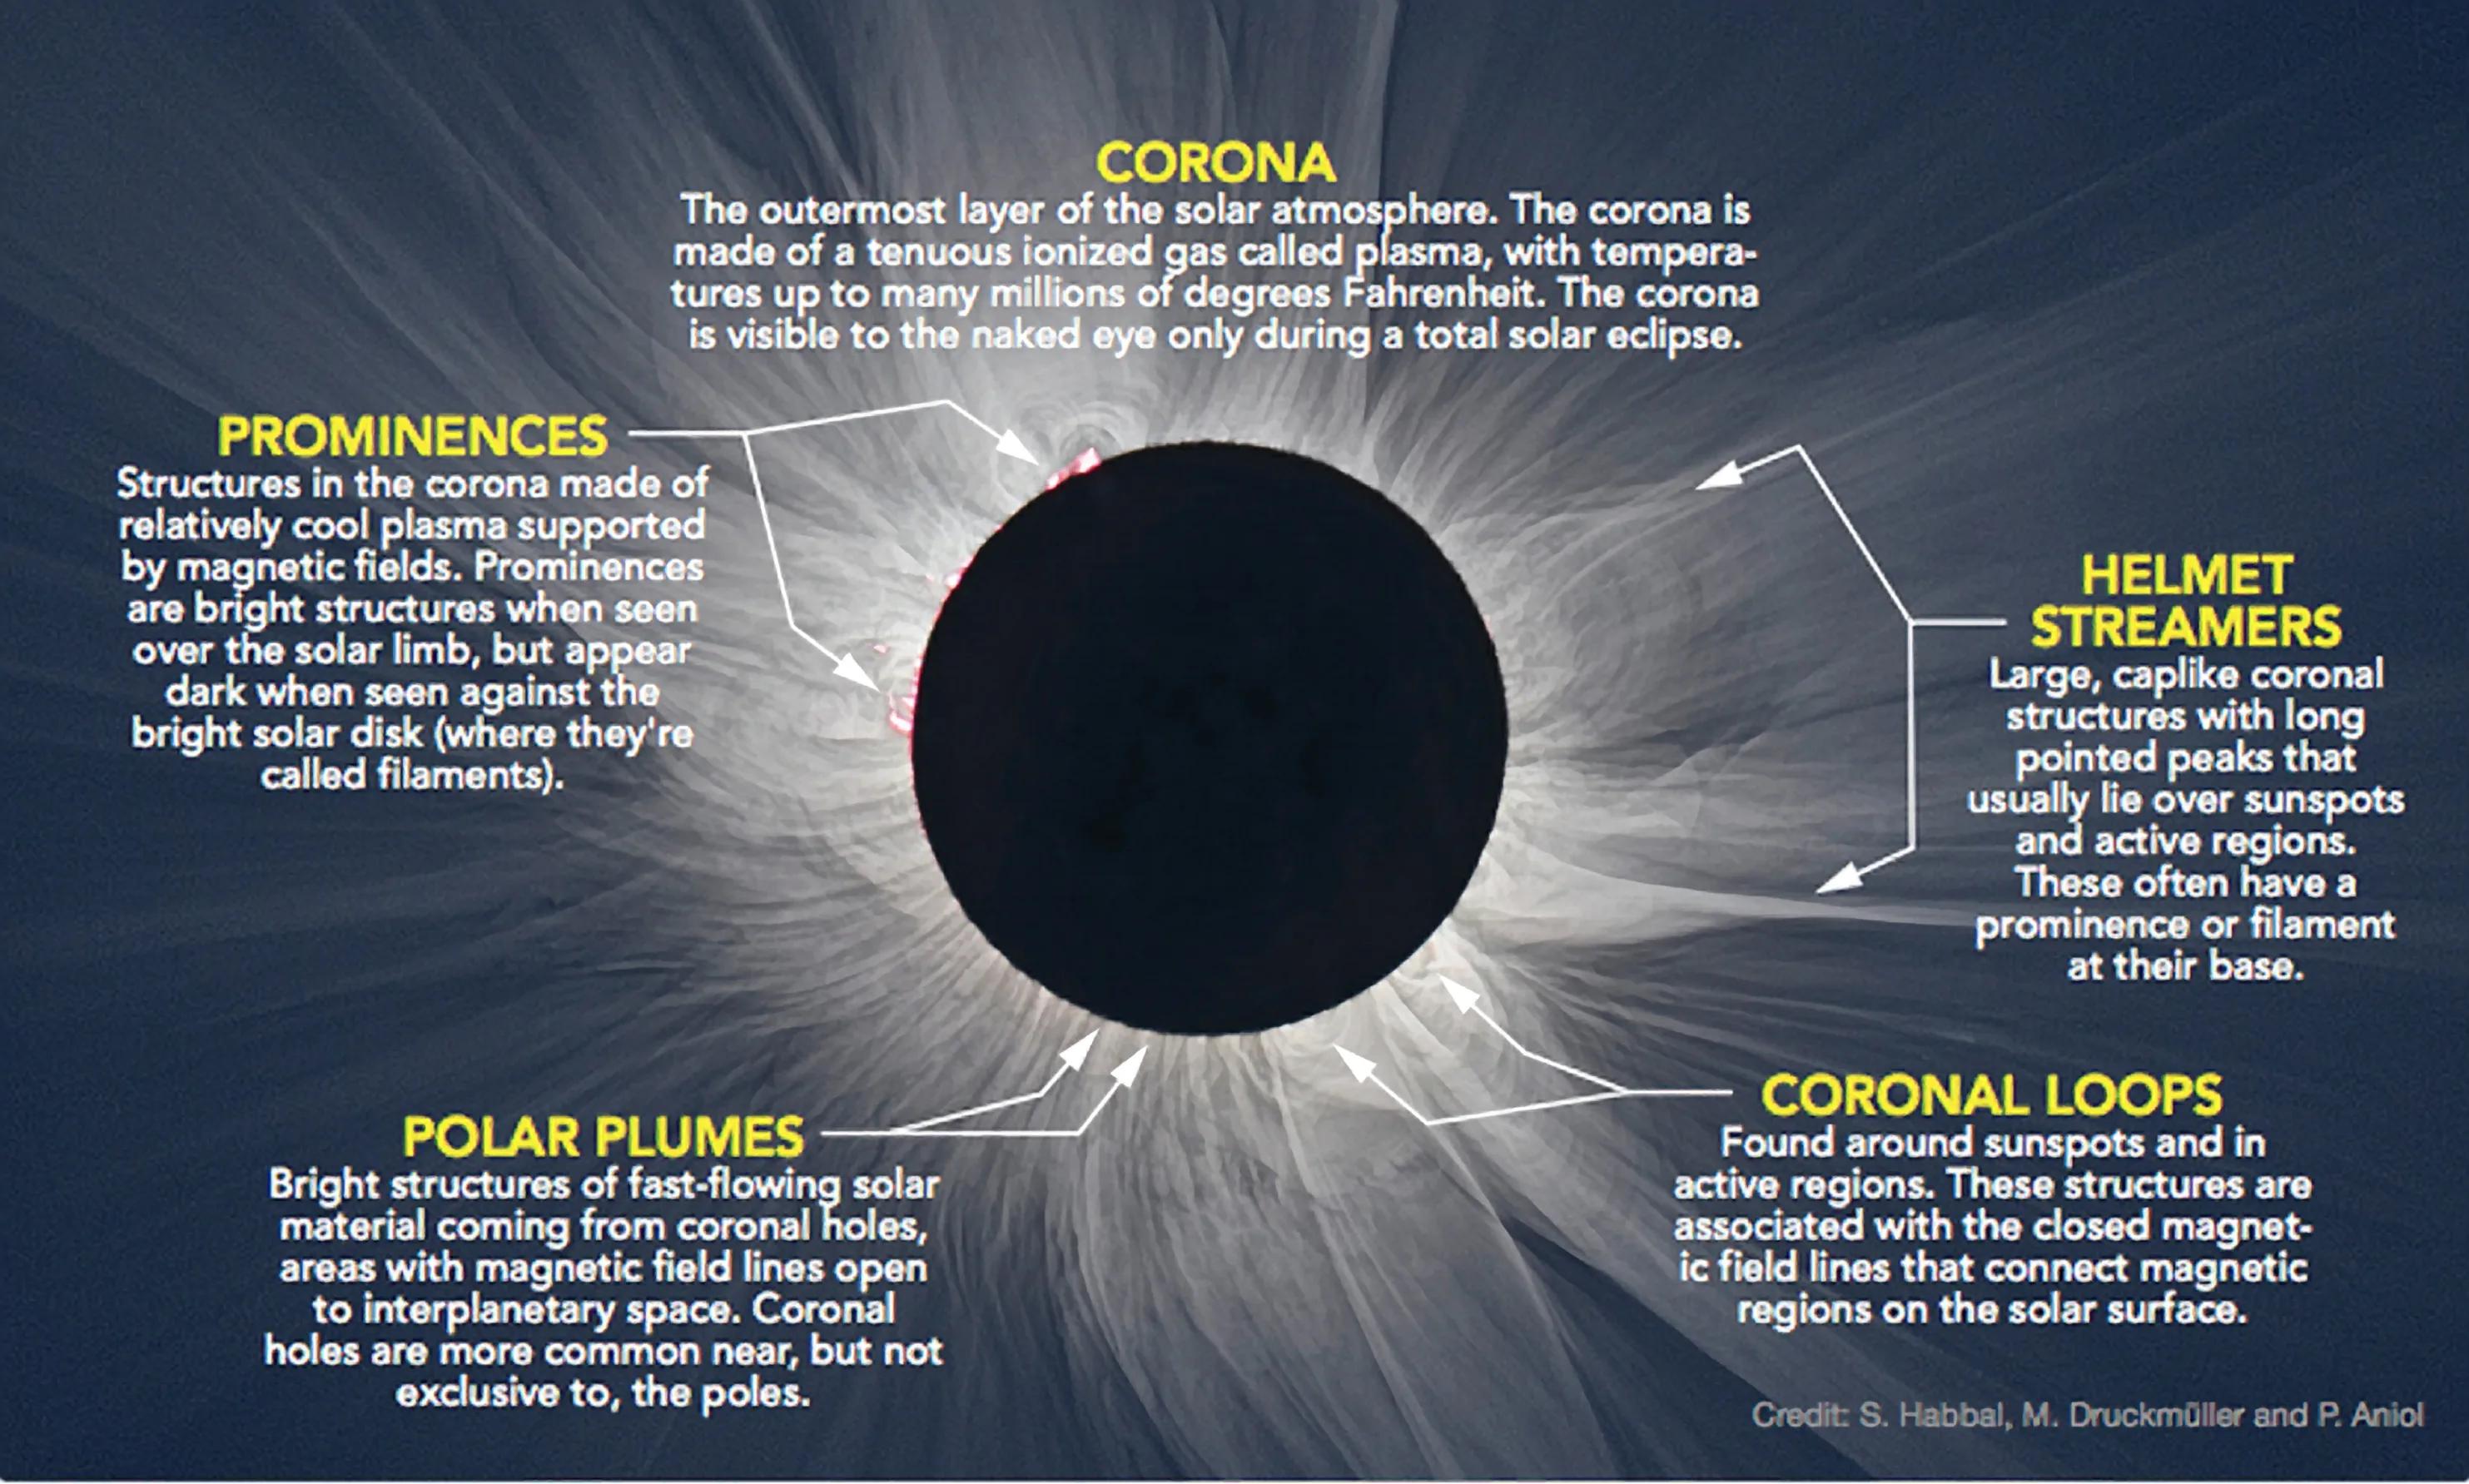
For totality, if and only if you are physically inside the path where the Moon completely covers the Sun’s bright face, the scene changes dramatically. The corona, prominences, and chromosphere become visible because the bright solar disk is gone. That is the brief interval when photographers inside totality remove the front solar filter to photograph the corona. Then, the instant bright sunlight returns, the filter goes back on.
This is why planning matters as much as gear. On August 12, 2026, for example, Spain will have a narrow path of totality while many surrounding areas will see only a partial eclipse. In a city inside the path, you may get on the order of minutes of totality; outside it, you get none. That is not a small technical difference. It is the difference between photographing a filtered crescent Sun and photographing the corona itself. If you are still deciding where to stand, our August 12, 2026 total solar eclipse planning guide and 2026 totality in Spain: path basics, timing, and what “on the centerline” really means will help you sort out the geometry.
What is the best camera for eclipse photography?
People often ask, “what is the best camera for eclipse photography?” The honest answer is not a specific model. The best camera is the one you can operate confidently in manual or semi-manual mode, with a lens you understand, on a support system you have already tested.
A modern mirrorless camera solar eclipse setup is excellent if it gives you reliable live view, manual exposure control, RAW capture, and easy magnified focusing. A DSLR can do the job just as well if you know how to use Live View safely and disable habits that work for everyday photography but fail on the Sun.
What matters more than brand is control:
- manual or aperture-priority shooting
- RAW capture
- low ISO options
- easy exposure bracketing
- magnified manual focus
- a sturdy tripod
- a remote release or self-timer
That is why “best mirrorless camera solar filter eclipse photos” is the wrong question if it distracts you from preparation. A well-practiced midrange body will beat an unfamiliar flagship camera every time.
And yes, if you shoot a specific system, you can absolutely make good nikon mirrorless camera solar filter eclipse photos, Canon mirrorless images, Sony images, or DSLR images. The eclipse does not reward logo loyalty. It rewards rehearsal.
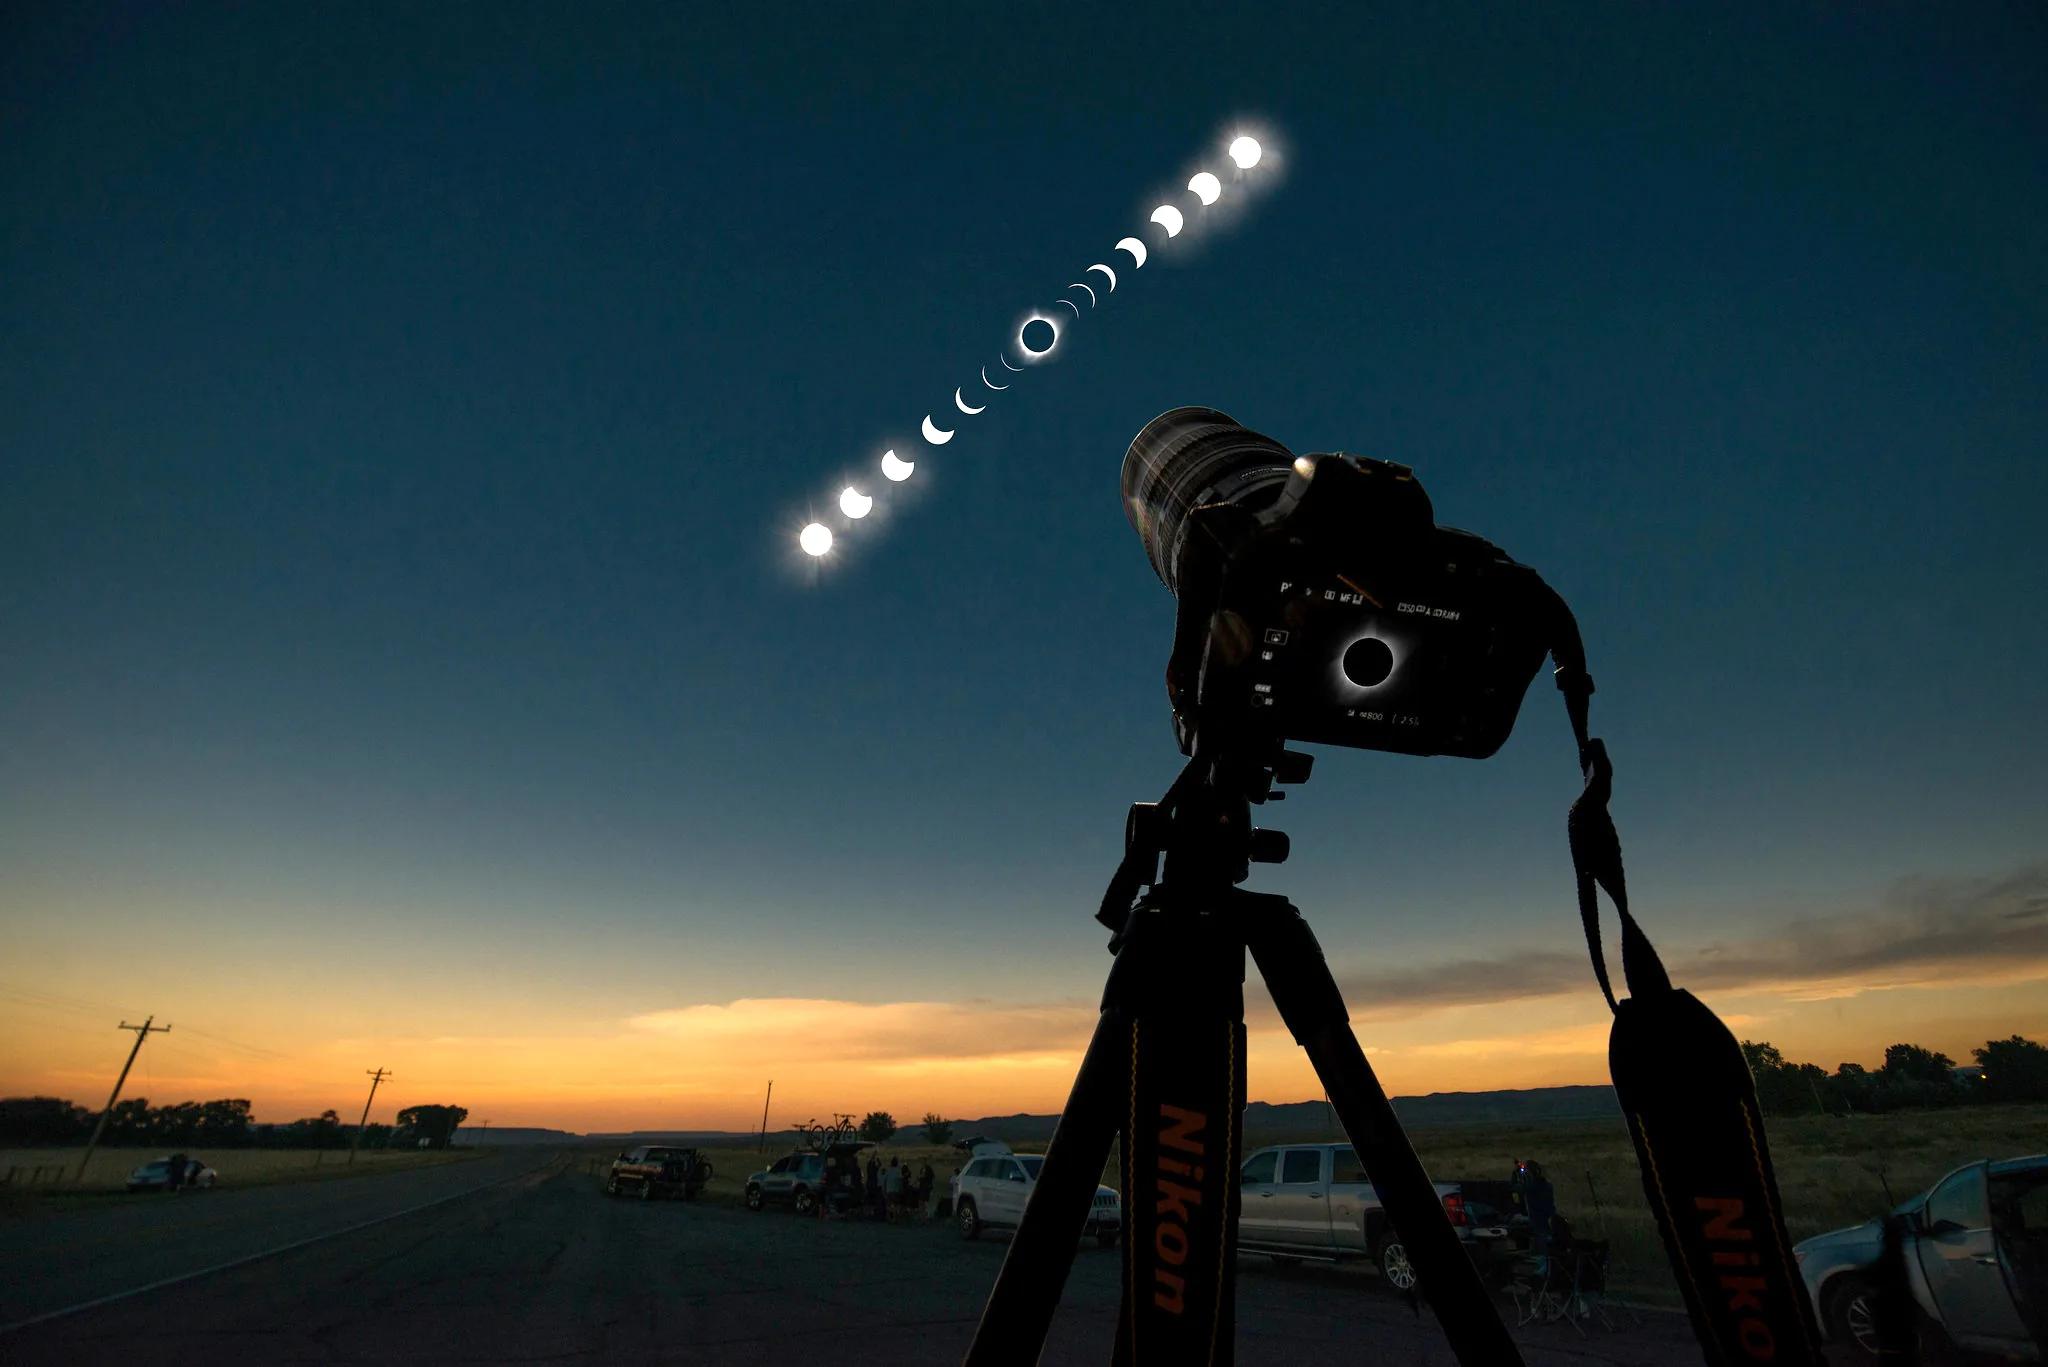
Focal length: bigger is not always better
Beginners often assume the longest possible lens is automatically best. Sometimes it is just the fastest route to frustration.
At around 200 to 300 mm on a full-frame equivalent, the Sun is still fairly small in the frame, but the setup is manageable. Around 400 to 800 mm, you start getting a much more satisfying solar disk size while still leaving yourself some tolerance for drift and framing errors. Push much longer, and every tiny vibration, tracking error, and composition mistake becomes more punishing.
There is also a totality-specific trap here. During totality, the corona extends well beyond the black disk of the Moon. If your framing is too tight, you can clip the very structure that makes totality visually unforgettable. A beginner who spends the whole event chasing the biggest possible disk may come home with a technically sharp but emotionally cramped image.
So when someone asks about a mirrorless solar filter setup for eclipse photography, the answer is not “longest lens wins.” It is “pick a focal length you can actually manage, and match it to the phase you want to photograph.”
Exposure mindset: stop hunting for one magic setting
The phrase mirrorless camera solar eclipse settings gets searched constantly because people want a clean recipe. The problem is that eclipse photography is not one lighting condition.
For the filtered partial phases, many guides converge on a sensible starting point: low ISO, a mid-range aperture such as roughly f/5.6 to f/8, and shutter speed adjusted to keep the solar disk well exposed without clipping highlights. Some photographers stop down a bit more, into the f/8 to f/11 range, for lens sharpness. The exact shutter speed depends on your filter, lens, haze, altitude of the Sun, and how stable your support is.
That is why your mindset matters more than memorizing a number. Watch the histogram. Avoid blown highlights on the solar disk. Bracket exposures if your camera makes that easy. Test on the uneclipsed Sun before eclipse day.
For totality, everything changes. The corona spans a huge brightness range from the bright inner regions near the lunar limb to much fainter outer streamers. One exposure will not capture all of it. This is where bracketing becomes genuinely useful, and where a rehearsed sequence matters more than improvisation.
If you want a practical starting framework for filtered partial phases, try this:
- ISO 100 to 400
- aperture around f/5.6 to f/8
- shutter speed determined by test shots and histogram
- RAW capture on
- spot metering or careful manual exposure
- bracketing enabled if available
That is not a universal prescription. It is a disciplined starting point.
Live View cautions: useful tool, not a permission slip
Live View is helpful because it lets you compose on a screen instead of putting your eye behind an optical viewfinder. For DSLR users, that can be a major safety improvement. For mirrorless users, it is the normal way of working anyway.
But live view cautions matter. Do not treat the rear screen as proof that your setup is safe. The lens is still pointed at the Sun. The filter still needs to be on the front. The camera still needs breaks from unnecessary prolonged exposure if you are not actively shooting. And autofocus may still struggle or hunt.
Manual focus is usually the better choice. Use magnified view if your camera offers it. Focus on the solar limb or on sunspots if visible. Once you have sharp focus, avoid touching the ring again, and if needed, tape the focus ring lightly so it does not drift.
This is one of those areas where mirrorless and dslr eclipse photography solar filters exposure mindset ands sounds awkward as a phrase, but the underlying idea is solid: the camera body matters less than the discipline of filtered optics, stable support, and repeatable technique.
The beginner pitfalls that ruin more eclipses than bad weather
1. Taking your first solar test shot on eclipse day
Do not do this. Practice on the uneclipsed Sun days or weeks in advance. You are not practicing the eclipse itself; you are practicing your menu system, your focus routine, your tripod handling, and your filter workflow.
2. Trusting autofocus
Autofocus may work, then fail, then hunt at the worst moment. Manual focus with magnification is usually more dependable.
3. Leaving stabilization on when the camera is tripod-mounted
Many lenses and bodies behave better with stabilization off on a solid tripod. Some systems handle tripod use well; some do not. Test your own gear beforehand rather than assuming.
4. Using too much focal length
A giant crop of the Sun sounds impressive until the disk drifts out of frame or the corona gets cut off during totality.
5. Forgetting the filter transition plan
If you are in totality, rehearse exactly when the filter comes off and when it goes back on. If you are not in totality, there is no transition to rehearse because the filter stays on the whole time.
6. Watching the camera instead of the sky
This may be the most human mistake of all. If something goes wrong and the fix will take more than a few seconds, stop. Look up safely and experience the eclipse. You can recover from a missed frame more easily than from missing totality itself.
A simple workflow for your first eclipse
If you want a calm, beginner-friendly plan for a mirrorless camera solar filter eclipse photos session, keep it simple.
Before eclipse day
- Confirm whether your location is in partial eclipse or totality using the Helioclipse 3D map.
- Practice with your exact lens, filter, tripod, and remote release.
- Save a custom camera mode if your body allows it.
- Charge batteries and clear memory cards.
- Inspect the filter and mounting method.
On eclipse day during partial phases
- Mount the solar filter on the front of the lens.
- Use Live View or mirrorless screen composition.
- Focus manually using magnification.
- Shoot RAW.
- Start with low ISO and a moderate aperture.
- Check histogram and bracket lightly if needed.
If you are inside totality
- Keep the filter on until the Sun’s bright face is fully covered.
- Remove the filter only for totality.
- Use a bracketed sequence if you have rehearsed one.
- Put the filter back on the instant bright sunlight returns.
That is the whole game. Not glamorous, but effective.
What about phones, apps, and quick hacks?
A lot of people search for mirrorless camera solar filter eclipse photos app because they want an app to simplify timing or automate capture. An app can help with reminders, interval shooting, or planning, but it cannot fix unsafe optics or replace practice.
The same goes for phone-based shortcuts. Yes, some people photograph the eclipse indirectly or through safe viewing methods, but a phone is not a magic exception to solar safety. If you are using a phone by itself for scenic shots, that is one thing. If you are putting any magnifying optics between the Sun and the sensor, you need to understand the filtration and mounting method.
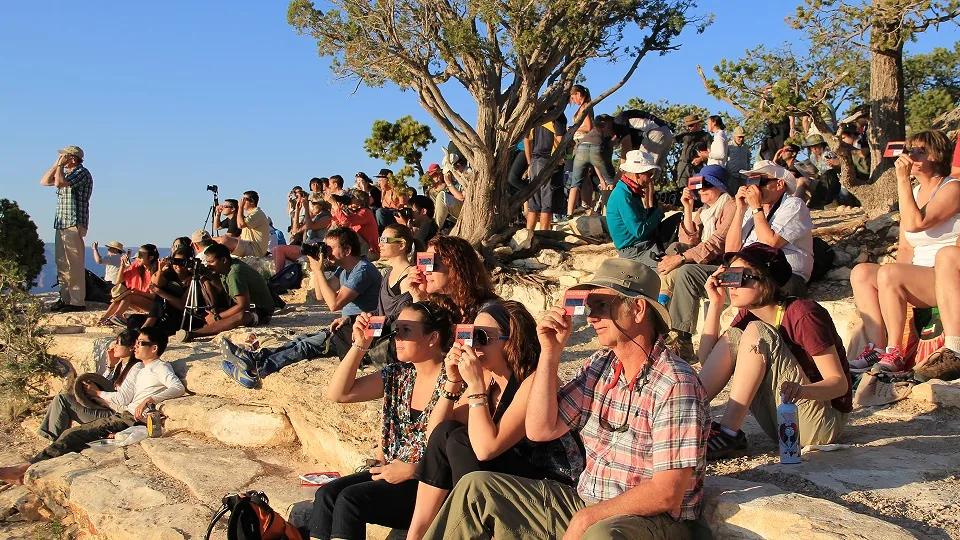
And if you do not have camera gear ready, remember that indirect viewing is still a great way to enjoy the partial phases. NASA and the AAS both recommend pinhole projection as a safe backup. Not every eclipse memory has to be a telephoto close-up.
Planning matters more than people think
The best places and timing for mirrorless camera solar filter eclipse photos are not just about scenery. They are about eclipse geometry.
A total eclipse gives you a radically different photographic target from a partial eclipse. Inside the path of totality, you may have only a few minutes to work, but those minutes include the corona and the strange, fast-changing light that make totality unique. Outside the path, even a deep partial eclipse remains a filtered-Sun event from start to finish.
That is why we always recommend checking your exact location rather than assuming a whole country or region gets the same experience. For 2026, for example, northern Spain’s path geometry matters enormously, and weather mobility may matter too. If you are building a travel plan, read our guide to eclipse travel without the chaos and our guide to cloud cover and eclipse day.
The shopping mindset: what to buy, and what not to confuse
You do not need a mountain of gear to make a good eclipse photo. You do need the right categories of gear, clearly separated in your mind.
For your eyes, use certified solar viewers that meet the relevant standard for direct solar viewing. For your camera, use a proper front-mounted solar filter designed for solar imaging. For your support, prioritize a stable tripod and a remote release or self-timer. For your workflow, prioritize practice.
If you are also outfitting a group, school, or family, this is where it helps to keep product language straight. People shopping for solar eclipse glasses iso 12312-2 certified or certified solar eclipse glasses are solving the viewing problem, not the telephoto-lens problem. We keep our Shop eclipse glasses focused on safe viewing needs so you can sort family viewing and camera prep separately instead of mixing them up at the last minute.
Solar Eclipse Photography Tips from Nikon | 2024 Camera ...
Nikon USA
Frequently asked questions
Is a mirrorless or DSLR camera better for eclipse photography?
Either can work, as long as you use it safely and understand the eclipse phase you are photographing. The key is not the camera type itself, but using a proper solar filter on the front of the lens for partial phases and following the correct workflow for totality versus partial eclipse.
What camera settings should I use for solar eclipse photos?
The excerpt does not give specific exposure settings, so there is no single recommended setting here. It does say not to rush or improvise, and to plan ahead based on whether you are photographing a partial eclipse or true totality, since that changes your camera workflow.
What safety steps should I take before looking at or photographing the eclipse?
Do not look directly at the Sun without proper solar viewing protection except during the brief total phase of a total solar eclipse. If you are using a camera, binoculars, or a telescope, put the solar filter on the front of the optics and never point unfiltered magnifying optics at the Sun, even for a quick framing check.
What part of the Sun is hidden during a solar eclipse?
A solar eclipse is when the Moon blocks the Sun from view, either partly or completely depending on the event. The excerpt notes that whether you have a partial eclipse or true totality changes both what you see and how you should handle your camera.
How should I plan if clouds or local conditions might affect visibility?
The excerpt does not discuss weather forecasting, but it does recommend planning ahead so you know whether you are dealing with a partial eclipse or totality. It also suggests checking an eclipse map in advance so you can prepare the right viewing and camera workflow for your location.
On-site next steps
- Use the Helioclipse Eclipse Explorer / 3D map to confirm whether your location gets a partial eclipse or true totality. That one detail determines whether your camera filter ever comes off.
- If you still need safe viewers for your group, visit our solar eclipse glasses shop and order early, especially if you are planning with kids, a school, or a larger family gathering.
- For more planning and safety reading, browse the Helioclipse blog. A good next step is understanding eclipse phases, totality timing, and how to avoid fake or low-quality viewers.
Sources & further reading
- How to photograph a solar eclipse — Space.com
- How to safely photograph the sun: As detailed by an expert — Space.com
- How to Shoot Solar-Eclipse Images & Videos — American Astronomical Society
- Expert tips for how to take photos of the eclipse — Astronomy Magazine
- Tips for Photographing a Total Solar Eclipse — Sky & Telescope
- Eclipse Viewing Safety — NASA Science
- Eclipses — NASA Science
- What to Expect: A Solar Eclipse Guide — NASA Science
- How to view a solar eclipse safely — American Astronomical Society
- Total Solar Eclipse FAQ — NASA Science