From snapshot to serious: solar filters, tripods, and the beginner’s upgrade path
A lot of people start eclipse photography the same way: with a phone in one hand, a pair of eclipse glasses in the other, and a vague plan to “get a few photos.” That is a perfectly good place to begin. But if you want to move from a souvenir snapshot to a deliberate, repeatable setup, the upgrade path is not mainly about buying more gear. It is about understanding one rule first: optical safety comes before image quality, and it comes before worries about your camera sensor.
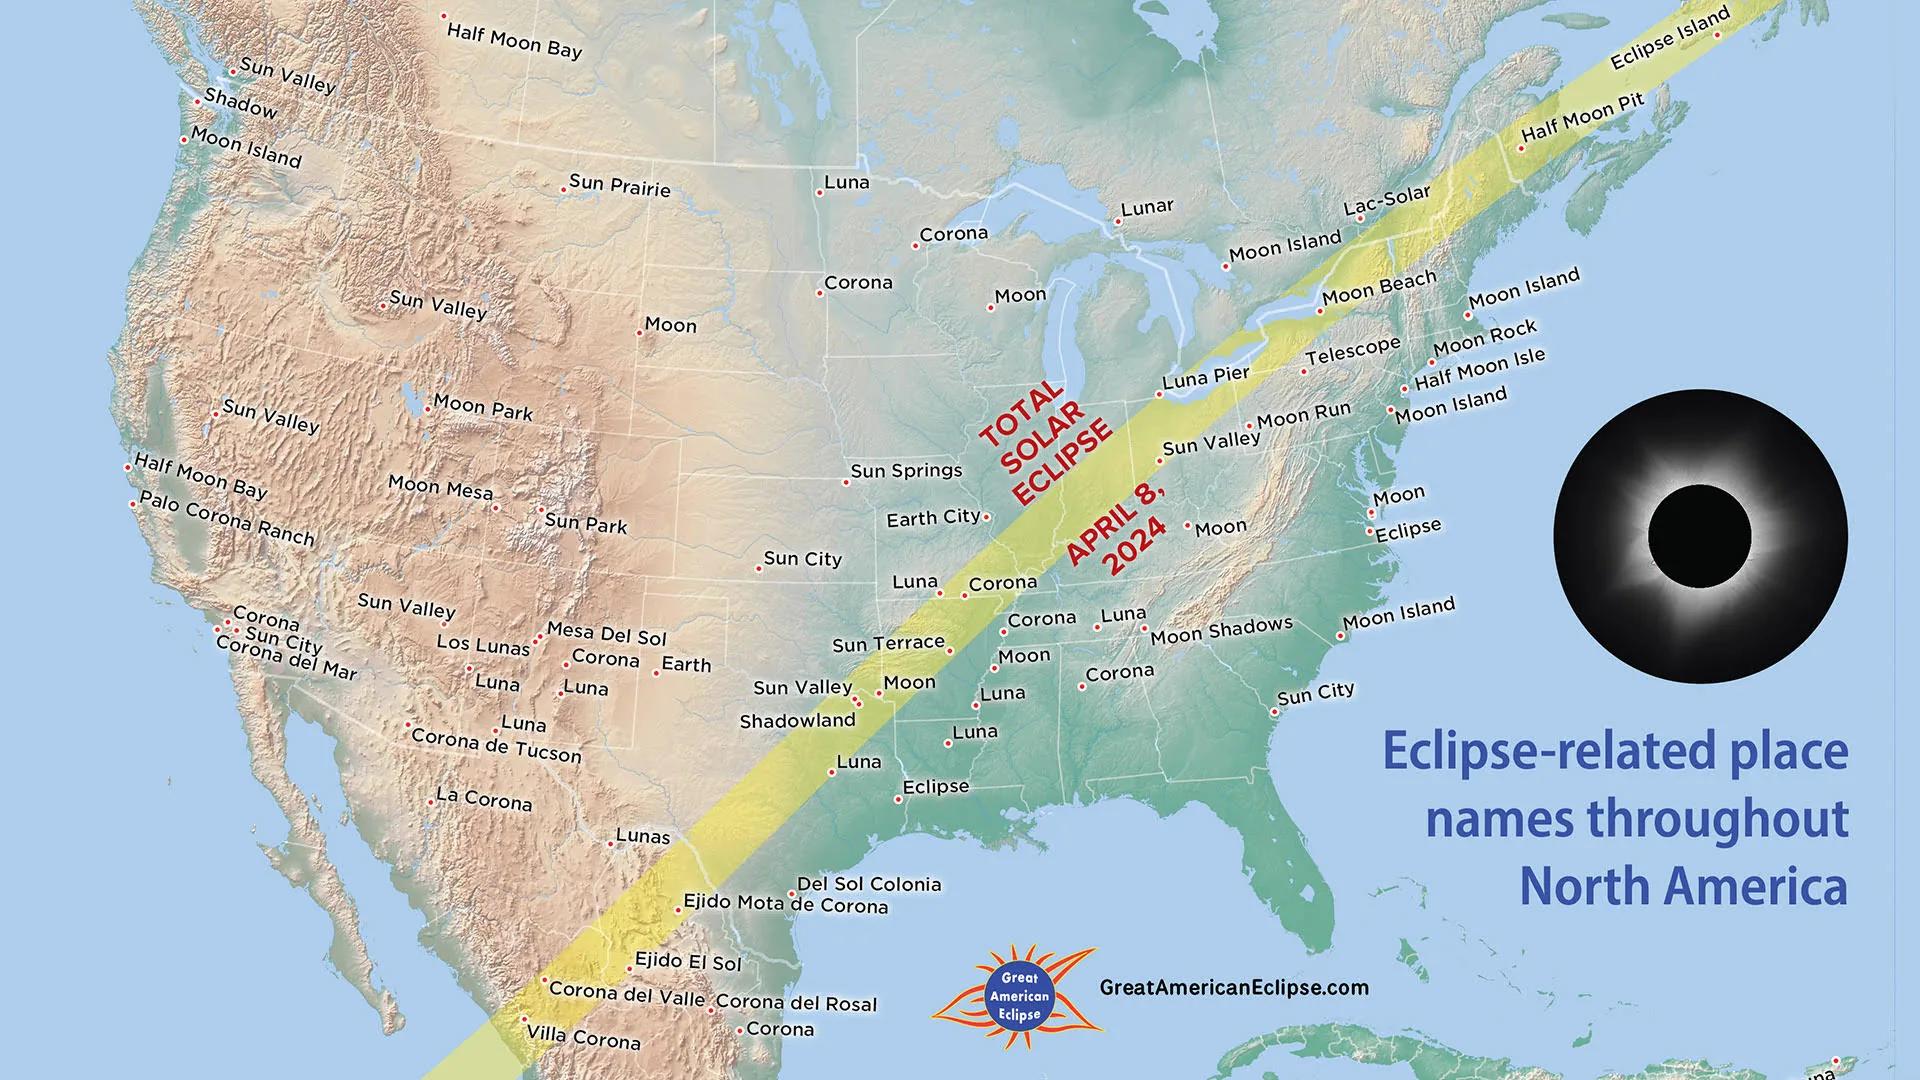
That is the heart of any real solar eclipse photography solar filter telescope beginner 2026 guide. Before you think about focal length, sharpness, or whether you need a mount, make sure you know what belongs on the front of your optics, what never belongs at the eyepiece, and when filters stay on or come off. If you are still deciding where you will watch from, our Eclipse Explorer / 3D map helps you check whether your location is in totality or only a partial eclipse, because that changes both the experience and the photography plan.
If you are bringing family or friends, tell them early that photography should never crowd out safe viewing. For first-timers especially, we would rather help you come home with one decent image and a vivid memory than a complicated setup that steals the event.
Start with the rule that matters most: filter the light before it enters the optics
The safest mental model is simple: if any bright part of the Sun is visible, the dangerous light has to be stopped before it enters your camera lens, binoculars, or telescope. The American Astronomical Society and NASA both make the same point clearly: solar filters for optics must be secured over the front of the instrument, not near your eye and not improvised somewhere in the middle of the optical path.
That is why a proper solar photography filter is a front-mounted filter. It reduces the Sun’s light and heat before your optics concentrate it. This protects your eyes, helps protect equipment, and gives your camera a manageable scene to expose.
What does not count? Eyepiece “sun filters,” stacked sunglasses, neutral-density filters meant for normal photography, smoked glass, exposed film, emergency blankets, or homemade hacks that were never designed for direct solar use. AAS specifically warns that old eyepiece-end solar filters supplied with cheap telescopes are dangerous because concentrated sunlight can crack or burn through them.
If you remember only one sentence from this article, make it this one: the filter goes on the front.
Optical safety before sensor concerns
People often ask whether an eclipse will “damage the sensor.” It can, but that question is actually downstream of the bigger problem. The first risk is unsafe light entering the optical system at all. NASA’s safety guidance is blunt: viewing any part of the bright Sun through a camera lens, binoculars, or telescope without a special-purpose solar filter secured over the front of the optics can cause severe eye injury.
That is why we say optical safety before sensor concerns. A telephoto lens or telescope does not just make the Sun look bigger; it concentrates sunlight. The same physics that helps you resolve detail also raises the stakes if you do it wrong.
This is also where many beginners get confused by mixed advice online. You may see threads that sound like solar eclipse photography solar filter telescope beginner reddit distilled into a hundred opinions. Some of those discussions are useful for workflow ideas, but safety should come from institutions and experienced eclipse guidance, not from whoever sounds confident in a comment chain.
If you want a plain-language foundation before you shoot, our guide to When glasses on, when glasses off: eclipse phases explained for first-time viewers is worth reading alongside this one.
The real beginner path: phone, tripod, telephoto, then telescope
A good upgrade path is not “cheap gear” to “expensive gear.” It is “simple enough to use well” to “specialized enough to justify the complexity.” For most people, the path looks like this:
1. Phone snapshot
This is the easiest first step, and for many families it is enough. A phone can record the atmosphere, the crowd, the changing light, and—if you use safe methods—the partial phases as a small but recognizable Sun.
The key limitation is scale. A phone lens is wide, so the eclipsed Sun stays tiny in the frame. That is fine if your goal is memory and context rather than a close-up disk.
2. Phone on a small tripod or adapter
This is the first upgrade that actually changes results. A stable support reduces shake, makes framing repeatable, and lets you spend less attention fighting your hands. For solar photography for beginners, this is often the smartest purchase before any bigger optical leap.
3. Interchangeable-lens camera with a front-mounted solar filter
Now you can start choosing focal length, exposure, and composition with intent. A filtered telephoto lens in roughly the 300 mm to 800 mm range is a practical sweet spot for many eclipse photographers. Space.com and AAS guidance both point beginners toward moderate telephoto work before they jump into telescope-scale imaging.
4. Telescope imaging
This is where the Sun can fill the frame beautifully—but it is also where mistakes become more serious and setup friction rises fast. A telescope can act as a long photo telescope, but it is not a beginner shortcut. It adds balance issues, focusing sensitivity, filter-fit questions, and sometimes mount alignment.
That is why the best solar eclipse photography solar filter telescope beginner plan is usually not “buy a telescope first.” It is “master a filtered camera and tripod first.”
What a front-mounted solar filter actually does
A proper front filter is not just dimming the scene a little. It is cutting the Sun’s intensity by an enormous amount before the light reaches the optics. In white-light solar imaging, that means you can photograph the solar disk, crescent phases, and sunspots safely when the filter is designed for that purpose and mounted correctly.
You will see several materials and constructions in the market—metal-coated glass, polymer, and solar film among them. AAS notes that different filters may render the Sun white, yellow-orange, blue-white, or another tint. That color difference is not the main issue. Safety, secure fit, and intended use matter more than whether you personally prefer a warmer or cooler-looking Sun.
This is where people often lump everything together under the phrase solar eclipse photography filters. But not all filters are interchangeable in practice. A filter built for visual solar viewing or white-light imaging is doing a different job from a deep-sky light-pollution filter, and very different from a normal photographic ND filter. Regular ND filters and polarizers are not safe substitutes for direct solar viewing.
If you are shopping for family viewing at the same time, use certified viewers for eyes and dedicated front filters for optics. Do not mix those roles. Our shop eclipse glasses is the place to start if you need approved solar eclipse glasses, solar eclipse glasses iso 12312-2 certified, or simple eclipse viewing glasses for the people who are coming with you.
Why eyepiece hacks are dangerous
This deserves its own section because it is the mistake that keeps resurfacing.
When sunlight enters a telescope or binoculars, the optics concentrate it. If the only “protection” is a dark filter at the eyepiece end, that filter is sitting where the light has already been focused and heated. That is exactly why AAS warns against eyepiece-end solar filters supplied with some inexpensive telescopes. They can fail under concentrated solar energy.
The same logic explains another dangerous misconception: wearing eclipse glasses while looking through unfiltered binoculars, a telescope, or a camera viewfinder is not safe. The optics intensify the light before it reaches the glasses. The glasses are not designed to absorb that concentrated beam.
So if you are tempted by a shortcut, stop and ask one question: is the dangerous light being blocked before it enters the instrument? If the answer is no, it is the wrong setup.
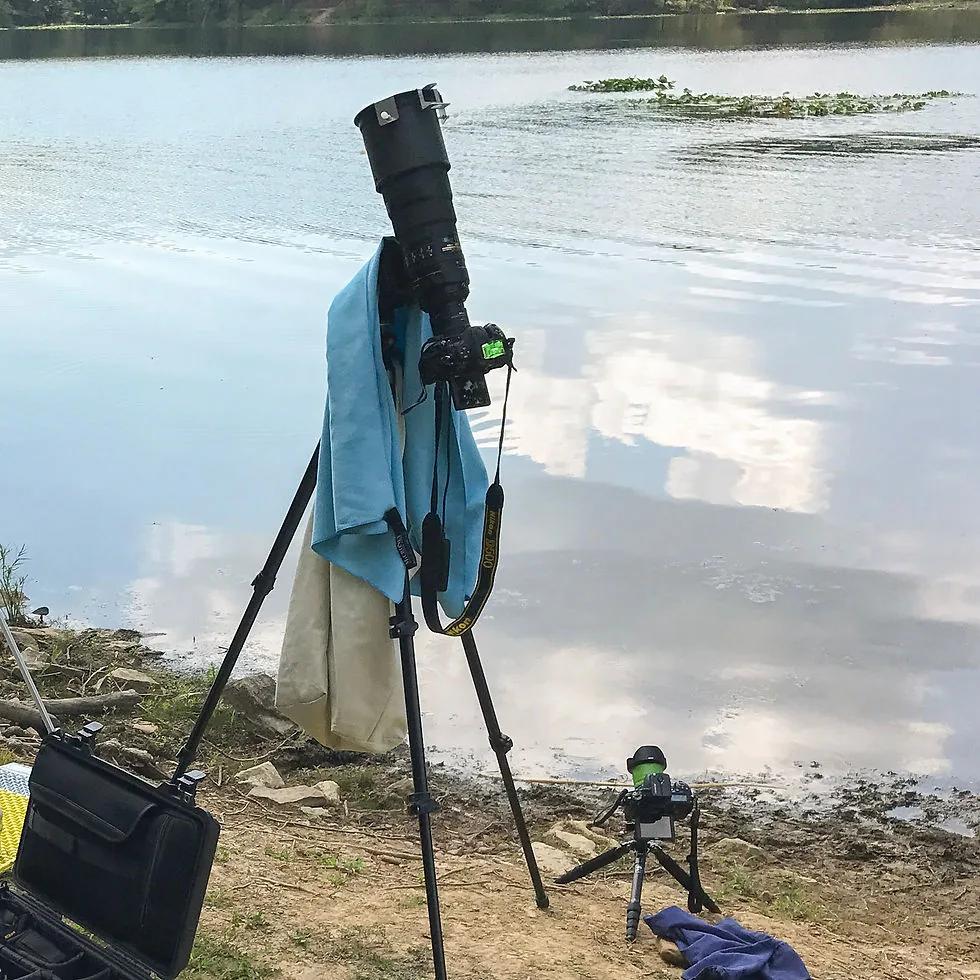
Do you need a tripod? Almost always, yes
A tripod sounds boring compared with lenses and telescopes, but it is one of the most meaningful upgrades you can make.
At longer focal lengths, tiny movements become obvious. The Sun drifts. Framing shifts. Pressing the shutter nudges the whole system. A sturdy tripod turns eclipse photography from a scramble into a sequence. It also makes it easier to use a remote release, self-timer, or burst mode without touching the camera.
This matters even more if you are shooting for a couple of hours during the partial phases. A tripod reduces fatigue and frees your attention for the actual event. You can look up, share the moment, and still return to a camera that is pointed where you left it.
AAS and Space.com both emphasize stable support, especially once you move into telephoto work. If your lens has image stabilization, check the manufacturer guidance; some systems behave differently on a tripod. In practice, many eclipse photographers test both ways ahead of time rather than assuming stabilization will save a shaky setup.
For beginners, the order of importance is usually: secure front filter, stable tripod, simple remote trigger, then longer focal length. Not the other way around.
How much focal length is enough?
This is where expectations need a reset. The Sun is small in the sky—about half a degree across. That means it stays small in a camera frame unless you use substantial focal length.
A normal or wide lens is great for landscapes, crowd reactions, changing daylight, and the eerie feel of the event. It is not great for a detailed solar disk. AAS notes that if you want a moderately large solar image, you are generally looking at around 300 mm equivalent or more, while close-up work on features near totality pushes into much longer focal lengths.
For many people, 400 mm to 800 mm is a very practical range. It is long enough to make the Sun feel like the subject, but not so extreme that every tiny vibration becomes a crisis. That is one reason the phrase best solar eclipse photography solar filter telescope beginner can be misleading. “Best” is not the longest lens you can find. Best is the setup you can operate calmly, safely, and repeatably.
A very long telescope setup can produce dramatic results, but it also narrows your field, makes tracking harder, and increases the chance that you spend the event troubleshooting. If this is your first eclipse, that tradeoff is often not worth it.
Telescope questions beginners ask all the time
Can I use a Dobsonian?
Maybe—but with caution and only with a proper front-mounted filter that fits securely. A dobsonian solar filter is not a special class of magic accessory; it is still just a front-mounted solar filter sized and secured for that telescope’s aperture and tube.
The challenge with Dobsonians is not only safety but practicality. They are often excellent visual telescopes, yet they are not always the easiest platform for beginner eclipse imaging. Manual tracking at high magnification can be awkward, and balance can change when you add cameras or adapters.
If you already own one and know how to use it well, a filtered Dobsonian can be part of your plan. If you are buying your first instrument mainly for eclipse photography, it is rarely the simplest route.
What about an 8-inch Dobsonian?
An 8 dobsonian solar filter must fit the front opening correctly and securely, and the finder scope must also be capped, removed, or safely filtered. But the bigger question is whether an 8-inch Dobsonian is the right beginner imaging tool. Often, no. It gathers a lot of light, which is exactly why front-end filtration is non-negotiable, and its manual handling can make imaging more stressful than a smaller filtered camera-lens setup.
Is a telescope better than a telephoto lens?
Not automatically. A telescope can give you more image scale, but a telephoto lens on a sturdy tripod is often easier to focus, easier to frame, and easier to manage during a fast-changing event.
White-light filters versus a solar h-alpha filter
Most eclipse beginners should start with white-light imaging. That is the standard approach for photographing the Sun’s disk during the partial phases with a safe front-mounted filter.
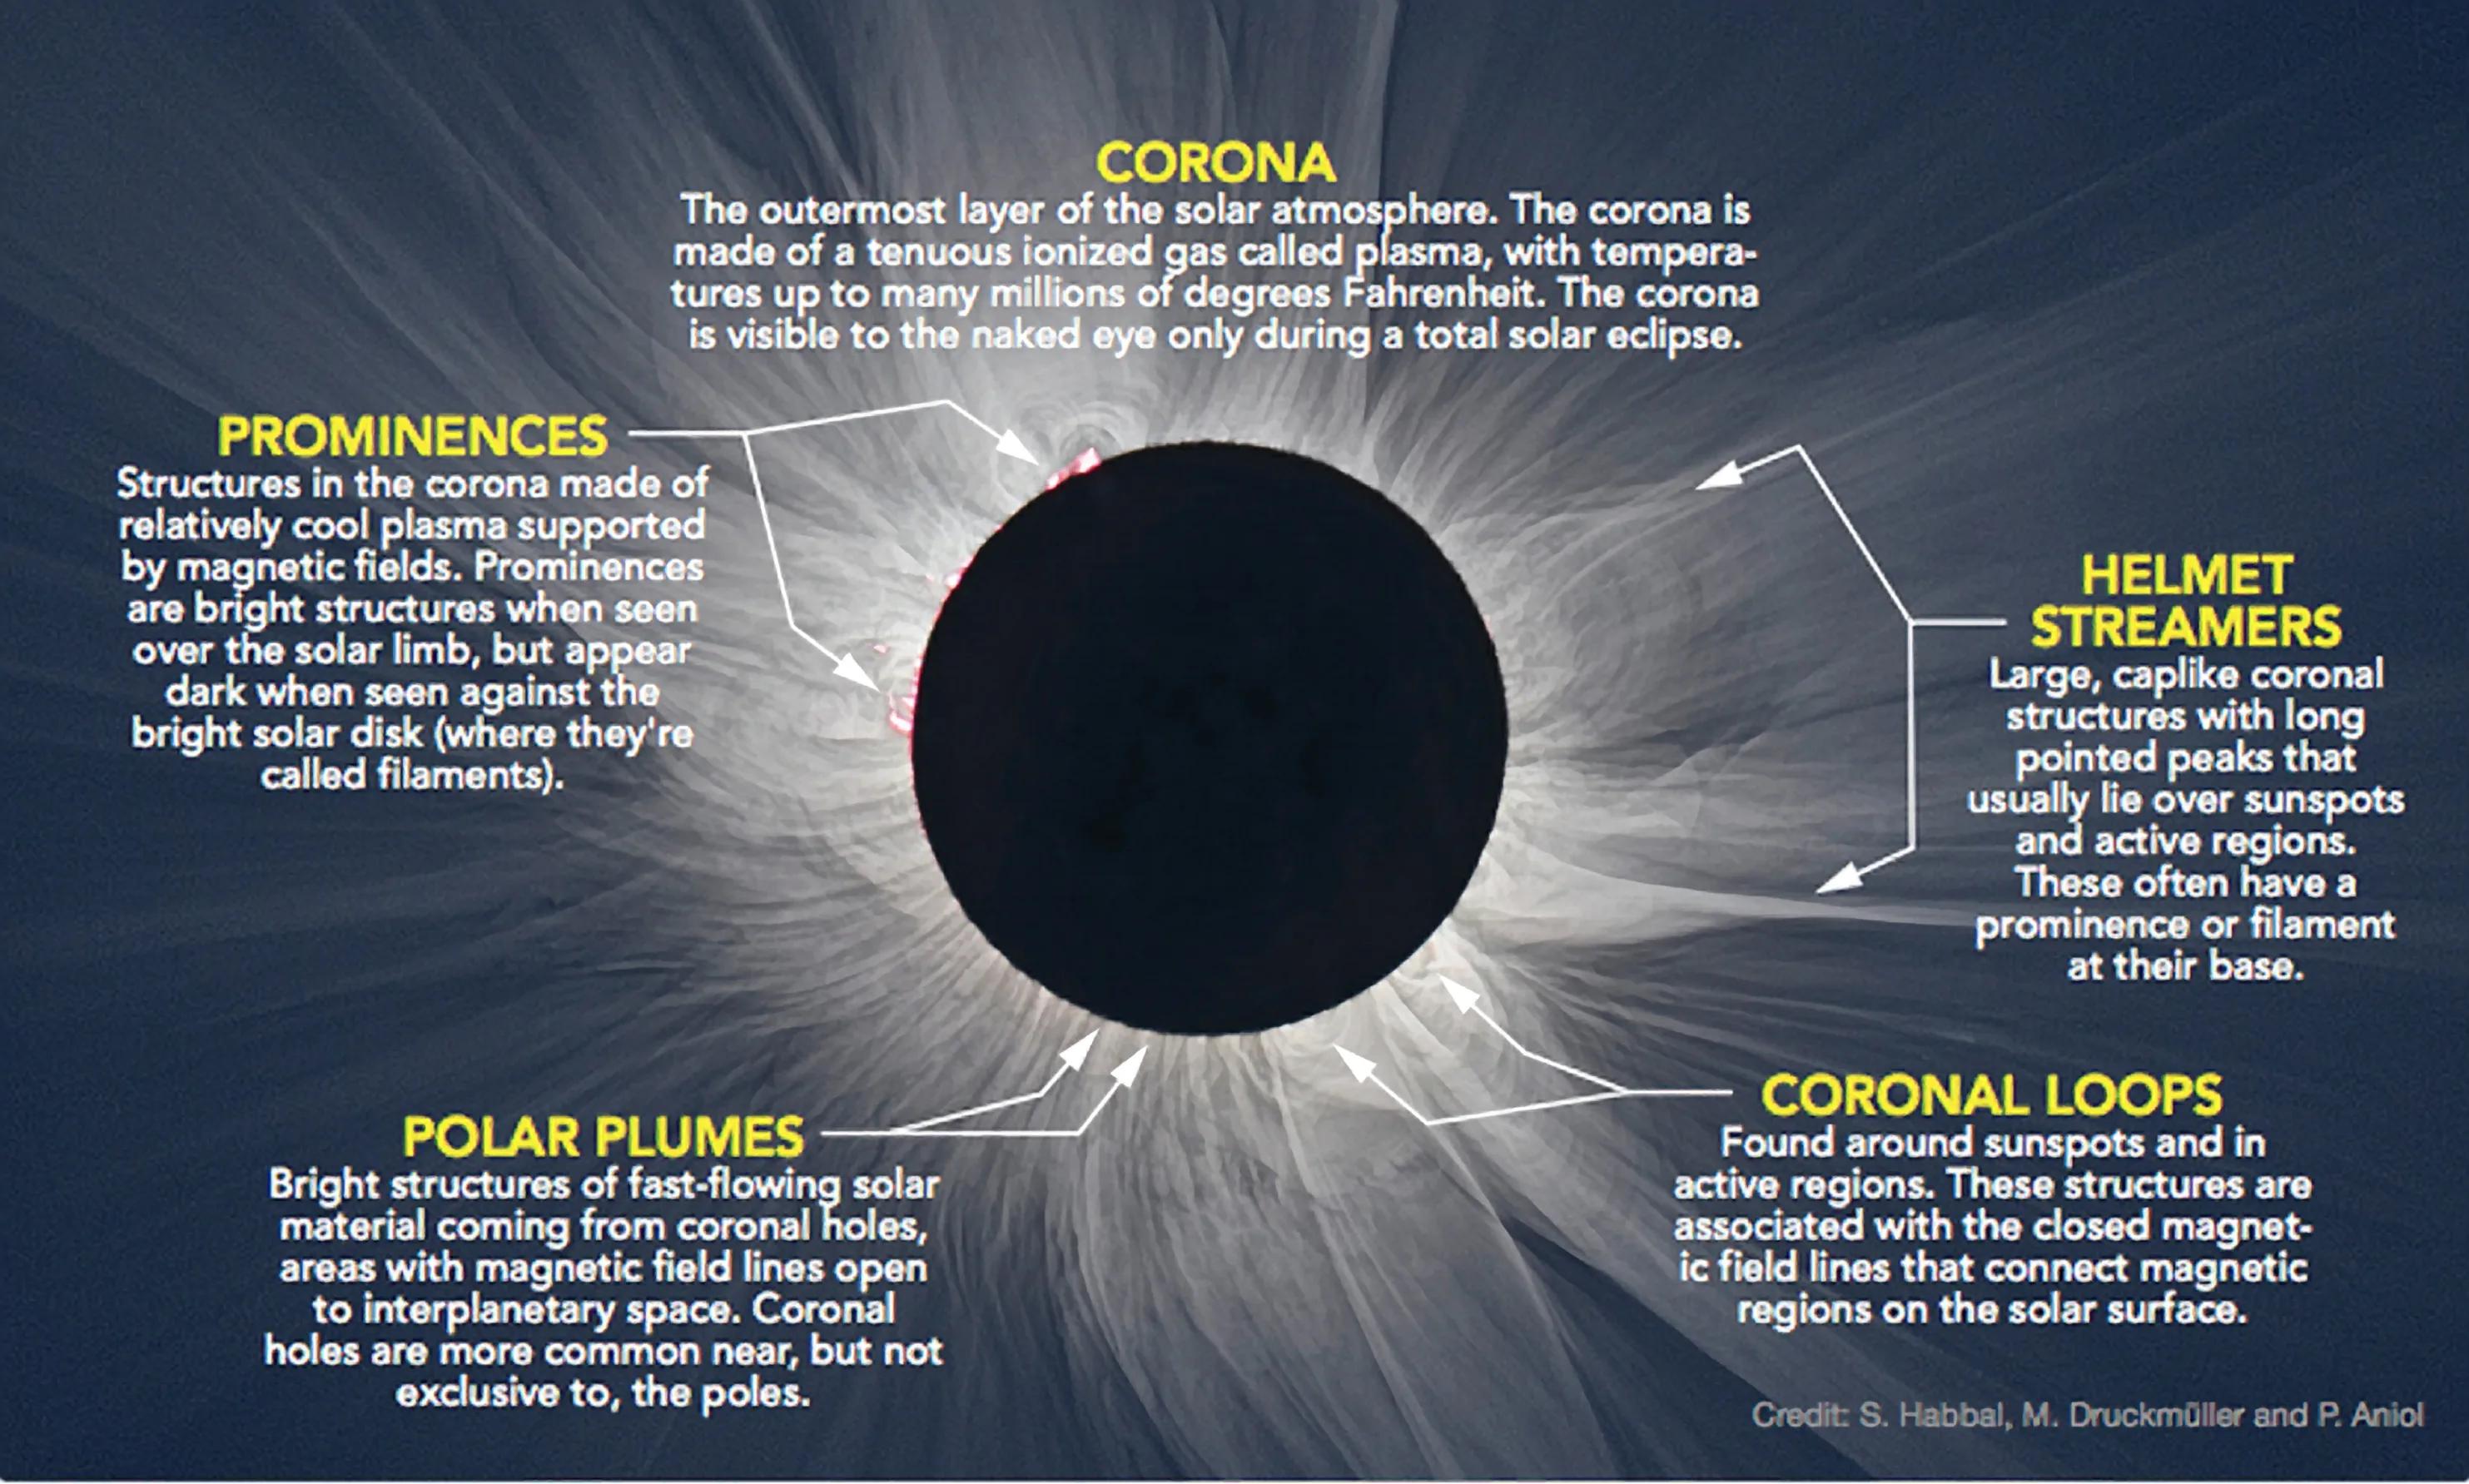
A solar h-alpha filter is something else entirely. It is a specialized narrowband solar system designed to isolate light from hydrogen-alpha emission, revealing features such as prominences and surface detail that ordinary white-light filters do not show the same way. It is not a generic upgrade from eclipse glasses to “better eclipse photos.” It is a specialized branch of solar observing with its own equipment rules, cost, and learning curve.
That distinction matters because beginners sometimes assume any “solar” filter is interchangeable. It is not. If your goal is your first eclipse, white-light imaging is the straightforward path. H-alpha systems are fascinating, but they are not the default answer for a first event.
Exposure, focus, and practice: the unglamorous part that saves the day
The most useful thing you can do before eclipse day is practice on the uneclipsed Sun with your filter mounted correctly.
AAS recommends testing your setup in advance, and that advice is gold. Practice focusing manually. Practice attaching and removing the filter if you will be inside totality and have a plan that involves removing it during the brief total phase. Practice using your remote release. Practice checking the histogram instead of trusting the rear screen alone.
For filtered partial-phase photography, common starting points are low ISO, a moderate aperture such as around f/8 if your lens allows it, and shutter speeds fast enough to keep the solar edge crisp. But there is no single magic number because filter density, lens transmission, haze, and camera response all vary.
The point is not to memorize someone else’s settings. The point is to arrive with muscle memory.
Manual focus is especially important. Autofocus may hunt or fail on a small bright disk. Many photographers focus on the solar limb or on sunspots when visible, then tape the focus ring lightly so it does not drift.
If you are in totality, photography rules change fast
This article is mostly about the beginner upgrade path, so we need one clear warning here: totality is the exception that confuses people.
During the partial phases of a total solar eclipse, filters stay on. During totality itself—only if you are actually inside the path of totality and the Sun’s bright face is completely covered—the visual experience changes, and imaging rules can change too. AAS notes that special-purpose solar filters remain on during the partial phases and are removed only during totality.
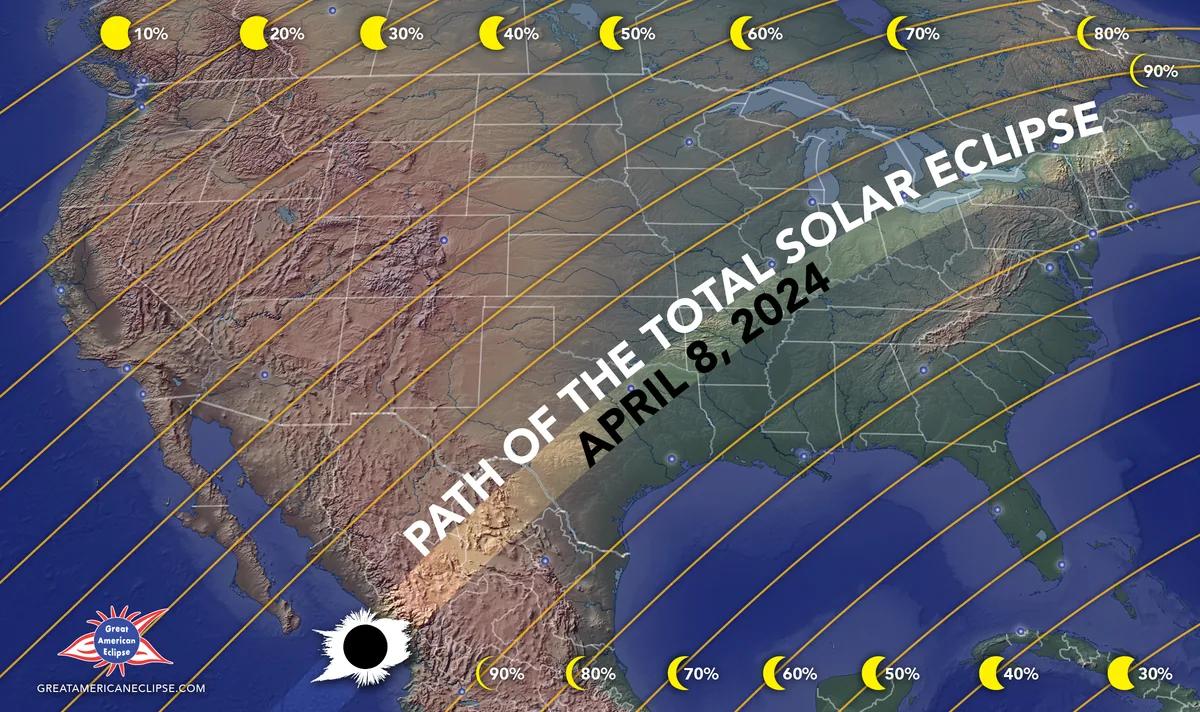
That means your location matters as much as your gear. If you are outside totality, there is no safe “glasses off, filter off” moment. You are photographing a partial eclipse the whole time.
This is why we keep pushing the map. Use our Eclipse Explorer / 3D map to check whether you are truly inside the path, and read our August 12, 2026 total solar eclipse: what to expect and how to plan ahead if you are building a real trip around totality.
And if you are a first-timer in totality, we agree with the AAS imaging hub on one big emotional truth: do not spend the whole event staring at buttons. The sky will do things your camera cannot fully explain to you in the moment.
Two safe ways to watch without staring through eclipse glasses the whole time
People often ask how to see the eclipse if they do not want to look through viewers continuously. The answer is reassuring: you do not need to stare at it nonstop.
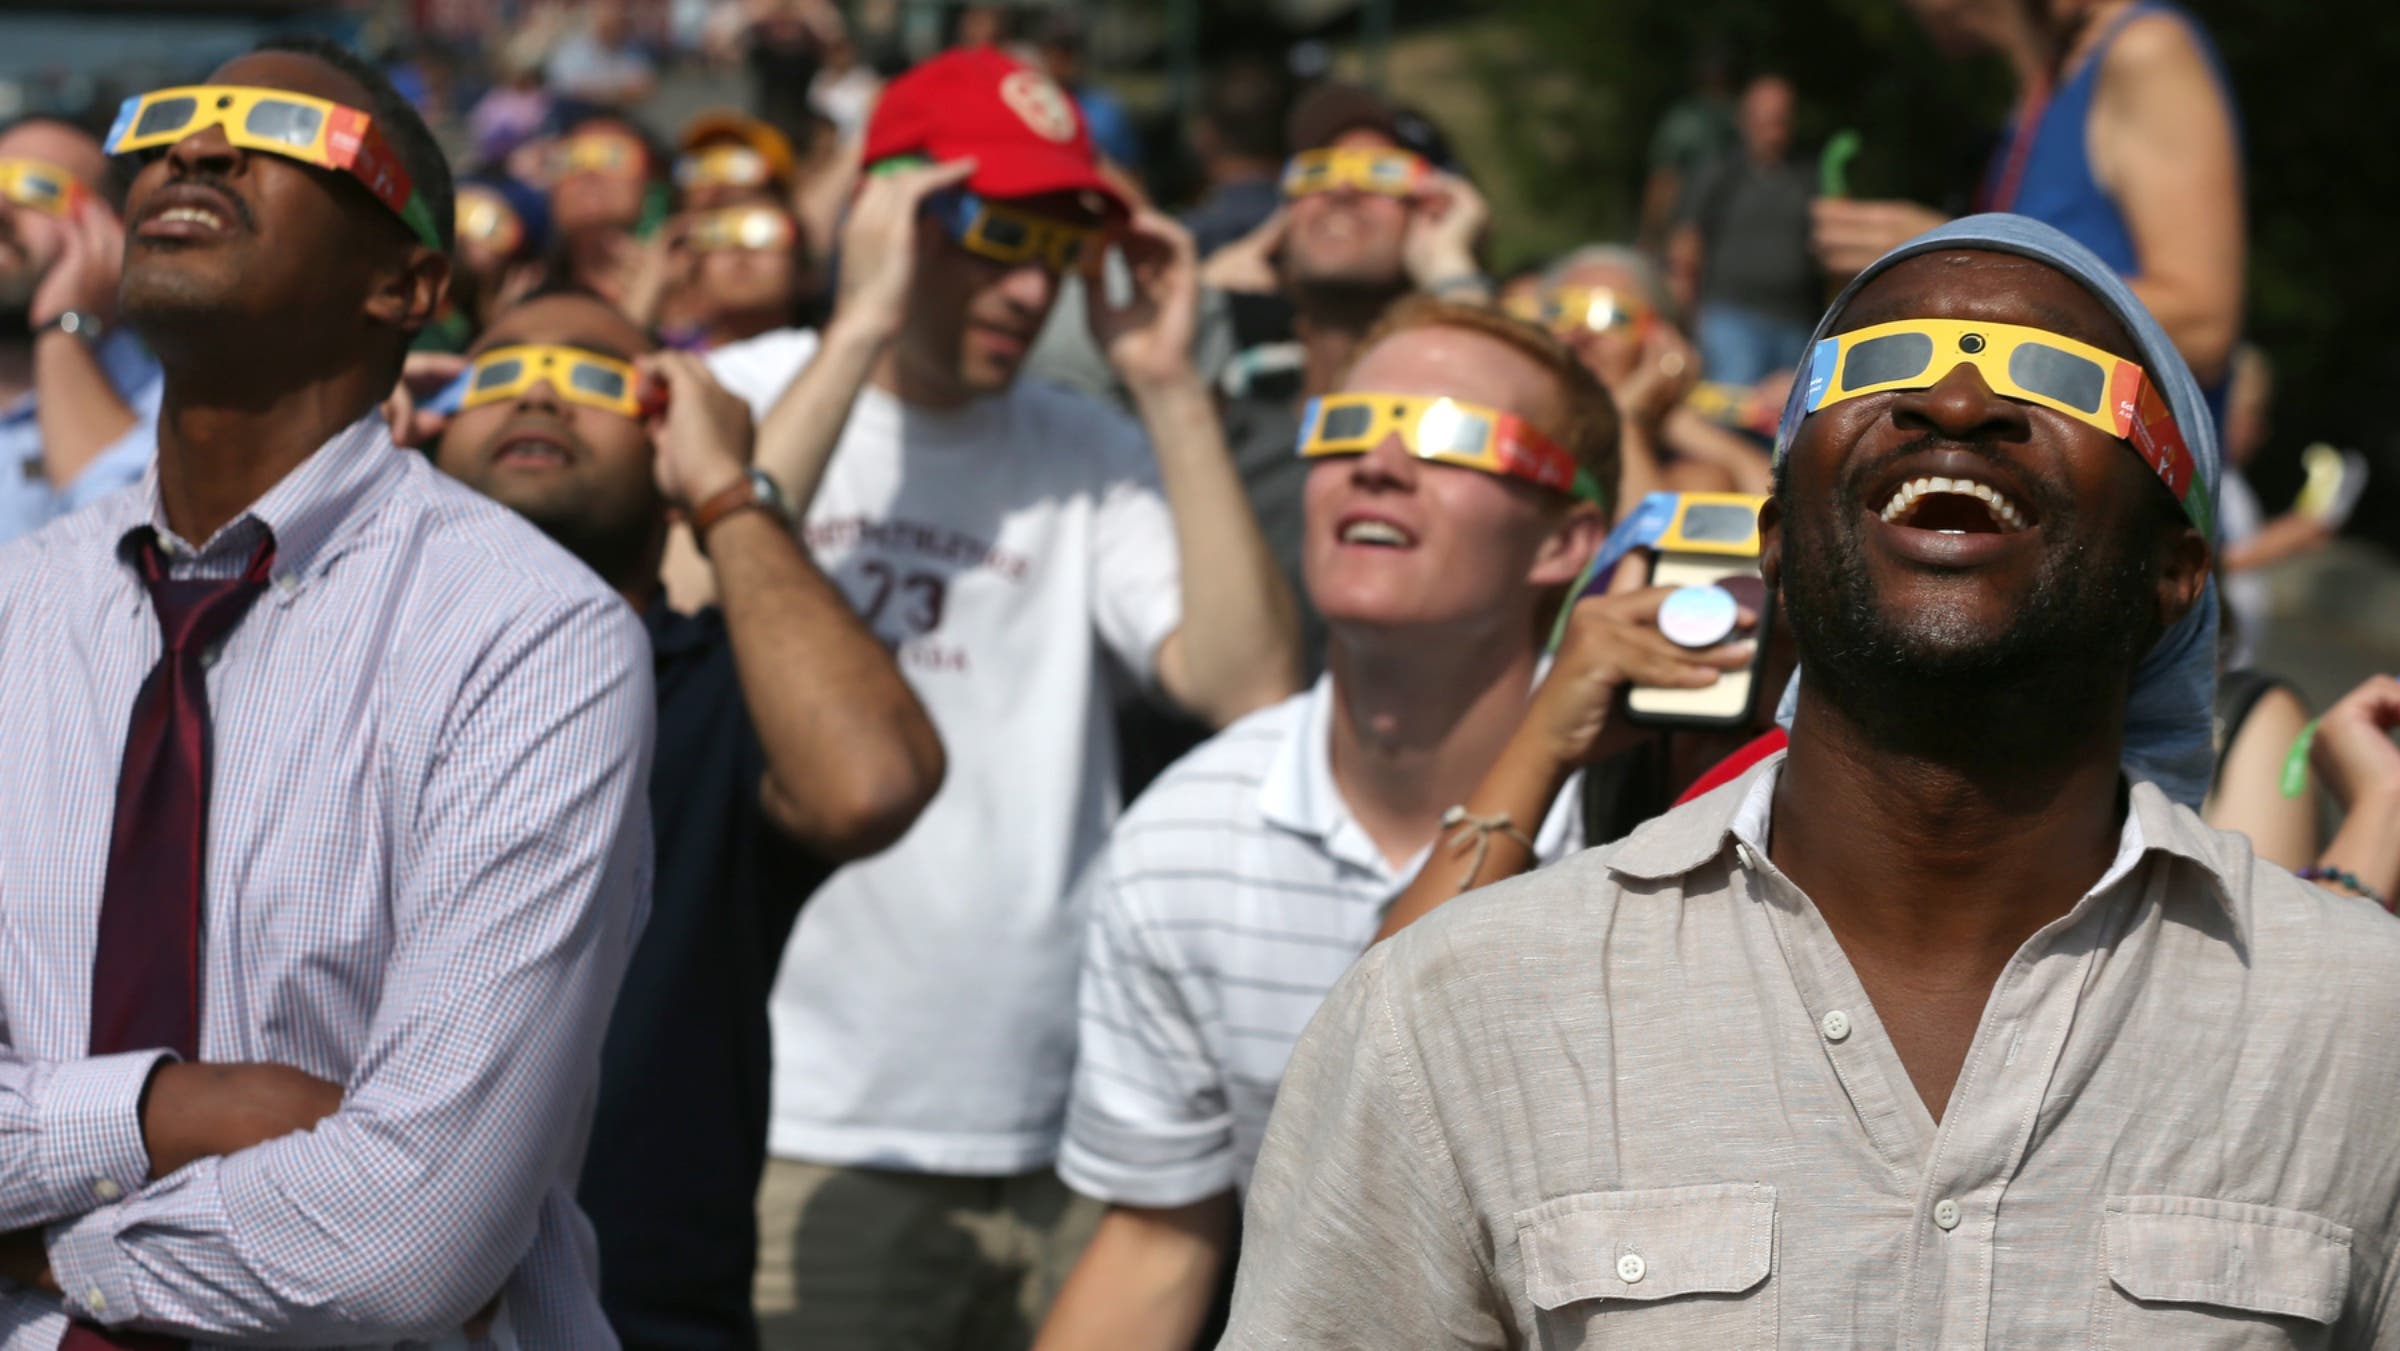
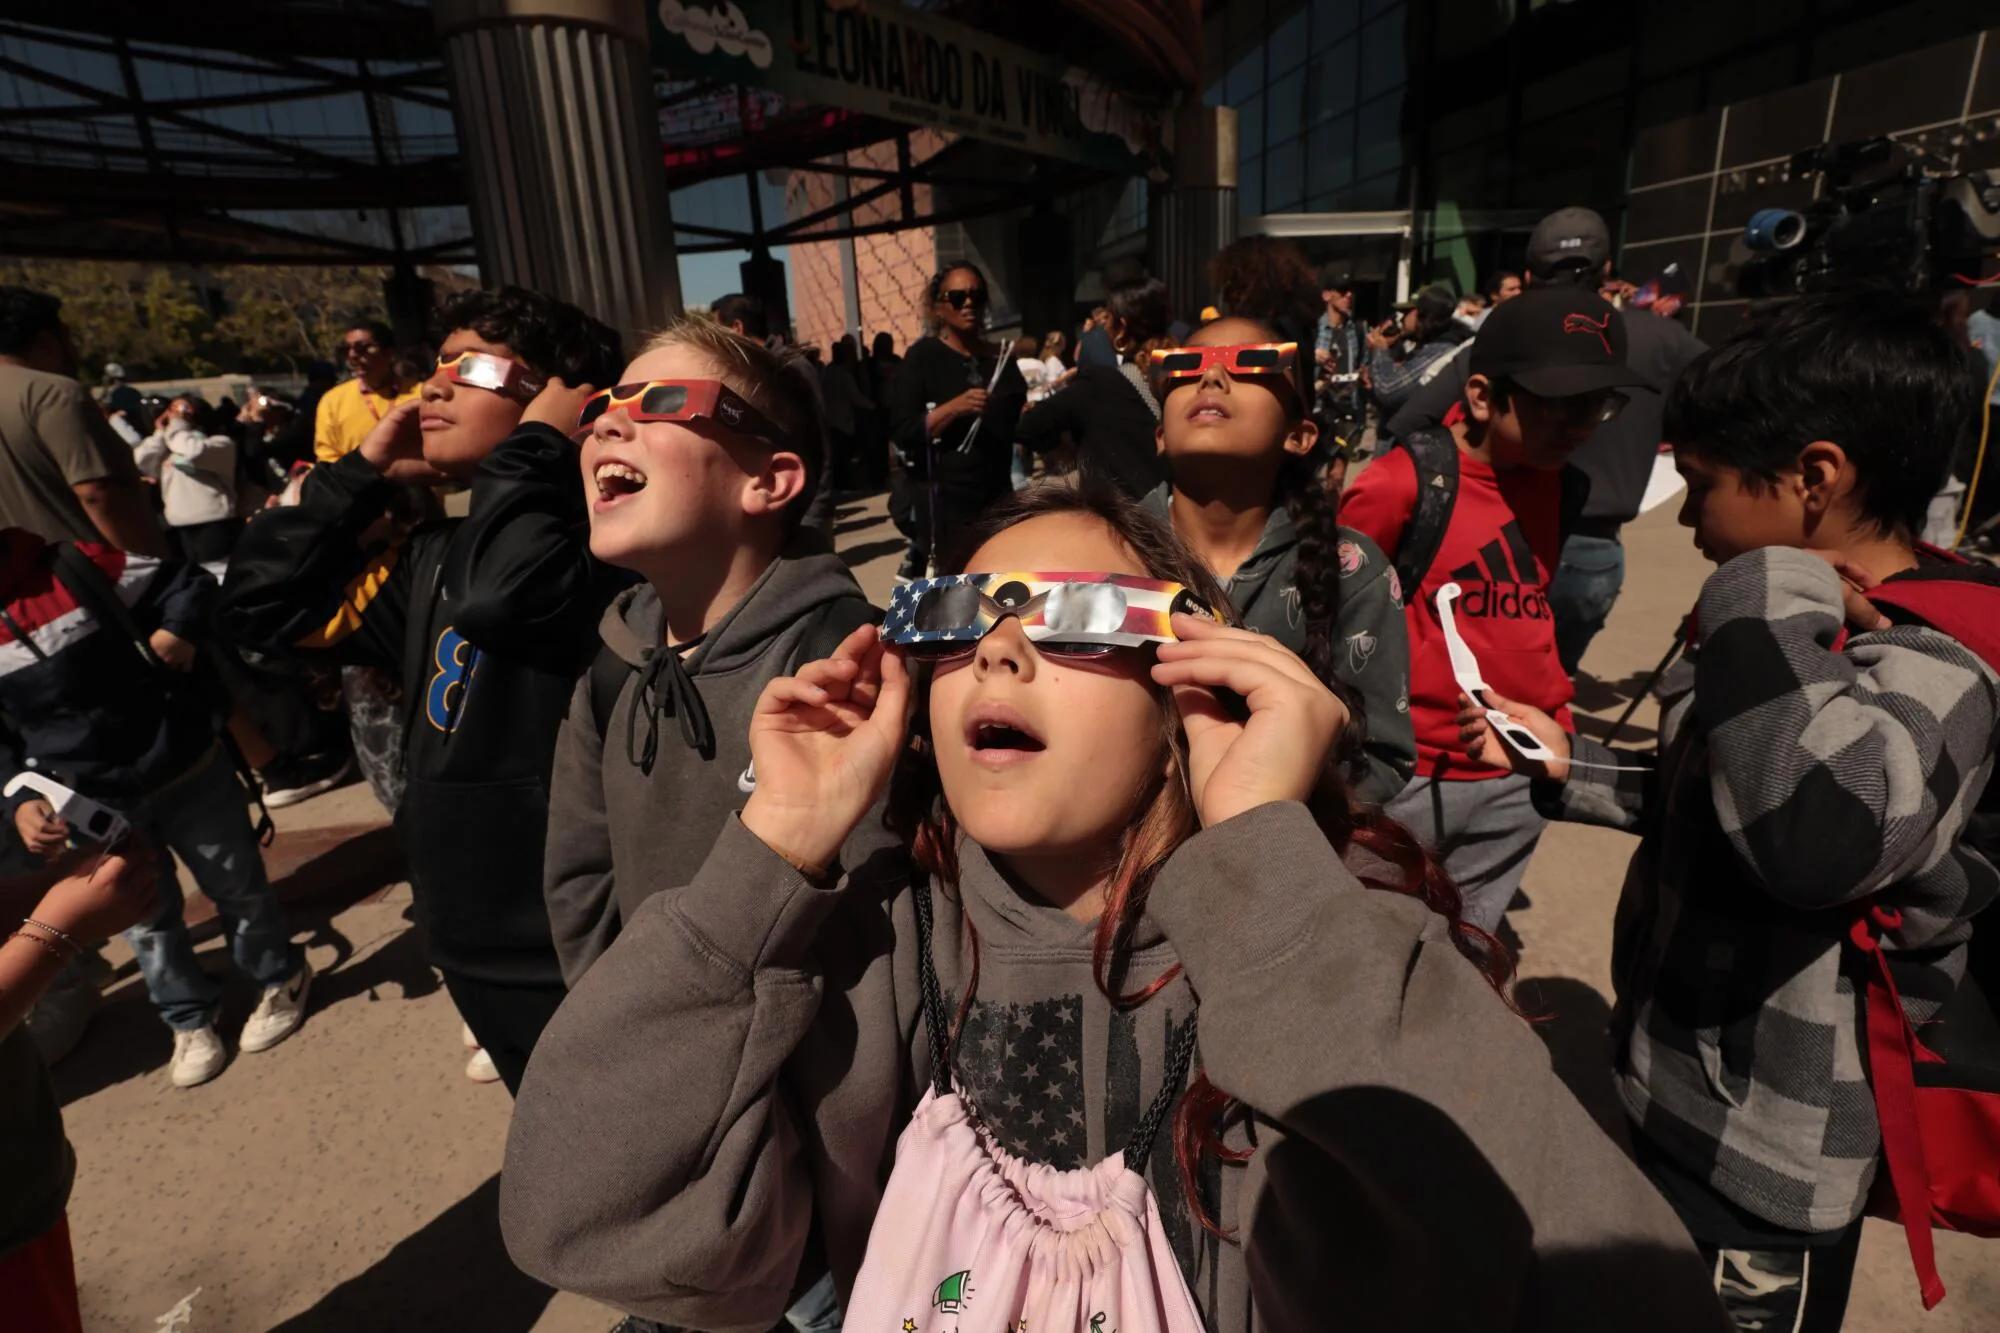
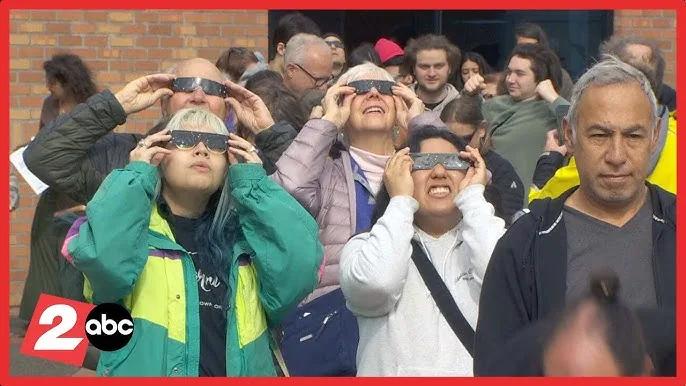
First, you can use certified eclipse viewers for brief glances every few minutes during the partial phases. The eclipse changes slowly enough that this is plenty.
Second, you can use indirect projection. AAS and NASA both recommend pinhole-style methods. That includes simple projection boxes and even everyday objects with many small holes. Yes, using a colander to see the eclipse can work as an indirect projector, because each hole casts a tiny image of the crescent Sun onto the ground or another surface. What you must not do is look through the holes at the Sun.
That distinction is useful for photographers too. Indirect methods are great for family moments, classroom demos, and atmosphere shots, even if they are not your main imaging setup.
What not to buy first
If you are trying to spend wisely, here is the honest answer.
Do not buy a giant telescope first because you assume bigger always means better.
Do not buy random dark filters that are not made for solar use.
Do not buy a complicated tracking mount before you have learned to frame and focus a filtered Sun on a normal tripod.
Do not buy based on vague forum praise alone, even if a thread sounds like the consensus on the best solar eclipse photography solar filter telescope beginner setup. The right first upgrade is usually the one that removes failure points, not the one that adds bragging rights.
And do not forget the human side: if your group still needs viewers, solve that early. People searching for eclipse glasses nasa approved are usually trying to express a real concern about trust, but NASA itself says it does not approve particular brands of viewers. What matters is that the viewers conform to ISO 12312-2 and come from a reliable source. If you want the standard explained clearly, our guide to ISO 12312-2 and eclipse viewers: what the standard means for your family is the right next read.
A simple upgrade path we would actually recommend
If you want the shortest honest answer to from snapshot to serious: solar filters, tripods, and the beginner’s upgrade path, it is this:
- Start with safe viewing and a phone.
- Add a small tripod or phone support.
- Move to a camera with a filtered telephoto lens if you want a larger Sun.
- Practice on the uneclipsed Sun before eclipse day.
- Treat telescope imaging as a later step, not the default first step.
That is the version of a solar eclipse photography solar filter telescope beginner plan that keeps the event enjoyable.
It is also the version most likely to leave you with usable photos.
If you are building toward 2026, tell your people now. Pick a viewing area early. Decide whether your goal is a family-safe memory, a clean partial-phase sequence, or a serious totality workflow. Those are different missions, and your gear should follow the mission—not the other way around.
All About Solar Filters for Photography
Taku Kumabe
Frequently asked questions
What should I do first to watch a solar eclipse safely?
Start by making sure any bright sunlight is blocked before it enters your optics. The article says solar filters must be mounted on the front of a camera lens, binoculars, or telescope, and that you should never rely on eyepiece-end filters or improvised materials.
Why is eye protection still necessary during a solar eclipse?
Because any visible part of the Sun can still be dangerous to look at directly. The excerpt emphasizes that safety comes before image quality, and that the light must be stopped before it enters your optics so it does not reach your eyes in a concentrated form.
What is the main safety takeaway for a beginner trying eclipse photography?
The key point is that the filter goes on the front of the instrument, not near the eye and not somewhere in the middle of the optical path. The article also says to think about safety before focal length, sharpness, or sensor concerns, and to avoid eyepiece filters, sunglasses, smoked glass, and other improvised fixes.
How can I check whether my viewing location is suitable for eclipse photography?
The excerpt says to use the Eclipse Explorer / 3D map to see whether your location is in totality or only a partial eclipse. That matters because the viewing experience and the photography plan change depending on which one you will see.
Do I need a special front-mounted filter for a telescope on a Dobsonian mount?
Yes, the article says any optical setup used on the Sun needs a proper front-mounted solar filter before bright sunlight enters the instrument. It does not give mount-specific instructions, but it does warn that filters must be secured on the front and that old eyepiece-end solar filters can be dangerous.
On-site next steps
- Check your viewing geometry in our Eclipse Explorer / 3D map so you know whether you are planning for totality or a partial eclipse.
- If your group still needs safe viewers, visit our shop eclipse glasses and order early so you are not making safety decisions at the last minute.
- For more first-timer planning, browse the Helioclipse blog and build a simple eclipse-day plan you can actually enjoy.
Sources & further reading
- How to Photograph a Solar Eclipse
- Solar Eclipse Photography: Tips, Settings, Equipment and Photo Guide
- How to Photograph a Solar Eclipse
- Use Your Smartphone to Photograph the Solar Eclipse
- How to Shoot Solar-Eclipse Images & Videos
- How to View a Solar Eclipse Safely
- Solar Filters for Optics: Telescopes, Binoculars & Cameras
- Eclipse Viewing Safety
- Imaging & Video
- How & Why Solar Eclipses Happen