Bracketing the corona without losing your mind: exposure ladders for first-time DSLR shooters
The solar corona does not fit neatly into one photograph. Its bright inner structures crowd the edge of the black Moon, while delicate streamers reach into a much fainter outer atmosphere. Expose for one and you sacrifice detail in the other. That enormous brightness range is why experienced eclipse photographers capture a ladder of shutter speeds during totality.
The trick for a first attempt is not building the longest possible shot list. It is building one you can execute while your heart is racing and the sky is doing something you may have waited years to see.
Our solar eclipse corona bracketing exposure beginner 2026 guide therefore has one goal: help you come home with useful RAW files without spending all of totality operating a camera. Before choosing settings, confirm whether your exact location is inside the path of totality and look up its contact times in the Helioclipse Eclipse Explorer. Outside that path, there is no safe filter-off interval and no naked-eye corona to photograph.
The corona needs a ladder, not one perfect exposure
During the partial phases, the visible solar surface remains intensely bright and your camera must be protected by a proper solar filter secured over the front of the lens. Totality is fundamentally different: the Moon completely hides the Sun’s bright face, revealing an atmosphere with an extreme range of brightness.
The inner corona, chromosphere and prominences favor short exposures. Longer exposures reach farther into the faint outer streamers but can overexpose the inner corona. No single shutter speed preserves all of those structures, so solar eclipse bracketing means taking several frames from short to long exposure while keeping the other major variables fixed.
For a manageable solar eclipse corona exposure sequence, set the camera to manual mode, choose one ISO and one aperture, then change only shutter speed. This reduces decisions during totality and gives later processing software a consistent set of files. It also makes failures easier to diagnose: if sharpness, noise or clipping changes, you know which variable moved.
Automatic exposure bracketing can help, but inspect what your camera actually does. Some cameras produce only three frames over a narrow range; others can capture five, seven or nine. Check whether the function changes shutter speed rather than ISO, how long the buffer takes to clear, and whether another press starts a fresh sequence. Eclipse day is a terrible time to discover that your nine-frame burst silently stopped after five RAW files.
A first-timer’s exposure ladder
There is no universal exposure table. Corona brightness and structure vary, haze changes contrast, lenses transmit different amounts of light, and camera sensors differ. Published calculators and tables are useful starting points—not promises.
A solar eclipse corona bracketing exposure beginner workflow can nevertheless be simple. One illustrative ladder at a fixed ISO and aperture might use:
- 1/1000 second — a very short frame for the brightest inner structures and prominences.
- 1/250 second — two stops longer.
- 1/60 second — another two-stop increase.
- 1/15 second — begins reaching fainter coronal structure.
- 1/4 second — useful for outer streamers if tracking and wind allow.
- 1 second — an ambitious fixed-tripod exposure at long focal lengths and not necessarily sharp.
Those numbers demonstrate the shape of a two-stop ladder; they are not guaranteed settings. Depending on your aperture, ISO, focal length, sky transparency and mount, the useful sequence may begin faster, end sooner or need one-stop intervals. A fixed tripod at 800 mm is much less forgiving of a one-second exposure than a tracked setup or a shorter lens.
A sensible starting configuration for testing might be RAW capture, manual exposure, ISO 400 or 800, and an aperture around f/5.6 or f/8 if the lens is sharp there. Lock white balance rather than allowing it to jump between frames. Disable auto ISO. Use electronic first-curtain shutter, mirror lock-up or a short release delay if your camera supports it without complicating the sequence.
The core principle of solar eclipse exposure bracketing is coverage, not precision theater. Six reliable shutter speeds repeated twice are more valuable than a 30-setting program you cannot start, stop or understand under pressure.
Use the histogram without worshipping it
“Expose to the right,” usually shortened to ETTR, means placing useful image data toward the brighter side of the histogram without clipping highlights you need to preserve. More captured signal can reduce visible noise after editing, particularly in faint coronal regions.
For filtered partial-phase tests, check the solar disk and individual color channels rather than trusting the rear-screen preview. The disk should retain tone instead of becoming a featureless clipped patch. Your proper solar filter must remain installed throughout these tests.
During totality, ETTR becomes a frame-by-frame concept rather than a demand that every feature fit inside one exposure. A long frame intended for faint outer streamers may deliberately blow out the inner corona. That is acceptable if shorter frames preserve the lost detail. The point of the ladder is to record different brightness zones in different files.
Do not chase the histogram after every shot. Pre-plan the ladder, glance for obvious clipping or gross underexposure after one sequence, then repeat it. The rear screen is a diagnostic tool, not where totality should be spent.
Stability, focus and framing matter as much as exposure
A sturdy tripod is essential for repeatable solar eclipse corona photography with a telephoto lens. Extend the thickest leg sections first, keep the center column low if possible, and hang nothing that can swing in the wind. A remote release or programmed interval sequence reduces vibration and keeps your hands away from the camera.
Test your lens’s image-stabilization behavior on a tripod. Some systems should be switched off when the camera is firmly mounted; others have tripod-aware modes. Follow the lens manufacturer’s guidance rather than applying one rule to every setup.
Focus manually on the filtered Sun well before the critical phase. A visible sunspot can provide a useful target; otherwise, magnify live view and refine the solar limb. Once focus is confirmed, tape the focus ring with removable tape. If a zoom lens tends to creep, secure the zoom ring too. Recheck after any large temperature change or accidental bump.
Leave room around the Sun. A very tight composition may cut off long coronal streamers, and the Sun moves surprisingly quickly through a telephoto frame on a fixed tripod. A moderate focal length that stays framed is often more productive than maximum magnification requiring constant adjustment.
Practice slewing and recentering without looking through an unfiltered optical viewfinder. With a proper front-mounted solar filter installed, live view can make alignment and focus easier, but the filter—not the screen—is what protects the camera from concentrated sunlight during the partial phases.
The filter rule that overrides every photograph
A camera lens, telescope or binocular gathers and concentrates sunlight. Eclipse viewers worn over your eyes do not make it safe to look through an unfiltered optical instrument. Your camera requires a purpose-made solar filter secured over the front of the lens during every partial phase, including the partial phases before and after totality.
Never place an improvised filter at the rear of a lens or between your eye and an unfiltered magnifying instrument. Never use ordinary neutral-density filters, stacked sunglasses or eclipse glasses taped over a large camera lens as substitutes for a correctly fitted optical solar filter. Wind-test the attachment and give it a retaining method that cannot intrude into the image or disturb focus.
The filter may come off only after totality has genuinely begun, when the bright solar surface is completely covered—and only if you are inside the path of totality. It must be back over the lens before any bright photosphere reappears. During a partial or annular eclipse, the filter stays on for the entire event. Our guide to eclipse phases and when viewers come off is worth sharing with everyone in your group before eclipse day.
That distinction will be crucial on August 12, 2026. Totality crosses parts of Greenland, western Iceland and northern Spain, while many other locations see only a partial eclipse. Check your exact coordinates rather than assuming a country or region label settles the question. The 2026 total solar eclipse planning guide covers the wider event; the map supplies the local path relationship and contact times your filter routine needs.
Rehearse the transition, not just the settings
You cannot reproduce a corona in your garden, but you can rehearse almost everything around it. Photograph the uneclipsed Sun through the correctly mounted solar filter. Test framing, focus, tripod movement, cable placement, battery life, memory-card speed and the controls needed to start a bracket.
The full Moon is sometimes used as a rough brightness and focus exercise for the inner corona. It cannot reveal the true dynamic range or structure of totality, but it can expose weaknesses in your tripod technique and show whether your chosen focal length is manageable in darkness.
Then rehearse the totality sequence without pointing at the Sun:
- Start with the lens filter installed and the camera on the filtered partial-phase setting.
- Respond to a spoken or timer cue for second contact.
- Confirm totality rather than acting early.
- Remove the camera’s front filter without changing focus or framing.
- Switch to the prepared corona settings and run the shutter-speed ladder.
- Repeat the ladder once if time permits.
- Take your hands off the camera and look at the corona.
- Respond to a warning cue well before third contact.
- Replace and secure the camera filter before bright sunlight returns.
- Confirm the filter visually before resuming partial-phase photographs.
Use at least two alarms: one near the beginning of totality and a conservative warning before it ends. Give one companion permission to call “filters on” if you become absorbed. That person should know the plan rather than trying to interpret your camera controls in the final seconds.
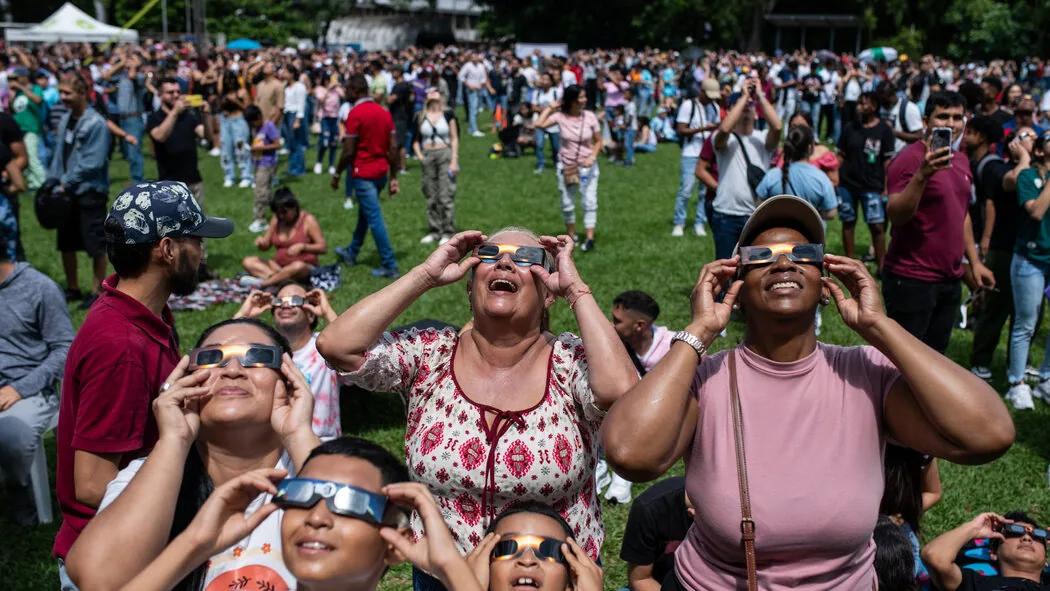
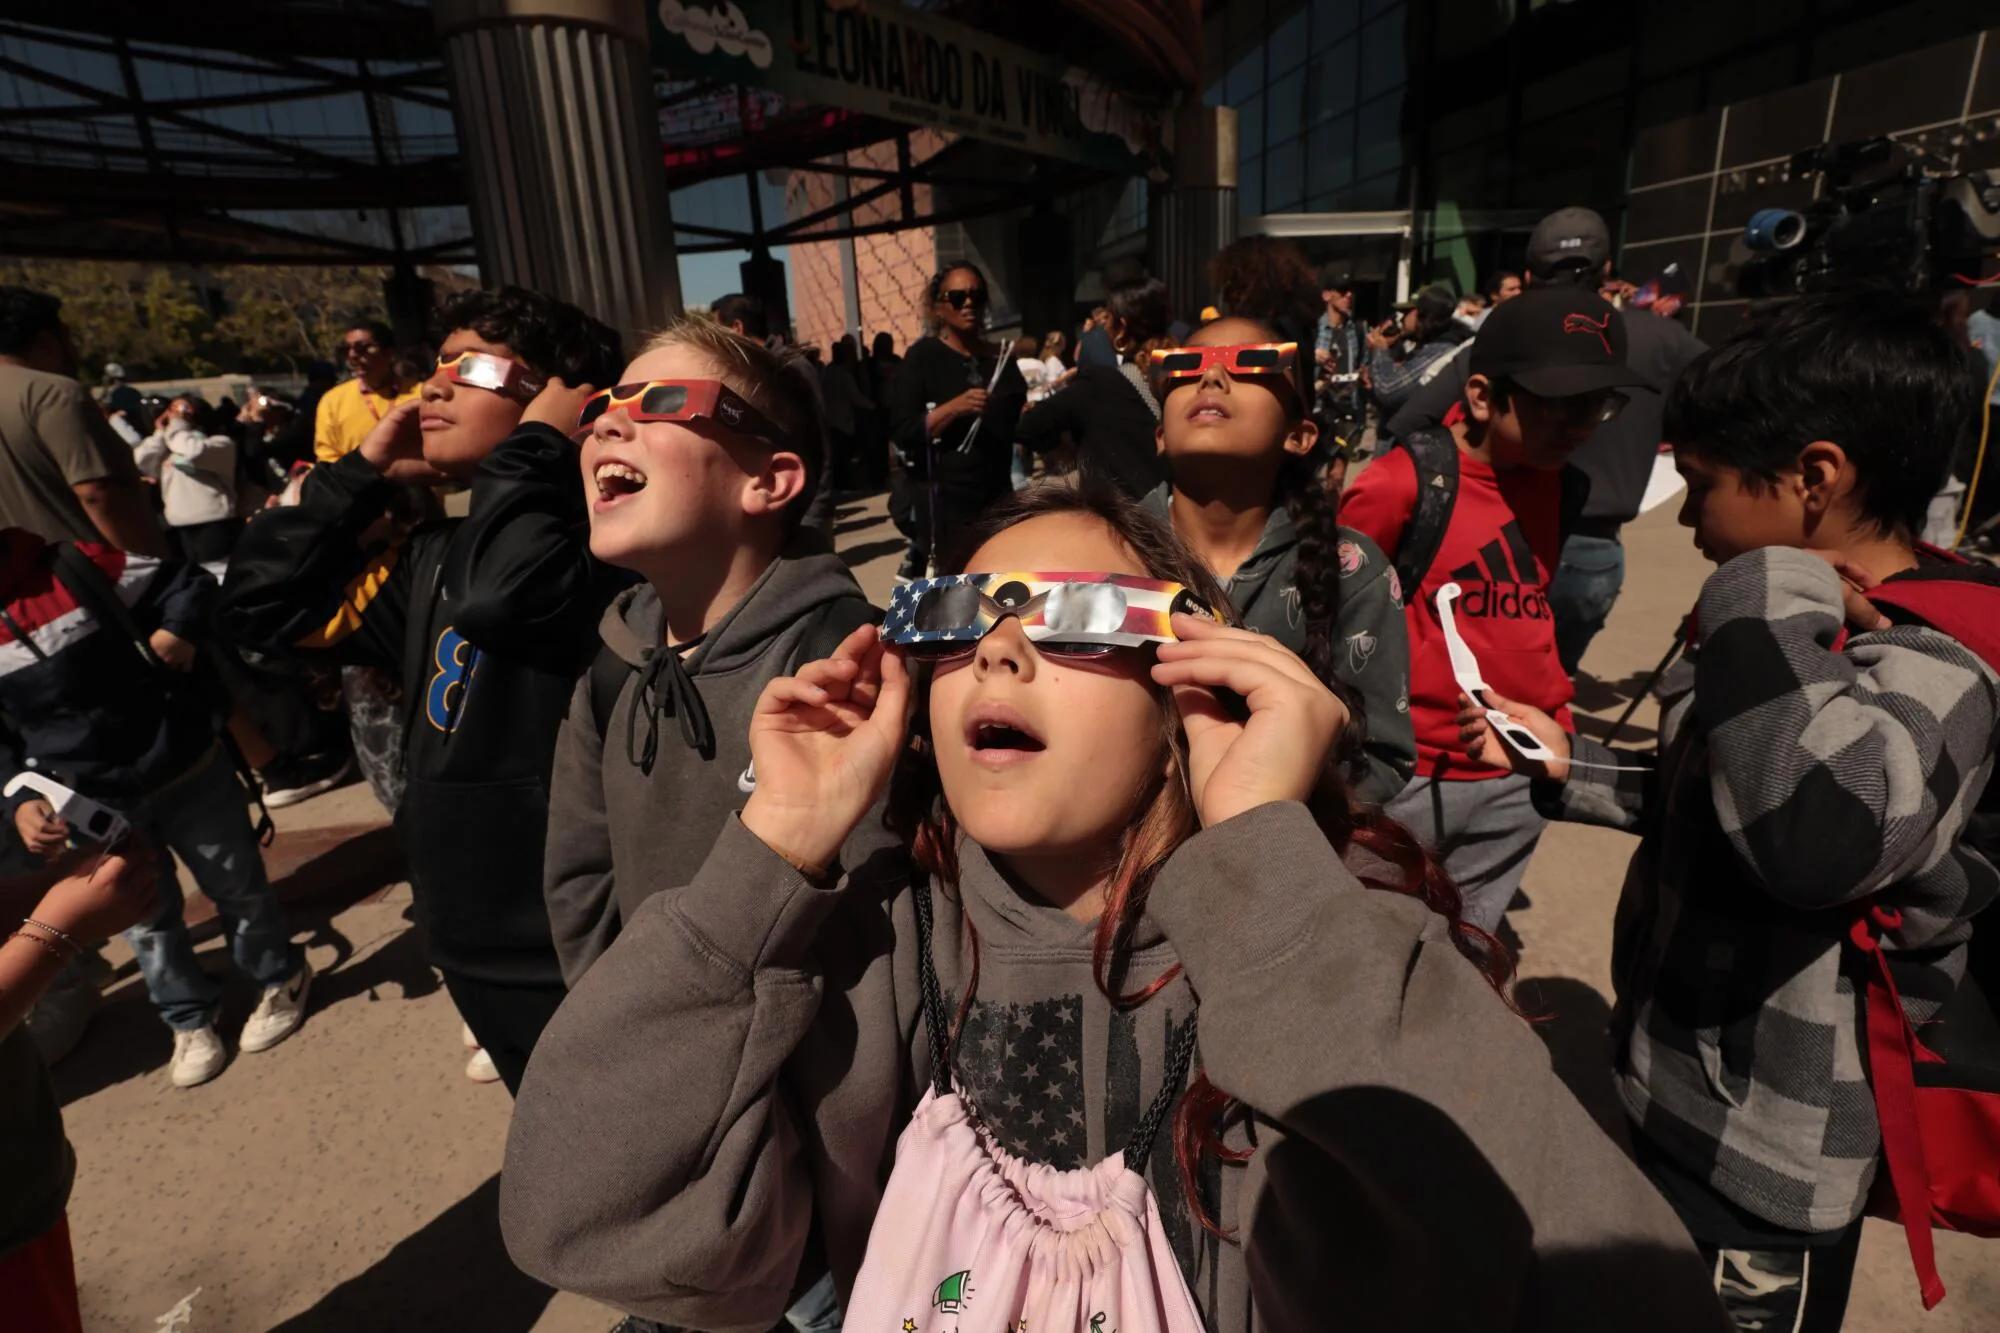
Most importantly, reserve unaided viewing time. The AAS advises first-time observers not to let photography consume the experience. Totality includes the black lunar silhouette, the corona, a darkened landscape and a glow around the horizon; no exposure ladder records all of that human moment.
Processing starts with disciplined capture
Good solar eclipse corona processing combines selected frames that are aligned, calibrated for tone and blended carefully. It should reveal structures present in the data, not turn the corona into a hard-edged halo. Over-aggressive sharpening and local contrast can create false radial streaks, bright seams and crunchy transitions.
Back up every RAW file before editing. Group frames by ladder, reject those blurred by wind or tripod movement, and compare the shortest exposures for prominences and inner detail. Then inspect the longer files for streamers. Because the Moon and corona shift relative to your fixed frame, alignment is necessary even when the tripod never moved.
A restrained result may use only three or four exposures. More files do not automatically create a better high-dynamic-range image; they create more opportunities for misalignment, flare and inconsistent color. Preserve an unprocessed version of the strongest single frame as a reality check.
Solar eclipse corona prediction models can suggest whether the corona may look more rounded, structured or extended around the time of an eclipse, based on solar magnetic activity. Treat those forecasts as context rather than a framing template: the actual corona can surprise you, and a composition with breathing room is safer.
Likewise, solar eclipse coronal ejection is not the usual name for the steady structure you are photographing. A coronal mass ejection is a dynamic release of plasma and magnetic field from the Sun; the corona itself is the Sun’s extended outer atmosphere. An eclipse reveals that atmosphere because the Moon blocks the brilliant photosphere—it does not cause an ejection.
Safety questions and eclipse myths, answered plainly
The practical answer to what are the safety precautions during a solar eclipse? is phase-dependent but uncomplicated: use ISO 12312-2-compliant viewers for direct eye viewing whenever any bright Sun remains, use a proper front-mounted solar filter on magnifying optics during all partial and annular phases, inspect equipment for damage, supervise children and cover exposed skin during a long outdoor session. Only genuine totality permits the total-phase viewing procedure.
For photographers, what not to do during a solar eclipse? includes aiming an unfiltered telephoto lens at a visible Sun, looking through unfiltered optics while wearing eclipse viewers, removing the camera filter before totality, or becoming so focused on settings that you miss the warning to replace it.
The question why shouldn't we sleep during a solar eclipse? reflects cultural tradition, not a medical or astronomical hazard. Sleeping during an eclipse is not dangerous. The practical downside is simply missing a rare event—and, for a photographer, missing the carefully rehearsed sequence.
Similarly, why is it not safe to watch a lunar eclipse? begins with a false premise. A lunar eclipse is safe to watch directly because you are looking at the Moon in Earth’s shadow, not at the Sun. Solar-eclipse precautions do not transfer to lunar eclipses.
ISO 12312-2 applies to direct solar viewers, not automatically to a filter intended for a camera lens. Marketplace language can blur that distinction. Phrases such as approved solar eclipse glasses do not identify who supposedly approved them, and listings that say eclipse glasses nasa approved are misleading because NASA says it does not approve individual brands. Look instead for clear conformity information, usage instructions and an intact product from a traceable seller. For direct viewing, our solar eclipse glasses page provides solar eclipse glasses iso 12312-2 certified for the purpose stated on the product page; your camera still needs its own correctly fitted optical filter.
A calmer eclipse-day checklist
Pack the system so you can set it up in the dark or under cloud without improvisation:
- Camera, lens and sturdy tripod
- Proper front-mounted camera solar filter and secure retention method
- ISO 12312-2 eclipse viewers for every direct observer
- Remote release or tested interval program
- Charged primary and spare batteries
- Empty, formatted memory cards with known write speed
- Lens cloth, rain cover and removable tape
- Printed exposure ladder and contact-time card
- Two independent alarms for the totality boundaries
- A wider backup camera only if it requires no attention
Agree on responsibilities with family or friends before the day. One person can monitor the sky and alarms while another watches children or keeps people from bumping the tripod. Tell the group that a camera filter and eye viewers serve different jobs. If the weather forces a late move, keep the same short plan rather than adding unfamiliar equipment.
You are not trying to prove mastery in a few minutes. You are creating a repeatable sequence that survives excitement, wind, a drifting frame and one imperfect button press. That is the real beginner advantage: fewer decisions, made earlier.
The Exposure Hierarchy: How to do Exposure Therapy for ...
Therapy in a Nutshell
Frequently asked questions
What safety steps should I follow when photographing an eclipse?
During the partial phases, keep a proper solar filter securely over the front of the lens because the visible solar surface remains intensely bright. Remove the filter only during totality, and only if your exact location is inside the path of totality; outside that path, there is no safe filter-off interval.
Is there any eclipse-related reason I should avoid sleeping?
The article does not identify sleeping as an eclipse safety risk. Its practical advice is to confirm your location’s totality status and contact times beforehand so you do not miss the limited interval for filter-off corona photography.
What are the biggest mistakes to avoid when shooting the corona?
Do not remove the solar filter during the partial phases or from a location outside the path of totality. During totality, avoid changing multiple settings at once: use manual mode, keep one ISO and aperture fixed, and vary only shutter speed.
What should a first-time photographer understand about corona exposure bracketing?
The corona has a very large brightness range, so one exposure cannot preserve both the bright inner structures and faint outer streamers. Build a manageable ladder of shutter speeds and capture RAW files rather than relying on a single “perfect” setting, because published exposure tables are starting points rather than promises.
How should I account for weather and visibility when planning my exposure sequence?
Plan for changing conditions rather than assuming a fixed exposure will work, because haze can change contrast and corona brightness and structure vary. Confirm that your location is inside the path of totality and check its contact times before eclipse day, then keep the sequence simple enough to execute during totality.
On-site next steps
- Open the Helioclipse Eclipse Explorer and save the exact totality status and contact times for your observing coordinates. Build your filter alarms from those local circumstances—not from times quoted for another city.
- Read our 2026 eclipse planning guide and share the safety plan with your group.
- Order ISO 12312-2 certified eclipse viewers early for direct viewing. Remember that camera lenses require separate, front-mounted optical solar filters.
- Run the complete tripod, focus and exposure rehearsal at least twice before eclipse day.
Sources & further reading
- American Astronomical Society: How to Shoot Solar-Eclipse Images & Videos
- Sky & Telescope: Eclipse Photography: Reveal Totality in HDR
- Sky & Telescope: Solar Eclipse Photography: Framing the Eclipse
- Sky & Telescope: Tips for Photographing a Total Solar Eclipse
- Space.com: How to Photograph a Solar Eclipse
- American Astronomical Society: Solar Filters for Optics: Telescopes, Binoculars & Cameras
- American Astronomical Society: How to View a Solar Eclipse Safely
- NASA Science: Eclipse Viewing Safety
- American Astronomical Society: Phenomena You’ll Experience at a Total or Annular Eclipse
- American Astronomical Society: Eclipse Basics