Timelapse without trashing your sensor: interval math, filtration, and when to stop fiddling
A solar-eclipse timelapse can compress hours of celestial motion into a few compelling seconds: the Moon advances, the Sun becomes a crescent, the light changes, and the disk opens again. The catch is that your camera must remain pointed toward an intense heat and light source for much longer than it takes to make a single photograph.
The most useful lesson from every widely shared timelapse solar eclipse 2024 sequence is not that you need exotic equipment. It is that preparation beats improvisation. A stable tripod, a securely mounted solar filter, a tested intervalometer program, spare power, and the discipline to stop touching the camera will do more for you than a bag full of unfamiliar accessories.
This is our timelapse solar eclipse intervalometer beginner 2026 guide for photographers who want a dependable sequence without turning eclipse day into a frantic technical rehearsal. Before choosing a focal length or interval, use the Helioclipse Eclipse Explorer to check the event at your exact location. The map tells you whether you will experience totality or only partial phases—a distinction that completely changes the filtration plan.
The safety hierarchy: filter first, settings second
During every partial phase, a proper solar filter must remain securely attached over the front aperture of the camera lens. That includes the long partial phases before and after totality. It also includes the entire event if you are outside the path of totality or photographing a partial or annular eclipse.
A filter at the front prevents concentrated sunlight and heat from entering the optical system. A filter placed behind the lens, near an eyepiece, or between a telescope and camera can be exposed to concentrated solar energy and may fail. Ordinary photographic neutral-density filters, stacked polarizers, exposed film, smoked glass, and eclipse glasses taped behind a lens are not substitutes for a purpose-designed aperture filter.
Never look through an unfiltered optical viewfinder while the camera is aimed at the Sun. With the solar filter properly installed, use the electronic display or electronic viewfinder if your camera manufacturer permits it. Cap or filter any separate finder as well.
This is also why the awkward planning shorthand solar filter on for partial battery thermal eclipse planning qui still points toward three legitimate priorities despite its broken wording: keep the filter on during partial phases, monitor power and temperature, and make the safety sequence part of the plan rather than a last-second decision. A sensible interpretation of best solar filter on for partial battery thermal eclipse planning is not a single shopping recommendation; it is a workflow in which filtration, secure mounting, power, shade, and rehearsed transitions all support one another.
What filter to use for solar eclipse?
The camera needs a solar filter specifically intended to cover the aperture of a camera lens, telescope, or other optical instrument. It must cover the complete opening, remain secure in a gust of wind, and show no pinholes, tears, scratches, separation, or other damage. Follow the filter maker’s compatibility and handling instructions for your lens.
ISO 12312-2 is important, but its scope is often misunderstood. The standard applies to nonmagnifying viewers used directly by the eyes, such as eclipse glasses and handheld viewers. It is not, by itself, a camera-filter certification. Camera and telescope filters have a different job because lenses concentrate incoming light. The American Astronomical Society therefore recommends a properly fitted aperture filter and expert advice for magnifying optics.
How many stops is a solar filter?
The question how many stops is a solar filter? does not have one universal shopping answer. A typical optical-density-5 solar filter transmits about one part in 100,000 of the incident light. Expressed only as a base-two photographic ratio, that is roughly 16.6 stops. But a safe solar filter is not merely an extremely dark ND filter: its spectral transmission, material quality, uniformity, mounting, and intended use matter.
Do not build a safety decision around a claimed stop count. Buy an aperture filter designed for solar imaging, verify that it fully covers the lens, and test it on the uneclipsed Sun well before eclipse day. If the seller provides only an ND number with no clear statement that the product is intended for direct solar imaging, treat that as insufficient information.
Interval math: decide what the finished sequence should do
An intervalometer triggers the shutter at a repeatable cadence. The interval is the time from the start of one frame to the start of the next—not necessarily the idle time between exposures. If the exposure, bracketing burst, and write time exceed the programmed interval, the camera may skip frames or stop the sequence.
There is no universally correct timelapse interval for eclipse photography. A five-minute cadence can produce a clean composite showing separated solar disks. An interval around 20 to 40 seconds can supply enough frames for a short, smoother video of a multi-hour partial phase. A one- or two-second cadence may be useful during rapidly changing moments near totality, but it generates far more files and demands a more advanced transition plan.
Use three simple quantities:
- Event span in seconds: the portion of the eclipse you intend to record.
- Desired number of frames: playback frame rate multiplied by desired video duration.
- Interval: event span divided by one less than the desired frame count.
In compact form:
`interval ≈ event span ÷ (desired frames − 1)`
Suppose your planned sequence lasts 2 hours 20 minutes, or 8,400 seconds. A 10-second finished clip at 30 frames per second needs 300 frames. Dividing 8,400 by 299 gives an interval of about 28 seconds. Rounding to 30 seconds produces approximately 281 frames, or 9.4 seconds of playback at 30 fps.
By contrast, one frame every five minutes over the same span produces only about 29 frames—less than one second at 30 fps. That cadence is excellent for a multiple-disk composite or a deliberately stepped animation, but not for fluid motion. This is the practical answer to what is the best interval for time-lapse?: first decide whether you want a smooth movie, a compact record, or a composite.
The phrase time lapse interval for solar eclipse therefore describes an editing decision as much as a camera setting. Leave additional margin if you enable exposure bracketing, RAW+JPEG capture, or in-camera noise reduction. Run a full-duration test at home and confirm that the memory card can sustain the write rate without filling the camera buffer.
Framing a moving Sun on a fixed tripod
The Sun appears to move across the sky at roughly 15 degrees per hour because Earth rotates. That is about 0.25 degree per minute. Since the solar disk spans approximately 0.5 degree, it shifts by its own apparent diameter in roughly two minutes.
That movement is central to the best places and timing for timelapse solar eclipse intervalometer beginner workflow. Your exact site determines the Sun’s altitude, azimuth, eclipse circumstances, horizon clearance, and whether totality occurs at all. Use the Helioclipse map to inspect those conditions, then visit the location at the same clock time on an earlier day if possible. Check for buildings, trees, ridges, lampposts, and crowds entering the frame.
A fixed tripod offers two distinct compositions:
- Wide scene: Frame enough sky for the Sun to travel across the image while the landscape stays fixed. This can show environmental light and the eclipse’s human scale.
- Telephoto disk: Fill more of the frame with the Sun, accepting that it will leave the composition quickly unless you periodically reframe or use a properly aligned tracking mount.
A 300 mm lens can make the solar disk recognizable, but a fixed telephoto composition may need regular adjustment. Every adjustment risks bumping focus, shifting the filter, or changing framing inconsistently. If you are a beginner, a moderately wide composition that can run unattended is often more successful than a tight disk you must chase every few minutes.
Set the tripod on firm ground, keep people away from its legs, and hang no loose weight that can swing in the wind. Turn off image stabilization if your camera or lens manual recommends disabling it on a tripod. Use an electronic or cable intervalometer rather than pressing the shutter repeatedly.
Timelapse settings solar eclipse photographers should test
Treat published exposure suggestions as starting points, not guarantees. Filter transmission, haze, Sun altitude, lens aperture, sensor response, and cloud all affect the result. The American Astronomical Society suggests testing the filtered uneclipsed Sun in advance; one practical starting region is ISO 100 or 200, f/8, and short exposures between roughly 1/500 and 1/4000 second. NASA’s broader beginner guidance suggests testing a fixed aperture between f/8 and f/16 across a wider shutter-speed range.
A dependable partial-phase setup usually looks like this:
- Install and secure the solar filter before aiming at the Sun.
- Select manual exposure and disable Auto ISO.
- Choose a moderate aperture such as f/8, subject to your lens test.
- Use the lowest ISO that gives a practical shutter speed.
- Focus manually on the solar limb or visible sunspots.
- Magnify live view to confirm focus, then tape the focus ring with removable painter’s tape if appropriate for the lens.
- Disable automatic white balance if you want consistent color between frames.
- Shoot RAW when card capacity and workflow allow it.
- Turn off long-exposure noise reduction if it would double the time between frames.
- Make a short intervalometer run and inspect several files at full resolution.
The Sun’s surface brightness remains broadly similar through most of the filtered partial phase; the visible area changes, but the remaining photosphere is still intensely bright. That is why manual exposure usually gives a steadier sequence than full auto. Near a very thin crescent, modest bracketing may help, especially through haze, but do not invent a complex exposure ramp for the first time on eclipse day.
A so-called holy-grail timelapse smoothly ramps exposure through a major light change, usually day into night. Totality creates an even more abrupt and technically demanding transition because the filtered photosphere and unfiltered corona differ enormously in brightness. Beginners should not assume that ordinary automatic ramping can safely manage the filter change.
Heat and battery management without creating a new problem
Even with a proper front-mounted filter, a camera operating in direct summer sunlight can become hot. Live view, continuous wireless communication, high display brightness, rapid RAW bursts, in-camera video processing, and charging can add internal heat. Battery capacity may also fall faster than expected.
Set up early, but do not leave the camera needlessly running for hours. Keep spare batteries in a dry, shaded place—not on a hot car dashboard—and swap them during a quiet part of the partial phase if your tested runtime requires it. Use only camera-compatible batteries, couplers, or external-power arrangements, and prevent cables from becoming trip hazards.
A light-colored cloth can shade idle equipment while you wait, as long as it does not dislodge the solar filter or trap heat around an operating camera. Remove the cloth before shooting, preserve ventilation, and never cover the front filter while the lens remains aimed at the Sun unless the entire lens is safely capped and the camera is no longer being used. A small sunshade positioned above the camera body can reduce direct heating without enclosing it.
Watch for the camera’s temperature warning, unexpected shutdowns, swollen batteries, corrupted frames, or a body that becomes unusually hot. If the camera warns you, stop. Power it down, point it away from the Sun, and let it cool in shade according to the manufacturer’s guidance. No timelapse is worth overriding thermal protection.
Card capacity deserves the same rehearsal. Estimate file use by multiplying the number of frames by the average file size, then leave generous headroom. A 300-frame sequence of 45 MB RAW files needs about 13.5 GB before brackets, test shots, or video are counted. Format a known-good card in the camera after backing it up, and carry a spare.
Totality changes the rules—but only inside the path
A total solar eclipse has a brief interval when the Moon completely covers the bright photosphere. Only during that true total phase, and only from inside the path of totality, may a camera’s solar filter be removed to photograph the corona. The filter must be back over the lens before any bright photosphere reappears.
Outside that path, the eclipse remains partial. There is no safe filter-off window. An annular eclipse also has no totality: the bright ring of photosphere remains visible, so the aperture filter stays on throughout. Our guide to eclipse phases and when protection comes on or off explains the visual distinction, but camera filters and eye viewers remain separate products with separate instructions.
A filter transition complicates an automated timelapse. The filtered partial-phase exposure will record little or nothing of the corona, while an unfiltered totality exposure would be dangerously overexposed as soon as the photosphere returns. Totality itself spans a huge brightness range, so experienced photographers bracket multiple shutter speeds while keeping ISO and aperture relatively stable.
For a first eclipse, choose one of three honest plans:
- Partial-only sequence: Keep the filter installed throughout. If you are in the totality path, allow the sequence to go dark during totality and concentrate on watching safely.
- Stop at totality: End the interval sequence before second contact, confirm totality with the planned safety cues, and experience the corona without operating the camera.
- Rehearsed totality program: Attempt filter removal, exposure bracketing, and replacement only after repeated practice and with reliable contact alerts for your exact coordinates.
If a fault takes more than a few seconds to understand, let it go. Do not spend totality buried in a menu. The camera can miss a frame; you should not miss the sky.
A rehearsal that exposes weak links
A credible timelapse solar eclipse intervalometer beginner plan should survive a full test on the uneclipsed Sun. Do the rehearsal at approximately the same Sun altitude and with the same camera, lens, filter, tripod, intervalometer, card, battery arrangement, and file format you intend to use.
Run this sequence at least once:
- Inspect the filter under normal indoor light for damage.
- Install it before pointing the camera toward the Sun.
- Confirm that wind or a gentle accidental touch cannot dislodge it.
- Compose without looking through an unfiltered optical finder.
- Establish manual focus and exposure.
- Program the interval and total frame count.
- Let the system run long enough to reveal overheating, drift, battery drain, and buffer problems.
- Import the files and assemble a short test movie.
- Check for flicker, dust spots, focus drift, skipped frames, and unwanted stabilization movement.
- Write the final settings and button sequence on a physical card.
Practice the shutdown procedure too. Know which button stops the intervalometer, how the camera behaves when the card fills, and whether changing a battery resets the program. Turn off notifications, wireless features, and automatic sleep functions only where necessary; confirm every change in the camera manual.
Then adopt a no-fiddling deadline. Ten or fifteen minutes before the most important phase, complete the final check and take your hands off the camera. Focusing, firmware experiments, app pairing, and menu exploration are jobs for rehearsal day.
Keep eye viewing separate from camera filtration
Your camera’s aperture filter does not protect people looking directly at the Sun. Give everyone in your group suitable direct-viewing protection and explain the phase rules before the event begins. You can review ISO 12312-2 and eclipse viewers with family, friends, or a school group rather than trying to teach safety during the countdown.
Marketplace wording can be unreliable. Phrases such as approved solar eclipse glasses and eclipse glasses nasa approved may appear persuasive, but NASA does not approve particular viewer brands. For direct viewing, buyers may also encounter the wording solar eclipse glasses iso 12312-2 certified; the useful step is to examine the maker, traceability, instructions, condition, and evidence of conformity rather than trusting a logo or unsupported claim.
The question how to make a homemade eclipse viewer? belongs to indirect observation, not camera filtration. A cardboard pinhole projector can safely project an image of the partial Sun onto a white surface while the observer keeps the Sun behind them. Nobody should look through the pinhole, and a homemade projector must never be attached to a telephoto lens as a substitute for a solar aperture filter.
If children are participating, assign one adult to viewing safety and another to the camera. That division lets the intervalometer do its job while everyone takes brief, protected looks at the changing Sun. It also gives you permission to turn away from the equipment and notice crescent projections under trees, altered shadows, changing light, and the reactions of the people around you.
Frequently asked questions
What type of filter should I use when photographing a solar eclipse?
Use a proper solar filter that is securely attached over the front aperture of the lens during every partial phase. Ordinary photographic neutral-density filters, polarizers, smoked glass, exposed film, and filters placed behind the lens are not suitable substitutes.
Can I make a safe eclipse viewer or camera filter from household materials?
No. The article warns against improvised materials such as smoked glass, exposed film, and eclipse glasses taped behind a lens. For camera use, rely on a purpose-designed solar filter mounted securely at the front of the lens.
How many stops of light reduction does a solar filter provide?
The excerpt does not specify a stop rating for solar filters. It emphasizes using a proper front-aperture solar filter during partial phases rather than selecting filtration by a stated stop value.
Which camera settings are appropriate for the partial phases of an eclipse?
The excerpt does not provide specific exposure settings for partial-phase photography. Its priority is to keep a proper solar filter securely mounted over the front aperture and avoid looking through an unfiltered optical viewfinder while aiming at the Sun.
What interval should a beginner choose for an eclipse timelapse?
The excerpt does not recommend a specific interval length. Use a tested intervalometer program and rehearse the sequence before eclipse day, since preparation is presented as more important than last-minute adjustments.
On-site next steps
- Open the Helioclipse Eclipse Explorer and enter your actual viewing location. Confirm partial versus total geometry, local timing, Sun position, and the duration your interval calculation must cover.
- Build the finished-video calculation before choosing an interval: event span, desired frame count, playback rate, card space, and battery margin.
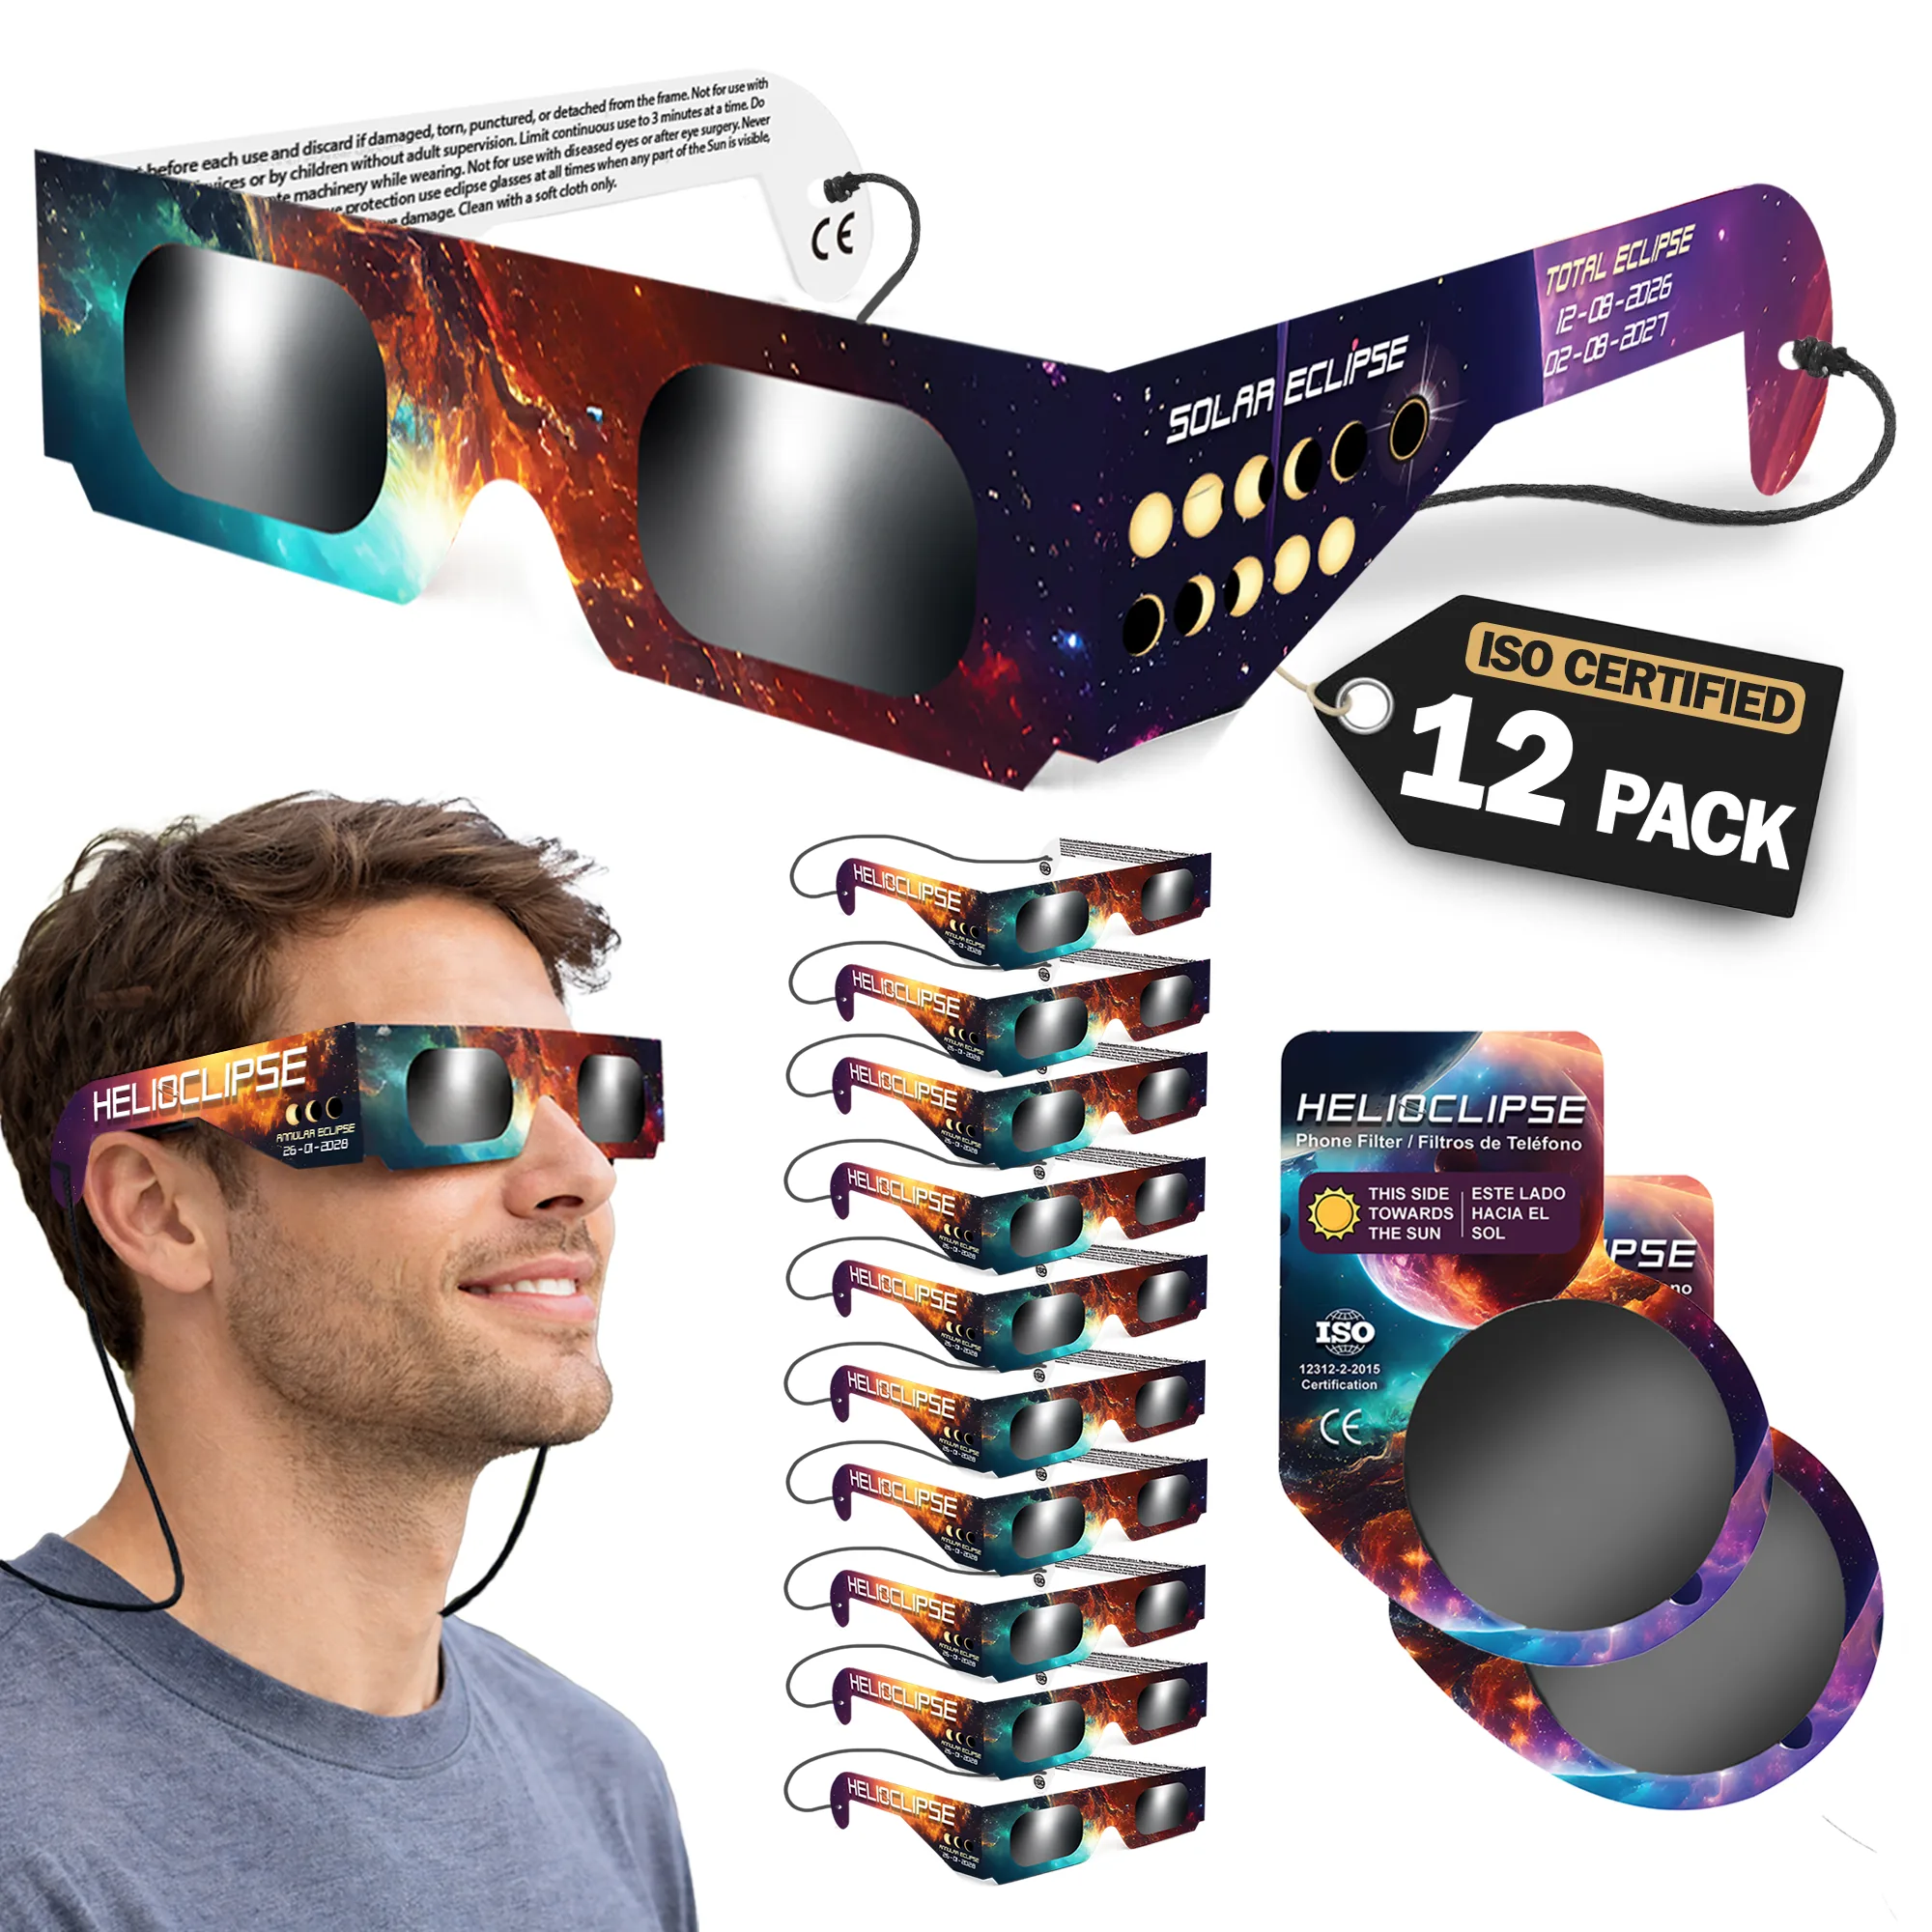
- Arrange direct viewing separately from photography. You can shop Helioclipse solar eclipse glasses for family or group viewing; do not use eclipse glasses as substitutes for a camera-lens aperture filter.
- Print a one-page field sequence: filter installed, manual exposure, manual focus, interval started, thermal check, no-fiddling deadline, and—only where genuine totality occurs—a rehearsed transition plan.
Sources & further reading
- American Astronomical Society: How to Shoot Solar-Eclipse Images & Videos
- Sky & Telescope: How to Photograph a Solar Eclipse
- Astronomy Magazine: Expert tips for how to take photos of the eclipse
- NASA Science: Five Tips for Photographing the Annular Solar Eclipse on Oct. 14
- Phys.org: One Tech Tip: How to use apps to track and photograph the total solar eclipse
- American Astronomical Society: Solar Filters for Optics: Telescopes, Binoculars & Cameras
- NASA Science: Eclipse Viewing Safety
- American Astronomical Society: How to View a Solar Eclipse Safely
- American Astronomical Society: About the ISO 12312-2 Standard for Solar Viewers
- NASA Science: Eclipses Frequently Asked Questions