Beginner-friendly eclipse photography: safety first, gear second
A solar eclipse can turn an ordinary camera into a ticket to one of the strangest sights in nature: a black circle in a silver corona, a shrinking solar crescent, or hundreds of tiny crescents projected beneath a tree. But the Sun is not an ordinary photographic subject. Before exposure settings, lenses, or tripods, you need two separate safety systems—one for your eyes and one for the camera.
That is the foundation of solar eclipse photography beginner safety. Eclipse glasses protect direct human vision; a suitable solar filter secured over the front of the camera lens protects the optical system and makes the bright solar surface photographable. One cannot substitute for the other.
Use our Eclipse Explorer and 3D map early in your planning. Confirm whether your location will experience totality or only a partial eclipse, because that distinction determines whether the camera filter ever comes off. If you will be outside the path of totality—or photographing a partial or annular eclipse—the filter stays on for the entire event.
The rule that comes before every camera setting
Can you safely photograph the solar eclipse? Yes, but only with equipment and procedures appropriate for photographing the Sun. During every partial phase, secure a purpose-made solar filter over the front of the camera lens, before sunlight enters the optics. The filter must fit firmly enough to withstand a bump or gust of wind.
Do not improvise with ordinary sunglasses, eclipse glasses taped over a large lens, photographic neutral-density filters not specifically intended for solar imaging, exposed film, CDs, smoked glass, or stacked filters. A material that makes the scene look comfortably dark may still transmit hazardous ultraviolet or infrared radiation. It may also fail under concentrated light or heat.
Never look through an unfiltered optical viewfinder while the camera points at the Sun. An optical viewfinder can channel concentrated sunlight toward your eye. With a correctly filtered camera, compose and focus using the rear screen or electronic viewfinder, following the filter manufacturer’s instructions. If you are uncertain whether a product is suitable for your exact camera and lens, pause and seek advice from an experienced solar observer.
The filter belongs at the front, not behind the lens or at an eyepiece. Placing a filter near the focused beam allows intense solar energy to enter the instrument before being blocked, creating a risk of overheating or filter failure. The same front-mounted rule applies to telescopes, binoculars, finderscopes, and telephoto lenses.
Eye protection and camera protection are different jobs
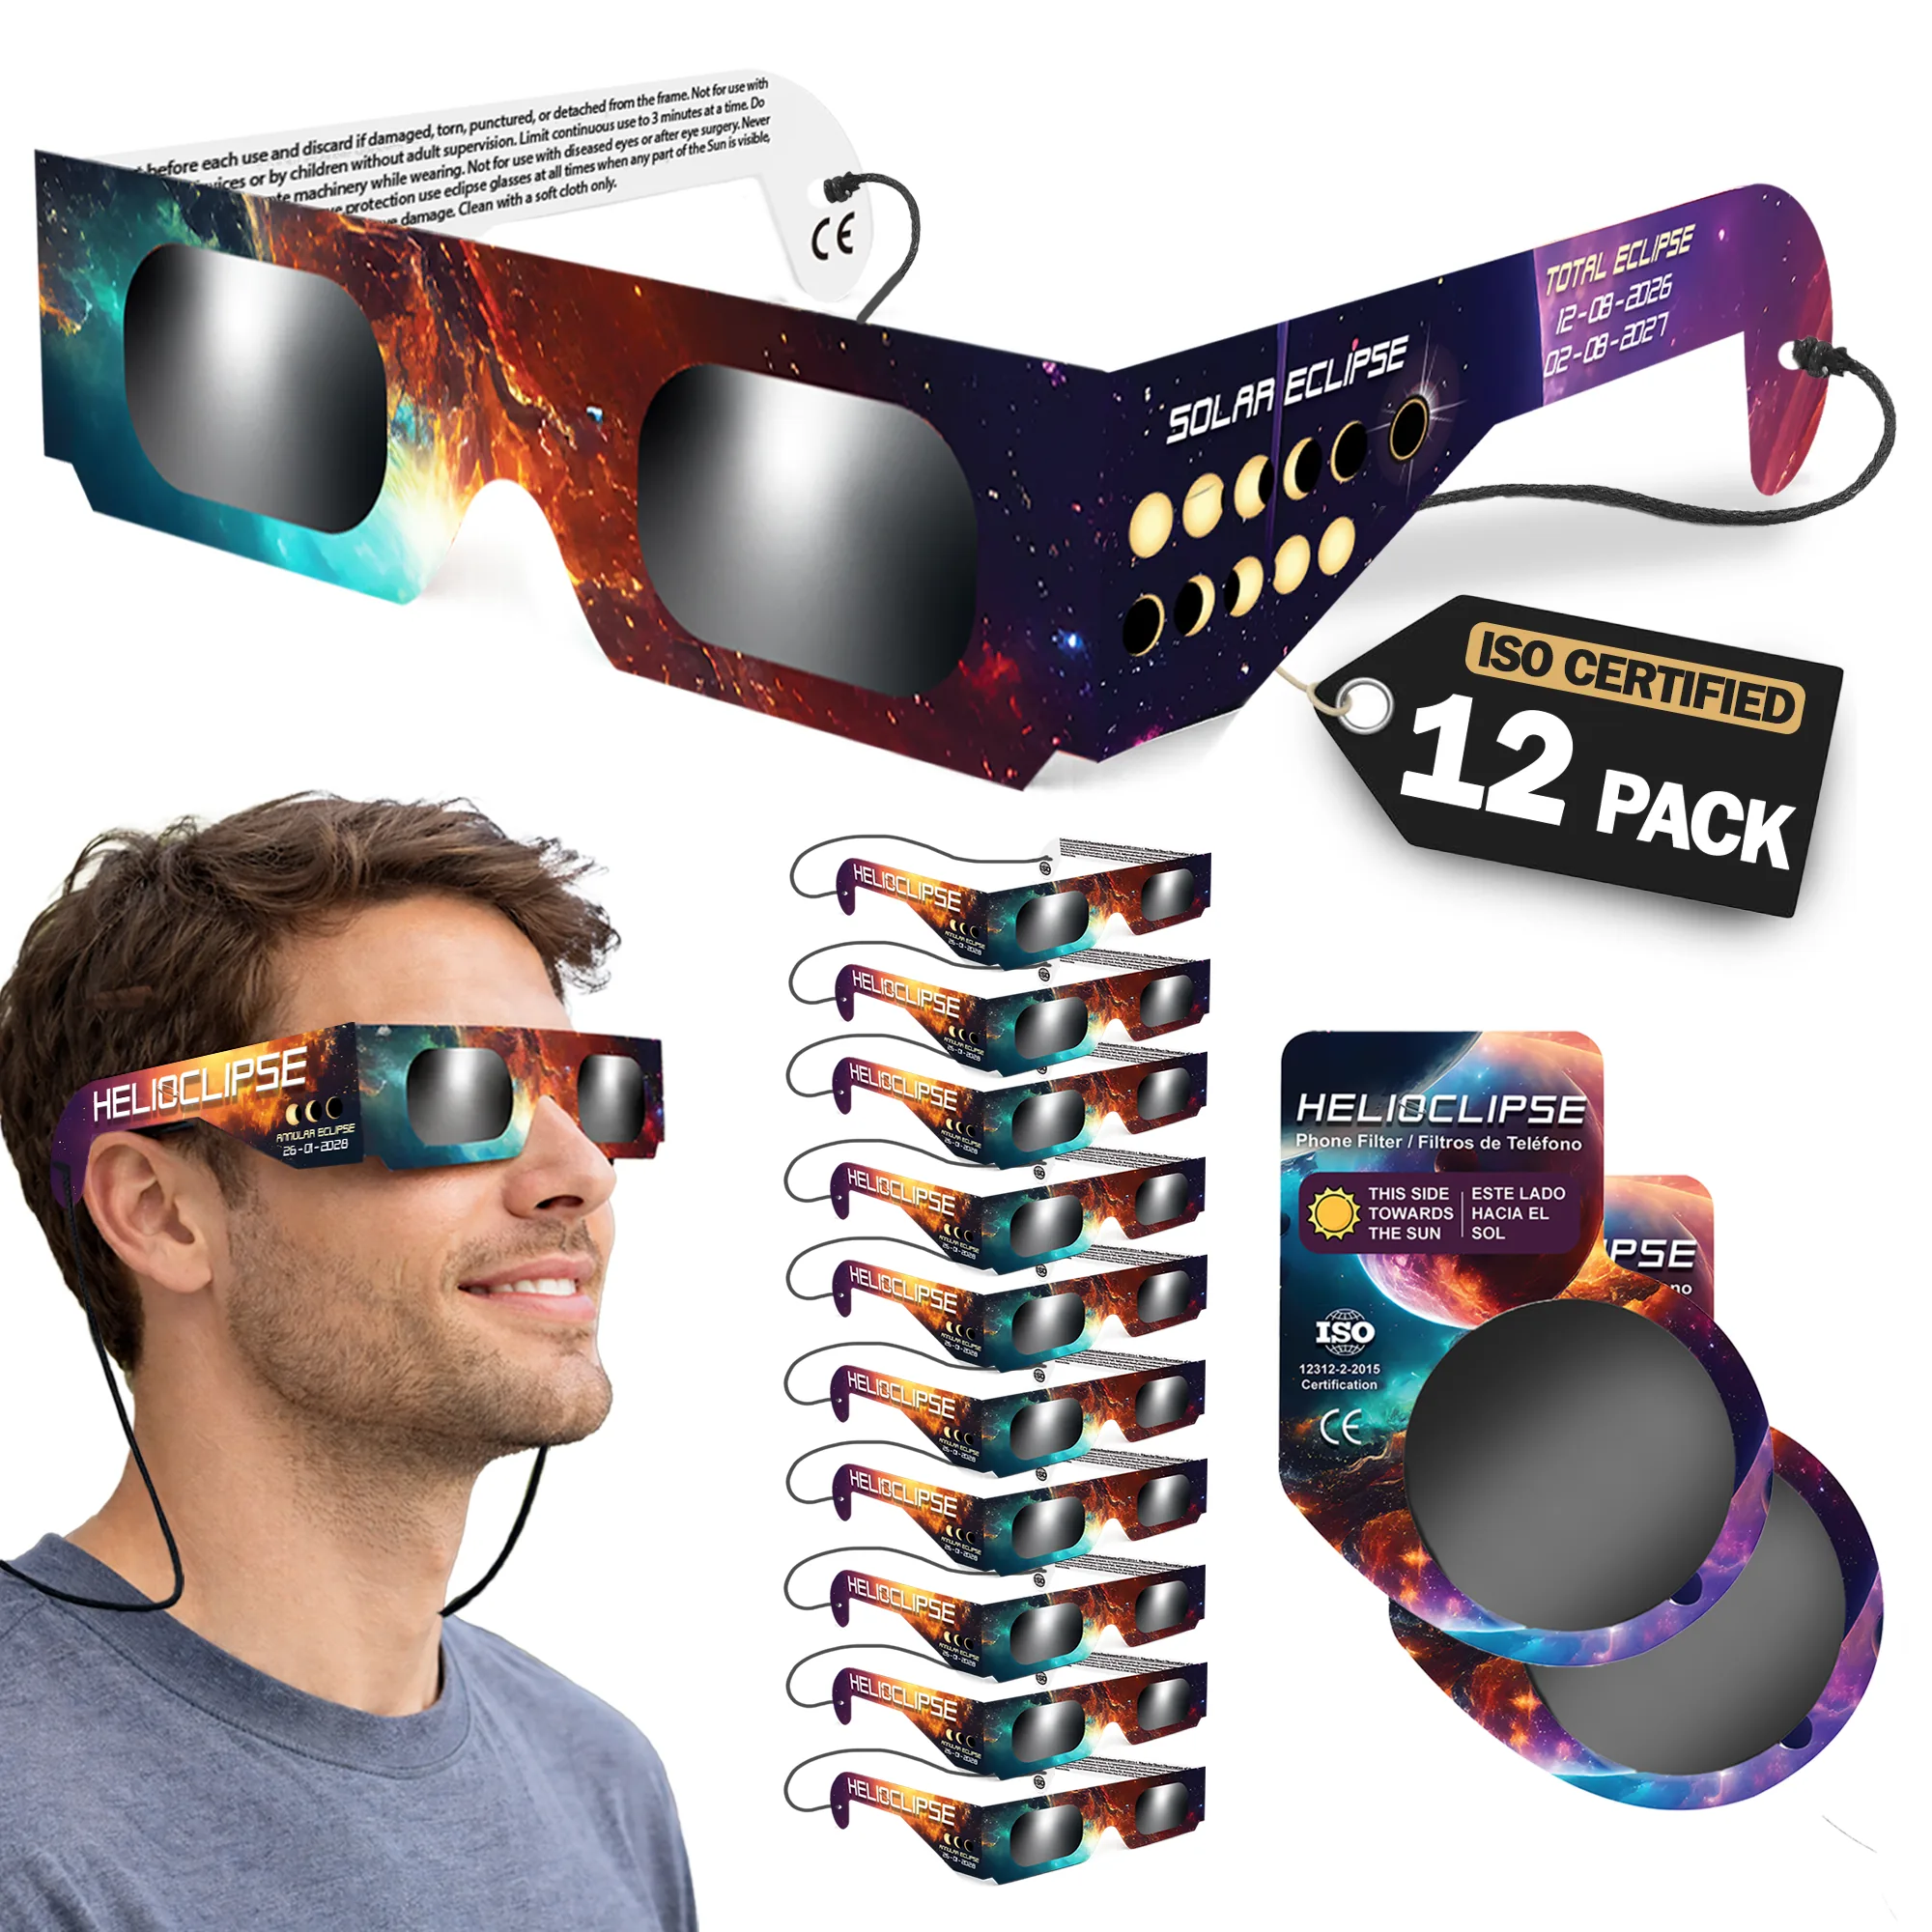
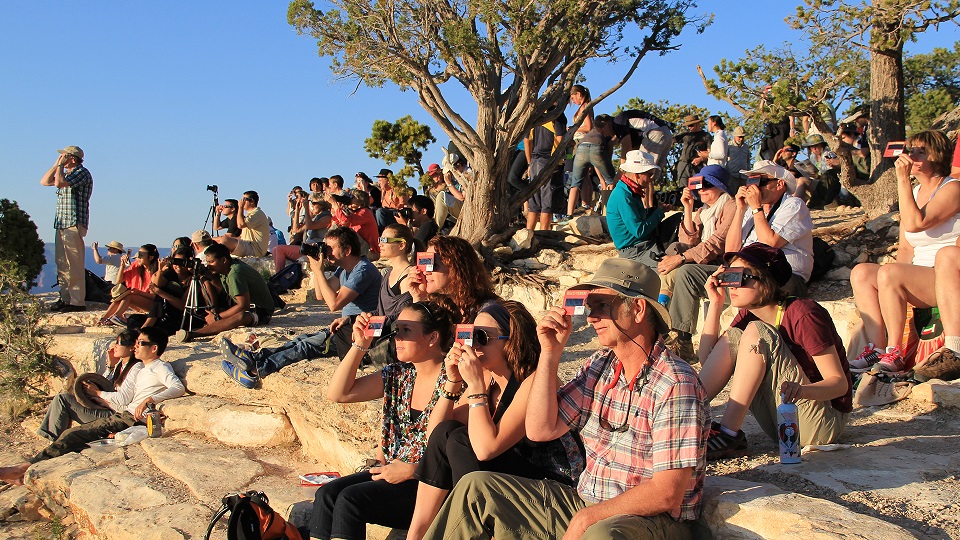
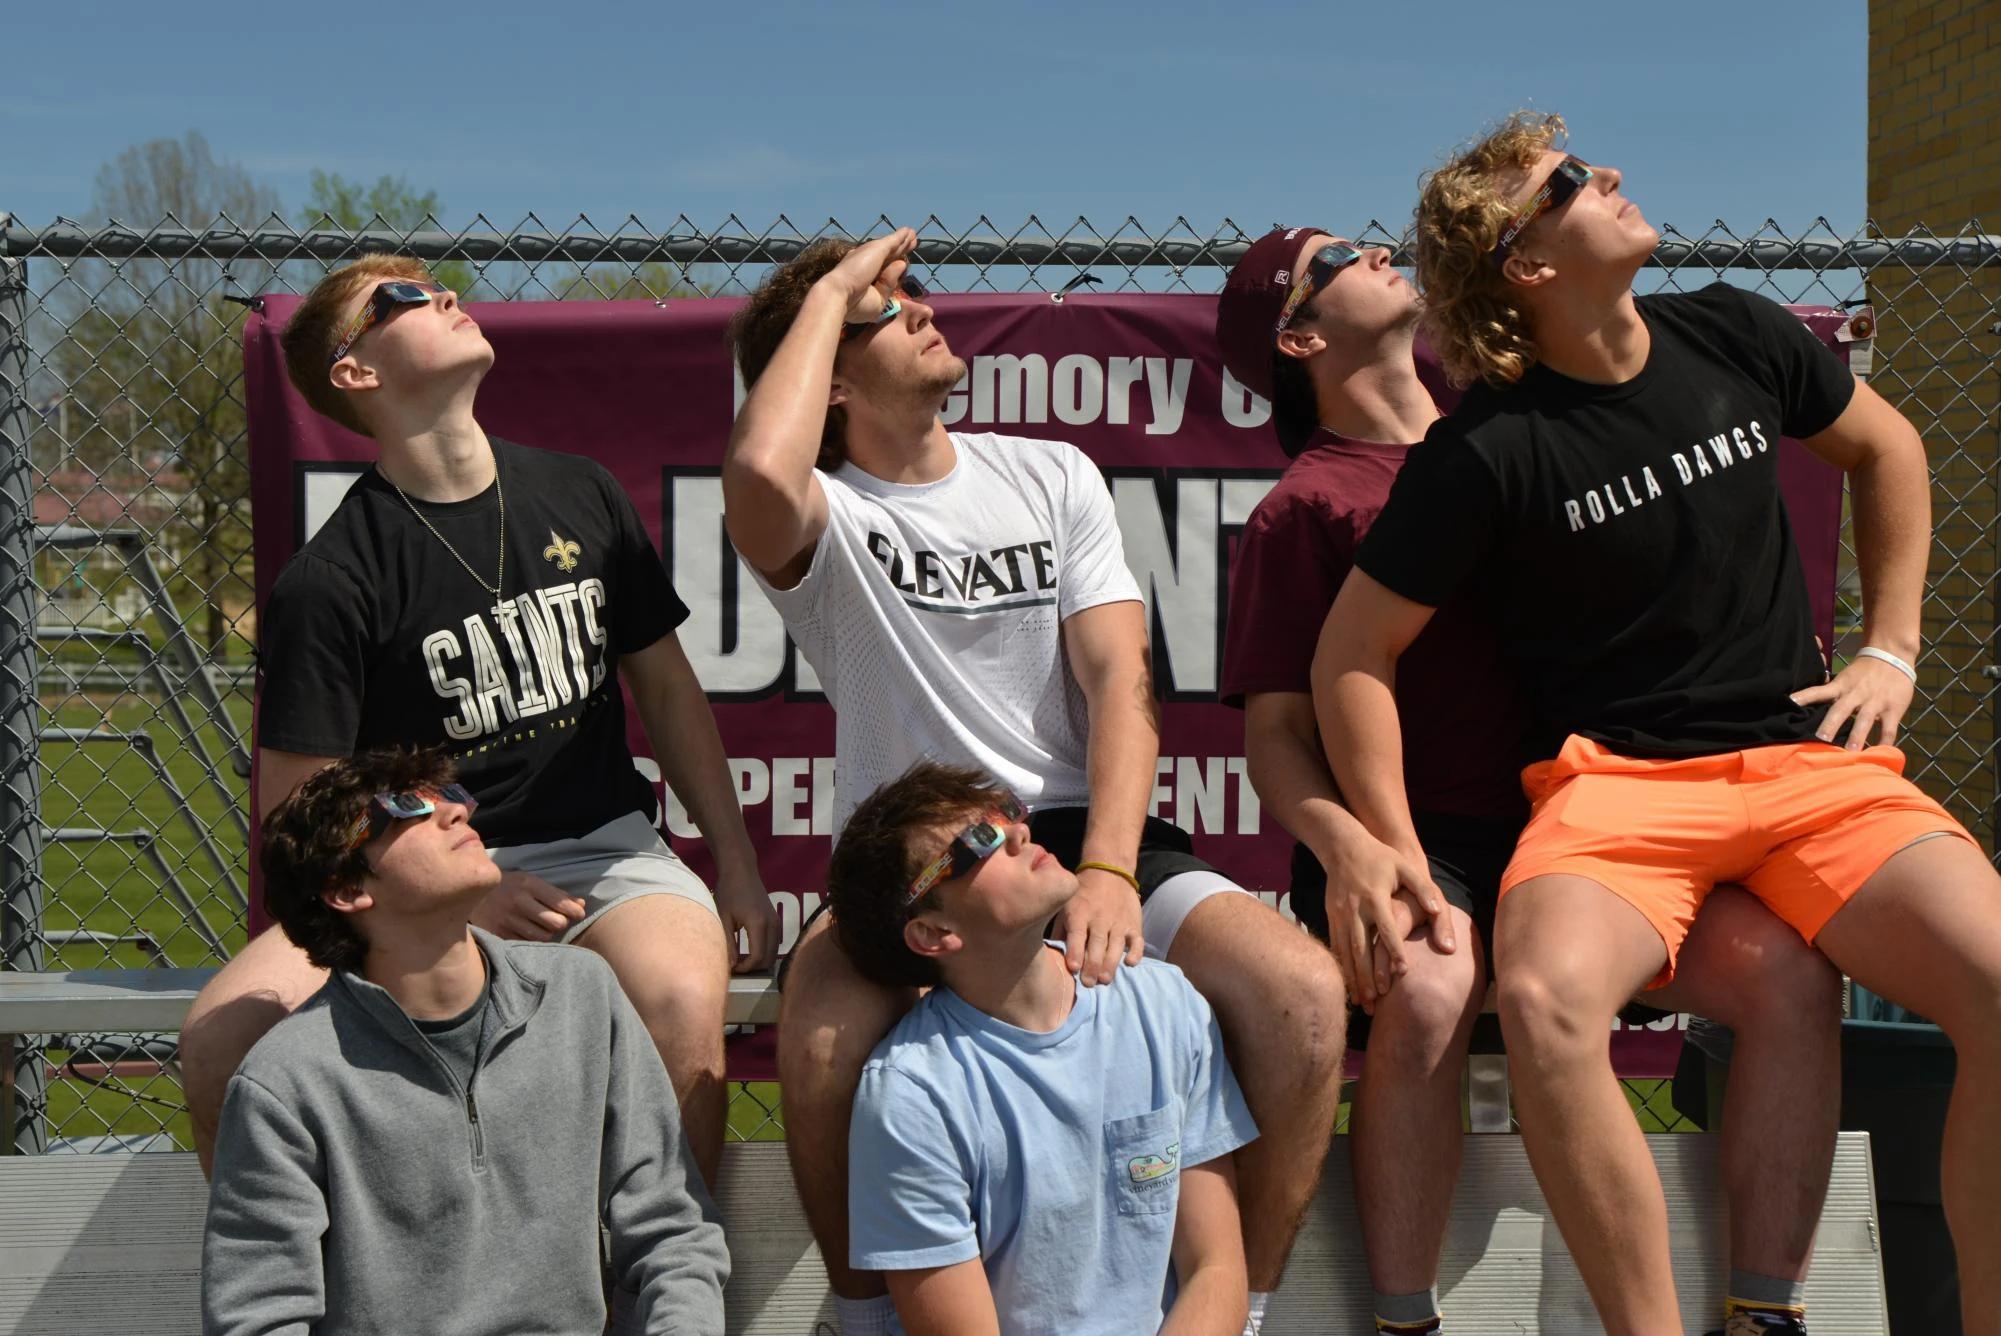
Do you need eye protection for a solar eclipse? During partial phases, yes. To look directly at the Sun, use solar viewers that conform to ISO 12312-2 and inspect them for tears, punctures, scratches, or loose filter material before use. Ordinary sunglasses are not adequate, however dark they appear.
ISO 12312-2 applies to filters intended for direct observation of the Sun. It does not automatically certify a camera filter, and holding eclipse glasses in front of your eyes does not make it safe to look through unfiltered magnifying optics. A camera lens, telescope, or binocular gathers and concentrates far more light than the unaided eye receives. NASA warns that the concentrated beam can damage the viewer and cause severe eye injury.
This distinction matters when reading product language. NASA does not approve particular viewer brands, so eclipse glasses nasa approved is not a meaningful official designation. When shoppers refer to approved solar eclipse glasses, the useful checks are the stated ISO 12312-2 conformity, traceable manufacturer information, clear instructions, an undamaged filter, and a trustworthy supply chain. Likewise, wording such as solar eclipse glasses iso 12312-2 certified or certified solar eclipse glasses should prompt you to verify the product details rather than trust a badge in isolation.
For a fuller explanation of direct-viewing protection, read our guide to ISO 12312-2 and eclipse viewers. You can also prepare your group with our phase-by-phase guide to when glasses stay on and when they may come off.
The totality exception is narrow and location-dependent
A total solar eclipse includes long partial phases on both sides of a brief total phase. During those partial phases, the camera needs its solar filter and your eyes need proper solar viewers. Only when the Moon completely covers the Sun’s bright face may observers inside the path of totality view totality directly, and experienced photographers may image the corona without the normal white-light solar filter.
That exception does not apply merely because the sky is dim, the solar crescent looks thin, or your phone reports that totality is close. It begins only after the bright photosphere has disappeared completely. The filter must be restored before any part of the bright Sun reappears. If you cannot confidently manage that transition, leave the filter in place and photograph the people, horizon, shadows, and changing light instead.
There is no filter-off interval during a partial or annular eclipse. An annular “ring of fire” is still exposed photosphere, and even a tiny visible segment of the Sun remains intensely bright. Outside the path of totality, the eclipse remains partial even if a location is only a short drive from the path boundary.
Our solar eclipse photography beginner safety 2026 guide therefore starts with location, not equipment. The total solar eclipse of August 12, 2026 crosses parts of Greenland, Iceland, and Spain, while surrounding regions experience a partial eclipse. Check your exact observing point on the map rather than applying rules for a nearby city. Our detailed August 12, 2026 planning guide can help you connect path geometry, timing, weather, and the filter sequence.
Build the simplest setup you can operate calmly
What are the must-haves for a beginner in photography? For an eclipse, the useful starter kit is shorter than many shopping lists suggest:
- A camera or phone you already understand
- A solar-imaging filter designed for the device and secured over the front of its lens
- ISO 12312-2 solar viewers for your own direct viewing
- A stable tripod or other secure support
- A remote release or short shutter delay
- A charged battery and enough storage
- Tape or another non-damaging way to prevent focus and zoom rings from drifting
- A written phase-and-filter checklist
A long telephoto lens makes the Sun larger in the frame, but it also magnifies vibration, makes tracking harder, and raises the consequences of a loose filter. The American Astronomical Society notes that around 300 mm in full-frame-equivalent focal length produces a moderately large solar image; specialist close-ups may use much longer optics. Beginners often have a better day with a modest lens and a wider composition that includes the landscape.
A smartphone can record the changing light, projected crescents, reactions in the crowd, and a wide view of totality. It does not become safe to aim at the partially eclipsed Sun simply because its lens is small. Use an appropriate filter over every active phone-camera lens that may face the Sun, and avoid holding eclipse glasses loosely in front of the phone where they can slip or admit unfiltered light.
A solar eclipse photography beginner safety app would need to do more than display a countdown. It should distinguish your location’s partial phases from actual totality, show clearly labeled local times, work offline, and never imply that an alarm replaces watching the Sun through a safe system. Use digital reminders as backups; your rehearsed filter procedure remains the primary control.
Start with tested settings, not a magic recipe
What camera settings are best for eclipse photos? There is no universal exposure because filter transmission, haze, aperture, focal length, sensor performance, and the phase of the eclipse all matter. The reliable method is to test your complete filtered setup on the uneclipsed Sun well before eclipse day.
NASA suggests that beginners experimenting with a DSLR or mirrorless camera can start around f/8 to f/16 and test shutter speeds from approximately 1/1000 second to 1/4 second. The AAS offers another practical partial-phase starting region: ISO 100 or 200, f/8, and short exposures around 1/500 to 1/4000 second. These are starting points, not promises. Use the filter you will use on eclipse day, examine the histogram and sharpness, then record the settings that work for your equipment.
For the partial phases, try this repeatable workflow:
- Attach and inspect the front-mounted solar filter before aiming at the Sun.
- Set a low ISO, such as ISO 100 or 200.
- Choose a middle aperture around f/8 if your lens allows it.
- Use the rear display or electronic viewfinder to frame the filtered Sun.
- Focus manually on the solar limb or visible sunspots.
- Take a bracket of short exposures and check for clipped highlights.
- Secure the focus and zoom rings once the image is sharp.
- Use a timer or remote release to reduce vibration.
During the filtered partial phases, the Sun’s surface brightness changes far less than its shrinking shape might suggest. Do not assume that a thinner crescent automatically needs a radically slower shutter speed. Bracketing around your tested exposure is safer than chasing settings continuously.
Totality is a separate exposure problem: the corona has an enormous brightness range, and no partial-phase setting can capture all of it. First-time observers should decide in advance whether they want a simple wide shot, a short bracket, or no solar close-up at all. A complicated sequence that keeps your face buried in a screen can cost you the experience you travelled to see.
Composition matters more than owning the longest lens
What are the 7 basics of photography? Lists vary, but aperture, shutter speed, ISO, focus, focal length, composition, and light form a useful seven-part framework. Eclipse photography adds an eighth discipline: controlling when sunlight may enter the optics.
A filtered telephoto close-up is only one possible story. A wide lens can show the darkening landscape, a low Sun near the horizon, observers reacting together, or the unusual light in the minutes around totality. Under leafy trees, gaps between leaves act as pinholes and project many copies of the solar crescent onto the ground. Photographing those projections keeps the camera pointed away from the Sun and often produces a more distinctive image than a tiny bright disk.
What colors should you wear during a solar eclipse? Clothing color does not improve eye safety or change the eclipse. Choose light, breathable layers if conditions will be hot, add a hat and sunscreen, and use reflective or high-visibility clothing if you will be near traffic or setting up before dawn. Dark fabric may make a useful background for projected crescents, but it is a compositional choice—not solar protection.
Tell your family or group what you hope to photograph before the event begins. One person can watch the timetable, another can help supervise children, and everyone should know not to touch the camera filter. Shared roles reduce rushed decisions when the light starts changing quickly.
Common mistakes—and the safer replacement for each
What are common mistakes in eclipse photography? Most do not begin with a bad aperture. They begin when the photographer improvises under pressure.
Mistake: assuming eclipse glasses protect a camera. They are designed for direct viewing, not as a universal imaging filter. Use a filter made and documented for solar imaging with your type of optics.
Mistake: relying on a strong ordinary ND filter. A general photographic filter may reduce visible brightness without providing the spectral and thermal protection required for solar work. “Very dark” is not a technical safety specification.
Mistake: placing the filter behind the objective. Keep intense sunlight and heat out of the optical system by filtering at the front.
Mistake: looking through an optical viewfinder. Use the rear screen or electronic viewfinder with a correctly filtered system. Never put an eye to an unfiltered camera aimed at the Sun.
Mistake: removing the filter during annularity or deep partial eclipse. A bright ring or thin crescent is still direct sunlight. Only complete totality, viewed from inside the path of totality, creates the brief exception.
Mistake: learning the controls during the eclipse. Practice focusing, bracketing, finding the Sun, operating the timer, and checking the filter without looking upward. Rehearse until the sequence feels boring.
Mistake: spending the entire event on the screen. Schedule a few frames, then step back. With proper viewers during partial phases—and unaided vision only during genuine totality—you should experience the event you are trying to remember.
These solar eclipse photography beginner safety tips all serve the same goal: remove improvisation. A short, practiced sequence beats an elaborate plan you cannot execute calmly.
A five-minute safety briefing for families and groups
What are the safety precautions when viewing a solar eclipse? Give everyone the same clear rules before the eclipse starts: inspect viewers; put them on before looking up; turn away before removing them; never look through unfiltered magnifying optics; keep children supervised; and use projection if someone cannot use a direct viewer correctly.
A pinhole projector is a strong alternative for partial phases. Stand with your back to the Sun and let a small opening project the solar image onto a shaded surface. Look at the projection, not through the hole. A colander, perforated spoon, or the gaps between overlapping fingers can create multiple crescent images. Do not use an unfiltered telescope or binoculars as an improvised projector unless an experienced solar observer has designed and supervises the arrangement; concentrated heat can damage equipment and create an eye hazard.
If anyone accidentally looks at the Sun and later notices a central blind spot, distortion, unusual color vision, persistent afterimages, or blurred central vision, stop observing and seek prompt assessment from an eye-care professional. Retinal injury may not be painful, and a person should not use a phone photo or home test to rule it out.
This is why the question “what safety precautions do you need to follow before you view an eclipse?” belongs in the planning conversation, not in the final seconds before maximum eclipse. Brief your group, inspect the equipment, and assign adult supervision while there is still time to fix a problem.
Plan the photograph around the sky you will actually have
Our approach to best places and timing for solar eclipse photography beginner safety starts with three map checks: whether the location is inside totality, how high the Sun will be, and whether the view is obstructed in the Sun’s direction. Then add weather, access, traffic, and a safe place for a tripod where nobody can knock the filter loose.
For August 12, 2026, the late-day geometry in Spain makes an open western horizon especially important in many locations. A site with a dramatic mountain or city view can still fail photographically if terrain or buildings hide the low Sun. Iceland presents different stakes, including rapidly changing cloud and the need for a mobile but realistic backup plan. Use the 3D eclipse map to inspect the path and local circumstances, then consult an official weather service close to eclipse day.
Do not select a site solely because it promises a few more seconds of totality. A slightly shorter but unobstructed view, secure permission, safer access, and room for the family may produce a far better experience. Arrive early enough to assess wind, rehearse the filter sequence, and frame a foreground before the partial phase begins.
A final beginner checklist
The phrase solar eclipse photography beginner safety can be reduced to one practical order of operations:
- Map: establish whether your exact site gets totality, annularity, or a partial eclipse.
- Protect eyes: prepare undamaged ISO 12312-2 viewers for direct viewing during every partial phase.
- Protect optics: obtain the correct front-mounted solar filter for the camera or lens.
- Practice: test focus and exposure on the ordinary Sun with the filter already fitted.
- Simplify: choose one main composition and one backup.
- Rehearse: know exactly when the filter stays on; if totality applies, plan its removal and immediate replacement.
- Look up: leave time to experience the eclipse safely rather than merely operating equipment.
That order is the real meaning of beginner-friendly photography: safety first, gear second. The best image is not necessarily the closest view of the Sun. It may be your child pointing at crescent shadows, friends watching the horizon change color, or a familiar landscape under light that suddenly no longer looks like daylight.
Frequently asked questions
Is it safe for a beginner to photograph a solar eclipse?
Yes, but only with separate protection for your eyes and your camera. During every partial phase, use a purpose-made solar filter firmly secured over the front of the lens, and use compliant solar viewers when looking directly at the Sun.
Which eclipse-photography errors should I avoid?
Do not point an unfiltered camera at the Sun or look through an unfiltered optical viewfinder. Avoid improvised filters, including ordinary sunglasses, exposed film, smoked glass, CDs, and non-solar photographic filters; they may transmit harmful radiation or fail under concentrated light.
Does clothing color matter when watching or photographing an eclipse?
The excerpt does not identify any clothing color as necessary for eclipse safety or photography. Prioritize proper eye protection and a securely fitted front-mounted solar filter for the camera instead.
Must I wear eye protection during an eclipse?
Yes, during partial phases, use solar viewers that conform to ISO 12312-2 when looking directly at the Sun. Inspect viewers for tears, punctures, scratches, or loose filter material before use.
Can I use something other than eclipse glasses to view the Sun?
For direct viewing during partial phases, use compliant solar viewers rather than improvised alternatives. Camera filters protect the camera optics, not your eyes, and cannot replace proper eye protection.
On-site next steps
- Check your exact observing point with the Helioclipse Eclipse Explorer and 3D map. Confirm whether totality occurs there and note the local phase times, Sun altitude, and viewing direction.
- Prepare direct-viewing protection separately from your camera filter. Visit our solar eclipse glasses shop for ISO 12312-2 viewers, order early for your family or group, and inspect every viewer before use.
- Keep learning through the Helioclipse blog, then print a short filter-and-phase checklist that you can follow without relying on a signal or last-minute memory.
Sources & further reading
- Five Tips for Photographing the Annular Solar Eclipse on Oct. 14 — NASA Science
- How to Shoot Solar-Eclipse Images & Videos — American Astronomical Society
- Solar Eclipse Photography: Tips, Settings, Equipment and Photo Guide — Space.com
- How to safely photograph the Sun — Space.com
- A Guide to Smartphone Astrophotography — NASA Science (PDF)
- Eclipse Viewing Safety — NASA Science
- Solar Filters for Optics: Telescopes, Binoculars & Cameras — American Astronomical Society
- How to View a Solar Eclipse Safely — American Astronomical Society
- Eclipses Frequently Asked Questions — NASA Science
- Solar Eclipse Eye Safety: AAS-Chou Technical Report (PDF)